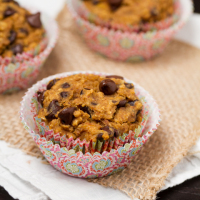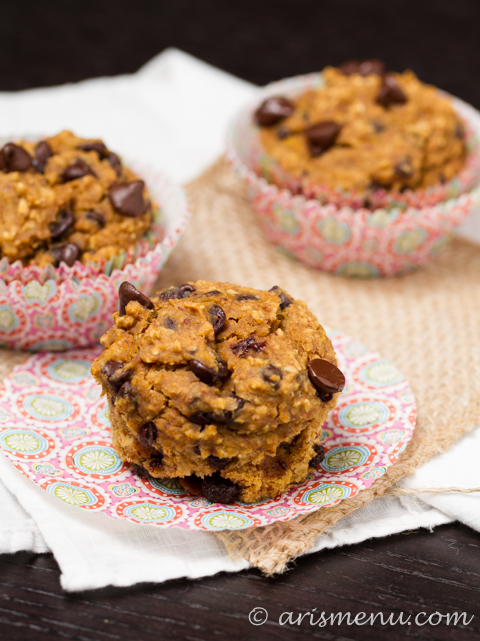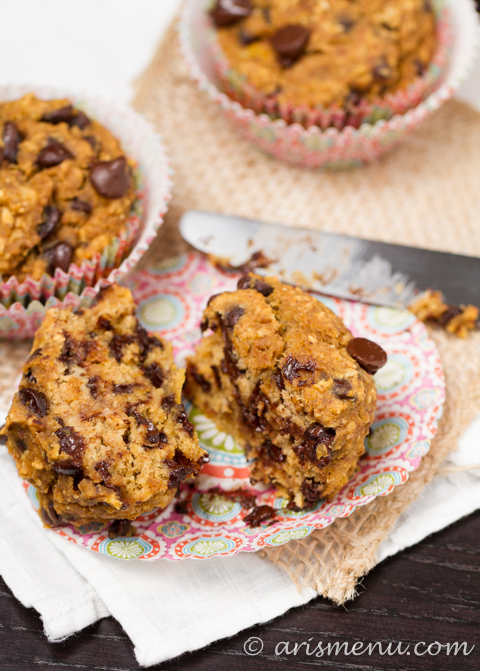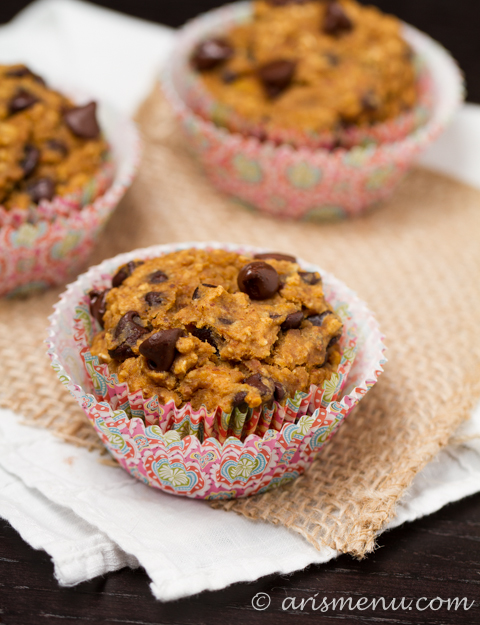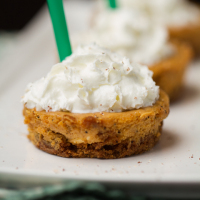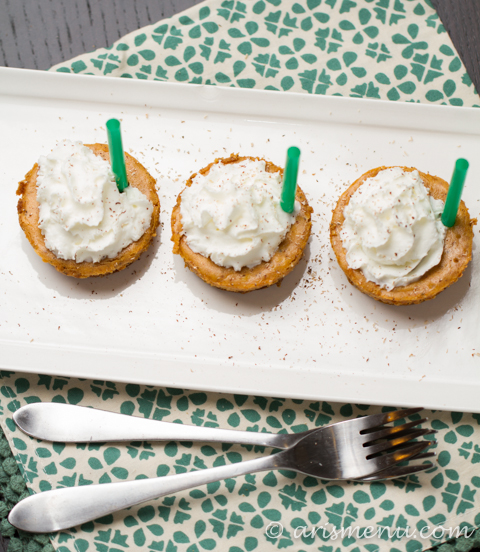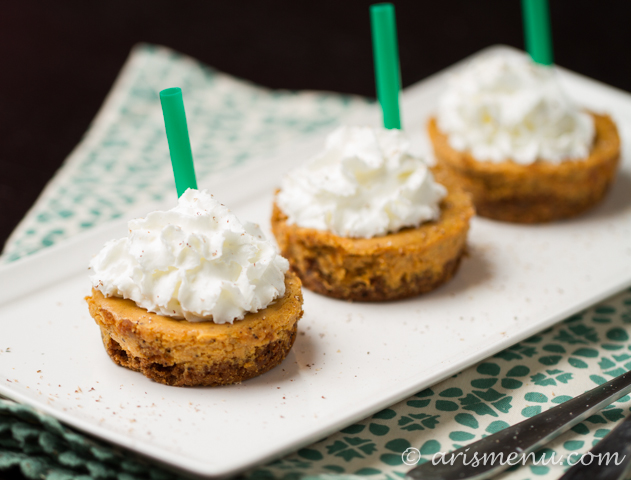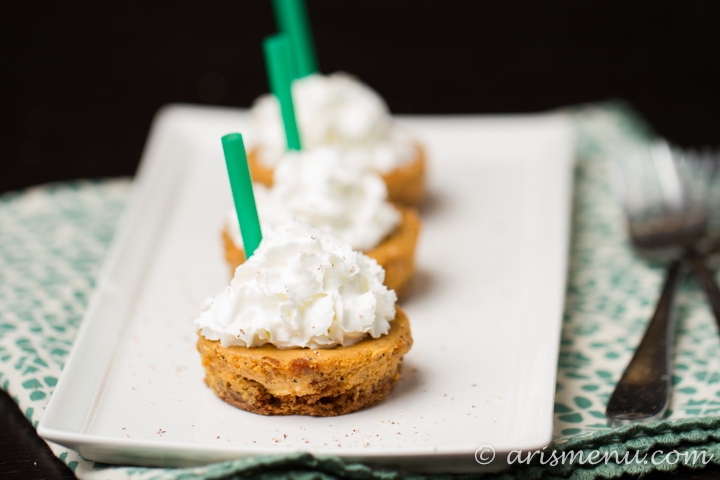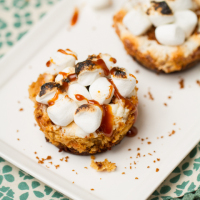
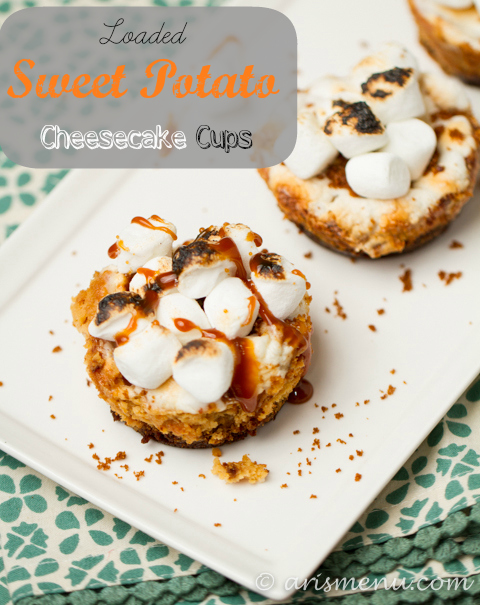
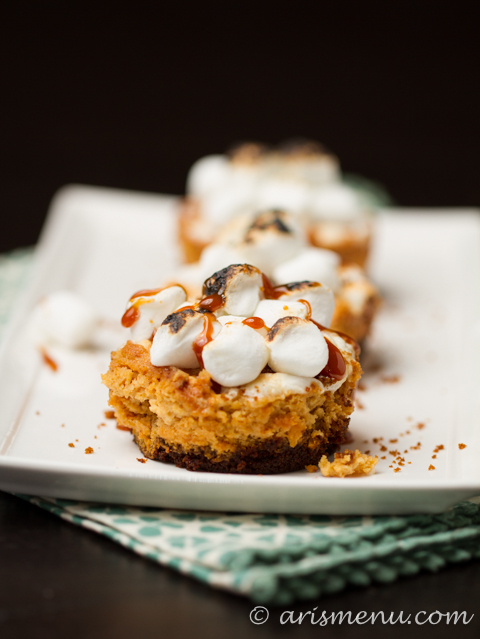
Individual sweet potato cheesecake cups with a gluten-free gingersnap crust, topped with bruleed marshmallows and drizzled with salted caramel sauce.
Can you believe it’s already time to start thinking about Thanksgiving? I think I might even like Thanksgiving more than Christmas. Maybe it’s because I get to host, maybe because it’s the one day of the year where my entire family gets together, or maybe it’s because of the tradition I enforce every year (despite the whining from the less emotional types) of going around the table before dinner and everyone saying what they’re thankful for. I usually cry. I know that’s shocking.
I feel like it’s also the sense of tradition. It takes a long time to set family traditions, and especially with my ADD cooking personality, it’s difficult to find things that I love enough to make them my traditions. There are a few things we never budge on–Steve’s mom makes the deviled eggs, and my mom makes the sweet potatoes.

Ever since I was a little girl, my mom has made my grandma’s recipe for sweet potato casserole–you know, with the marshmallows on top all browned and crispy? It’s heaven. I have two favorite Thanksgiving dishes. The first is stuffing, and the second–those sweet potatoes. I refuse to make them myself. There is no way I could ever make them taste as delicious as my mom.
So instead, I made cheesecakes. Delicious little individual cheesecakes that take all the best parts of sweet potato casserole + all the best parts of cheesecake and tie them together in a perfect little bow. It all starts with a gingersnap crust (as all fall flavored cheesecakes should) that sits below the sweet potato cheesecake, then topped with brulee’d (or broiled–even better, but a little tricky) marshmallows, then finished off with fluer de sel caramel sauce. Perfection.

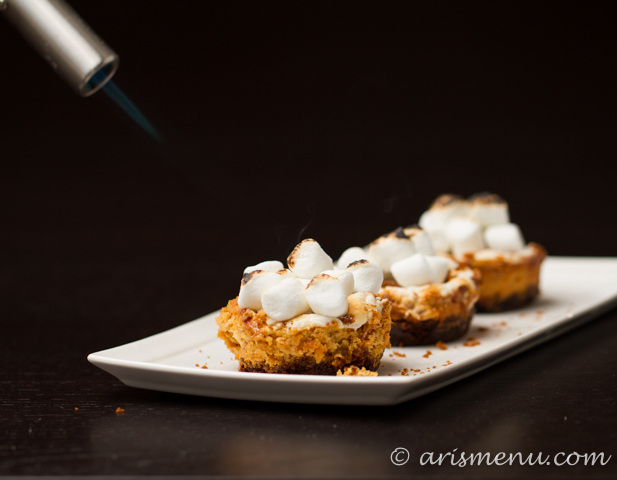
I mean, that may not be how you’re supposed to use a brulee torch…
Now let me give you some advice. A little something I learned during this process. DO NOT top the cheesecakes with marshmallows in the muffin tins. They will be almost impossible to get out, and cleaning your muffin tin will be a literal nightmare. I mean, I still got mine out, and I most definitely still ate them (they were just too good to turn down), but it was a huge ordeal. What you want to do is, just before serving, either place the cooked and cooled cheesecakes on a cookie sheet, top with marshmallows and broil for a few moments until they brown, or use a brulee torch. They will get puffier, meltier, and a little messier if you broil them, but that is my preference. The brulee torch is a little cleaner, but it’s not something everyone has, so the choice is yours. Or you can always do both–broil, then (add more marshmallows and ) brulee for the ultimate marshmallow experience. 😉
Individual sweet potato cheesecake cups with a gluten-free gingersnap crust, topped with bruleed marshmallows and drizzled with salted caramel sauce.
Ingredients
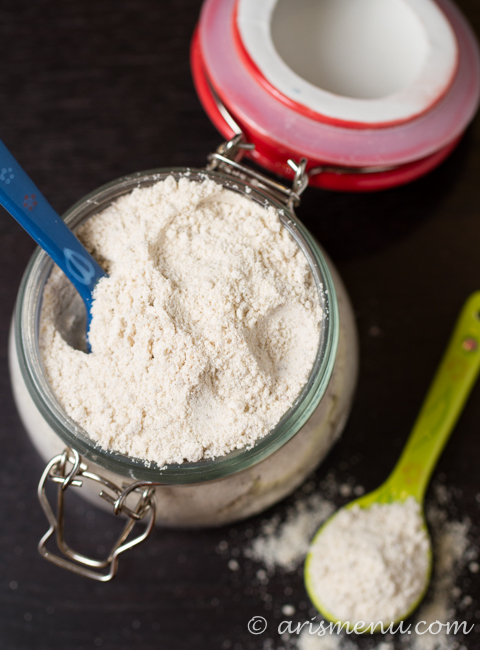
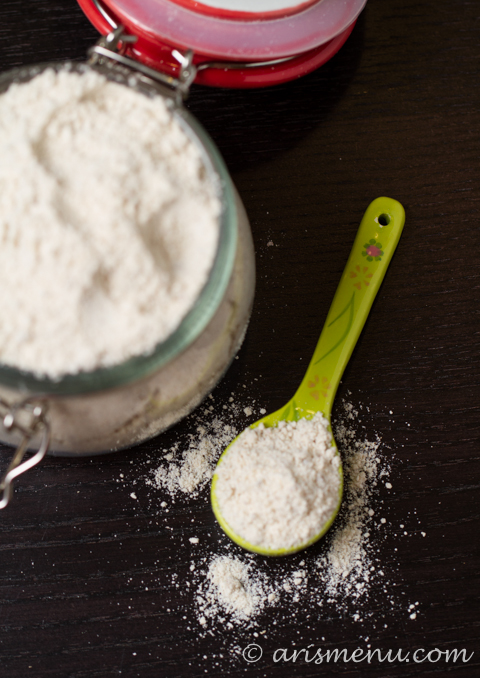
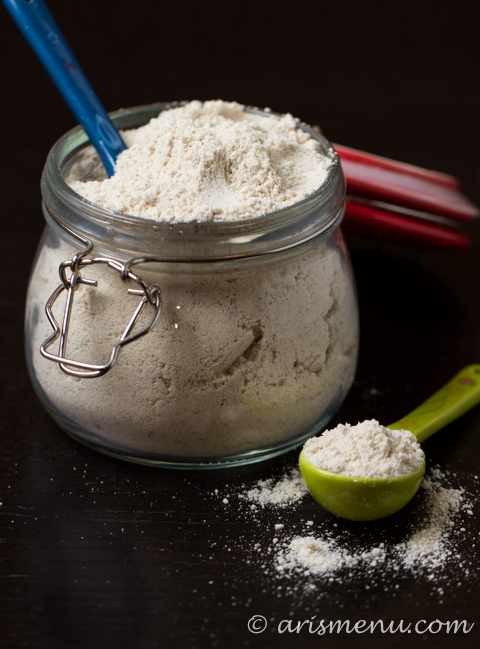
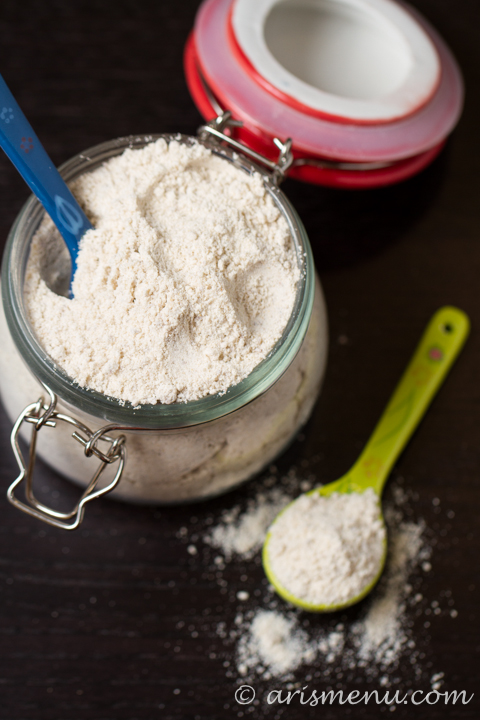
- 1 cup crushed gingersnap crumbs (I used gluten-free)
- 1 1/2-2 tbsp coconut oil, melted (start with 1 1/2, and add a little extra if it needs it--it depends on the brand of gingersnap and how much oil is already in the cookie)
- 1 lb reduced fat cream cheese, at room temperature
- 1/2 cup sweet potato puree*
- 1 tbsp bourbon, optional
- 2/3 cup brown sugar
- 2 eggs
- 1 tsp ground cinnamon
- 1 tsp vanilla extract
- Approx 1 cup mini marshmallows
- Salted caramel sauce (I used TJ's fluer de sel caramel)
Instructions
- Preheat oven to 350. Spray a standard muffin tin with nonstick spray. Set aside.
- To make the crust, combine gingersnap crumbs and coconut oil in a medium bowl. Place approx 1 tablespoon of crust into each muffin tin. Press down with your fingers, the back of your spoon, or a shot glass. Bake until set, about 7-10 minutes. Cool on a wire rack while you prepare the filling.
- To make the cheesecake, beat cream cheese, sweet puree, bourbon and brown sugar together in a large bowl or stand mixer. Add eggs one at a time, mixing until combined. Beat in vanilla and cinnamon.
- Evenly divide the cheesecake batter between your 12 muffin tins.
- Bake until lightly browned and just set, about 15 minutes. Turn the oven off and crack the door. Allow cheesecakes to sit in opened oven for an additional 15 minutes.
- Cool completely on a wire rack, then refrigerate until fully chilled, about 3-4 hours.
- To serve, remove cheesecakes from muffin tin and place on a large cookie sheet. Top each cheesecake cup with a few marshmallows. Either broil until browned, about 3-5 minutes, or brulee using a brulee torch until marshmallows brown. Drizzle with warm salted caramel sauce.
- Store remaining cups (without marshmallows or sauce) refrigerated in an airtight container for up to one week.
Notes
*To make sweet potato puree, simple roast sweet potato(es) at 400 until tender, about 40-60 minutes depending on size of the sweet potato. I often do this ahead of time in a large batch.