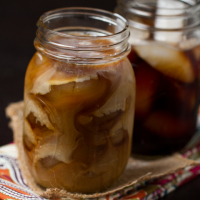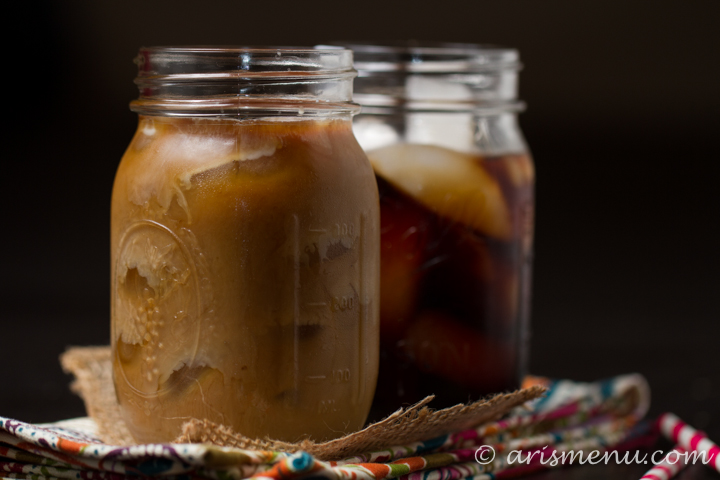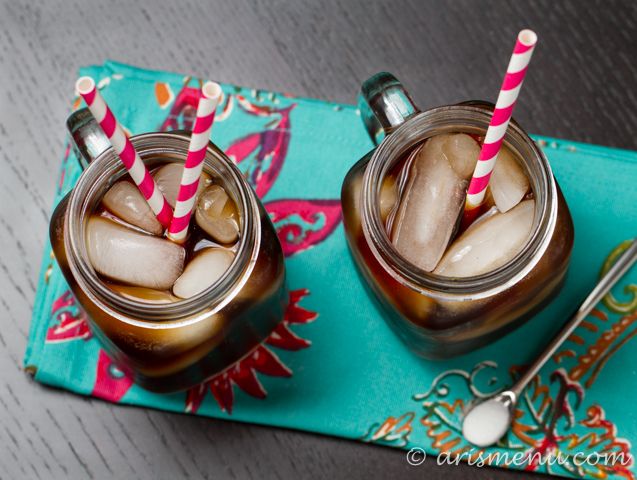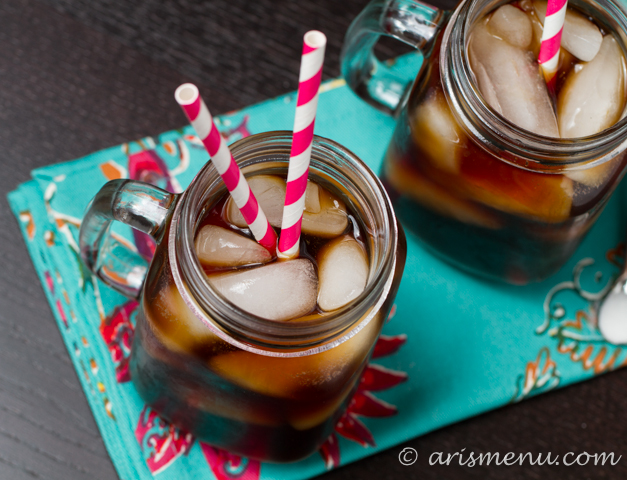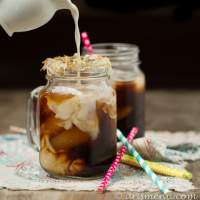
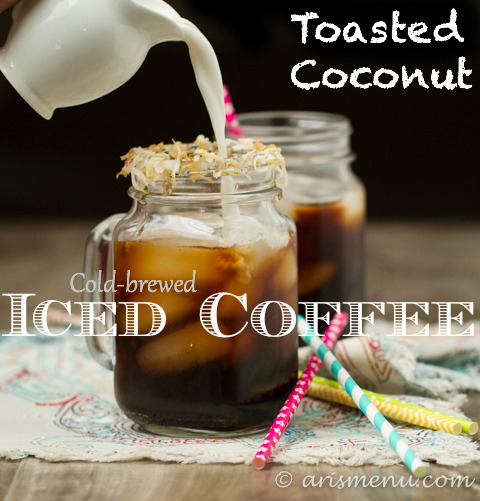
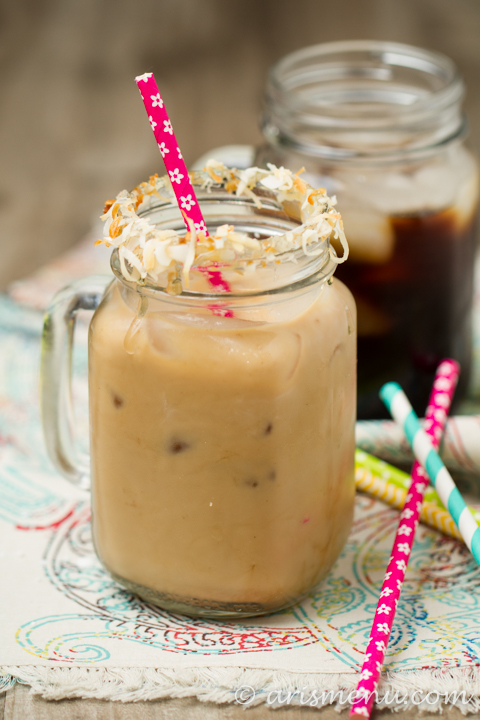
Ultra smooth, nutty cold-brewed iced coffee without a hint of bitterness. Literally THE BEST iced coffee I have ever tasted.
I think it’s safe to say I have a little coffee problem. I need it, have to have it, can’t live without it, want to swim in a big pool of it and never come out. And let me just tell you, making this cold brew has amplified that by about 1,000%.
So let’s chat a little bit about iced coffee. There are a few different ways to do it. When you order an iced coffee at Starbucks, they’ve taken their regular brewed hot coffee, poured it over ice and then stuck it in the refrigerator. Don’t get me wrong, I will drink the crap out of an iced coffee from Starbucks, but it doesn’t a candle to cold brew!
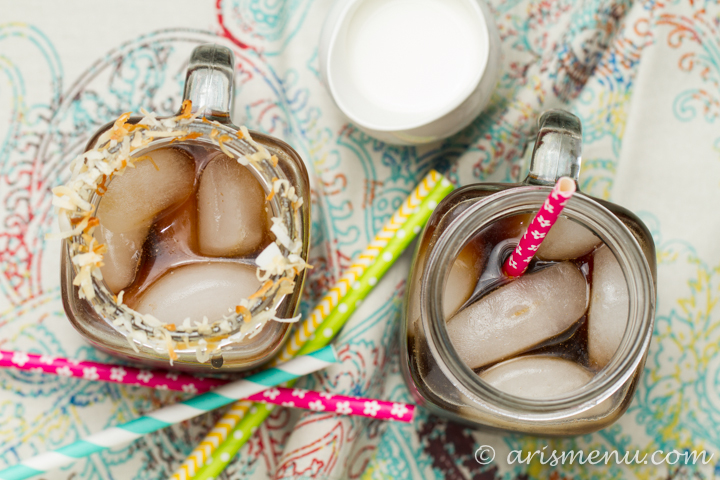
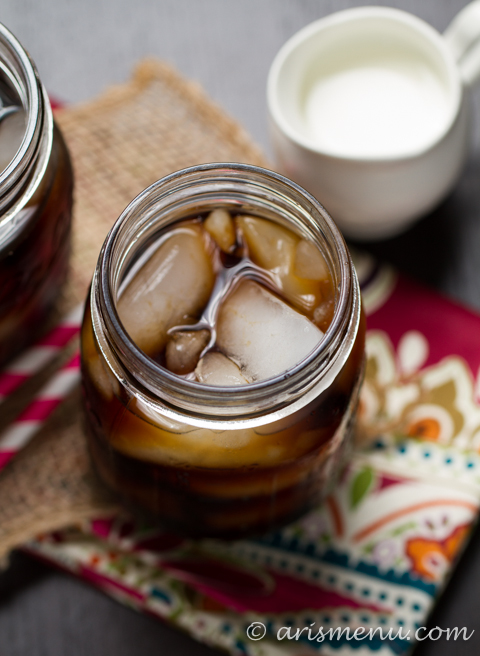
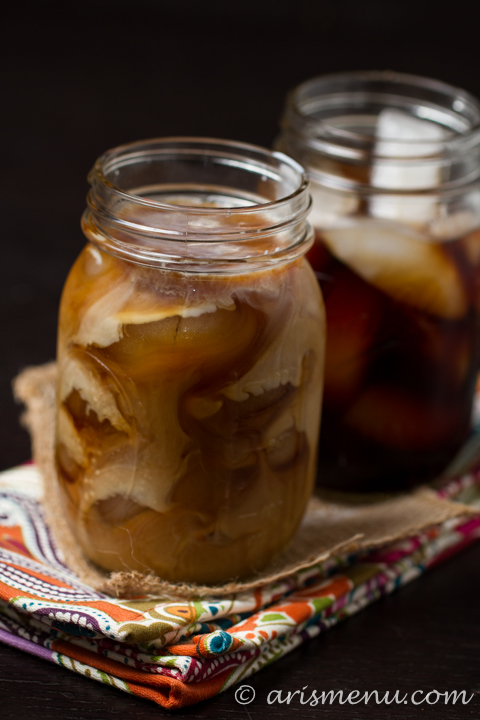
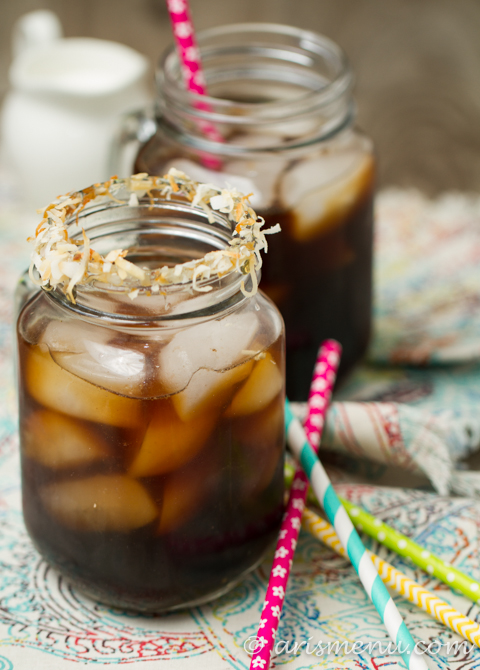
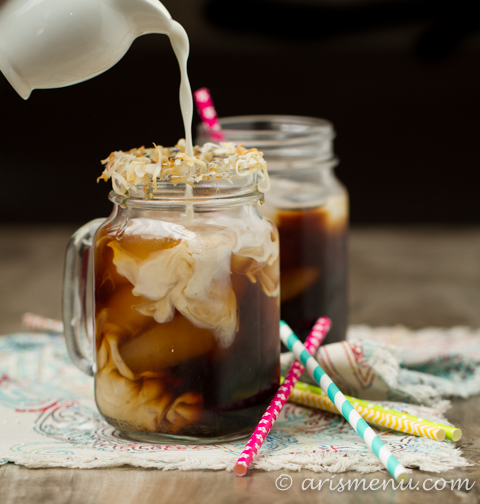
Cold brew is less acidic and bitter, and more caffeinated than drip coffee. It truly is the best of every world. Also, making a big batch means absolutely no work to get your morning coffee. Pour, add water (we’ll get to why in a moment), drink. Simple as that. And with the smooth taste and lack of bitterness, it really doesn’t need a thing. I add a little half and half–yes, the real deal–but that’s it.
Okay, about that coconut. It doesn’t taste like coconut. At least, not in the way you’d expect coconut to taste. Maybe it’s just me, but I almost always eat coconut in dessert, and it is the sweetness that I associate with the flavor. Have you ever eaten plain old flaked coconut? It is completely different. This means that coconut lovers and non coconut lovers alike will love this stuff!
So why even add the coconut? The result is a slightly nutty and creamy flavor and literally the smoothest coffee I have ever tasted. Of course, if you want some extra coconut flavor, you can add coconut extract while brewing or use coconut cream as your creamer. I’m pretty sure coconut cream in this coffee would be insanely addicting. Oh, who am I kidding, this stuff already is on its own!
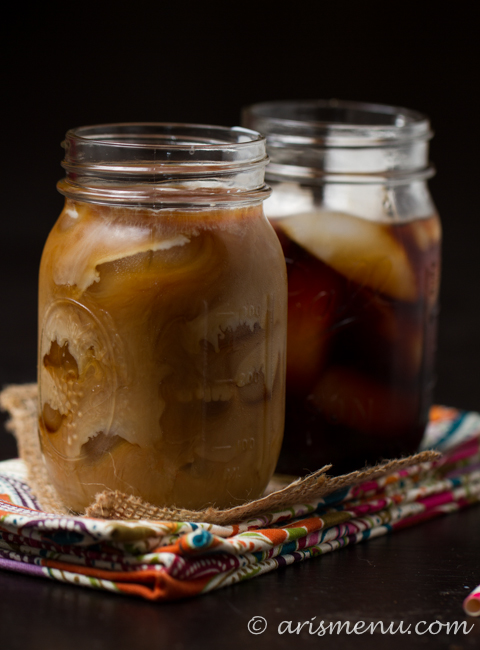
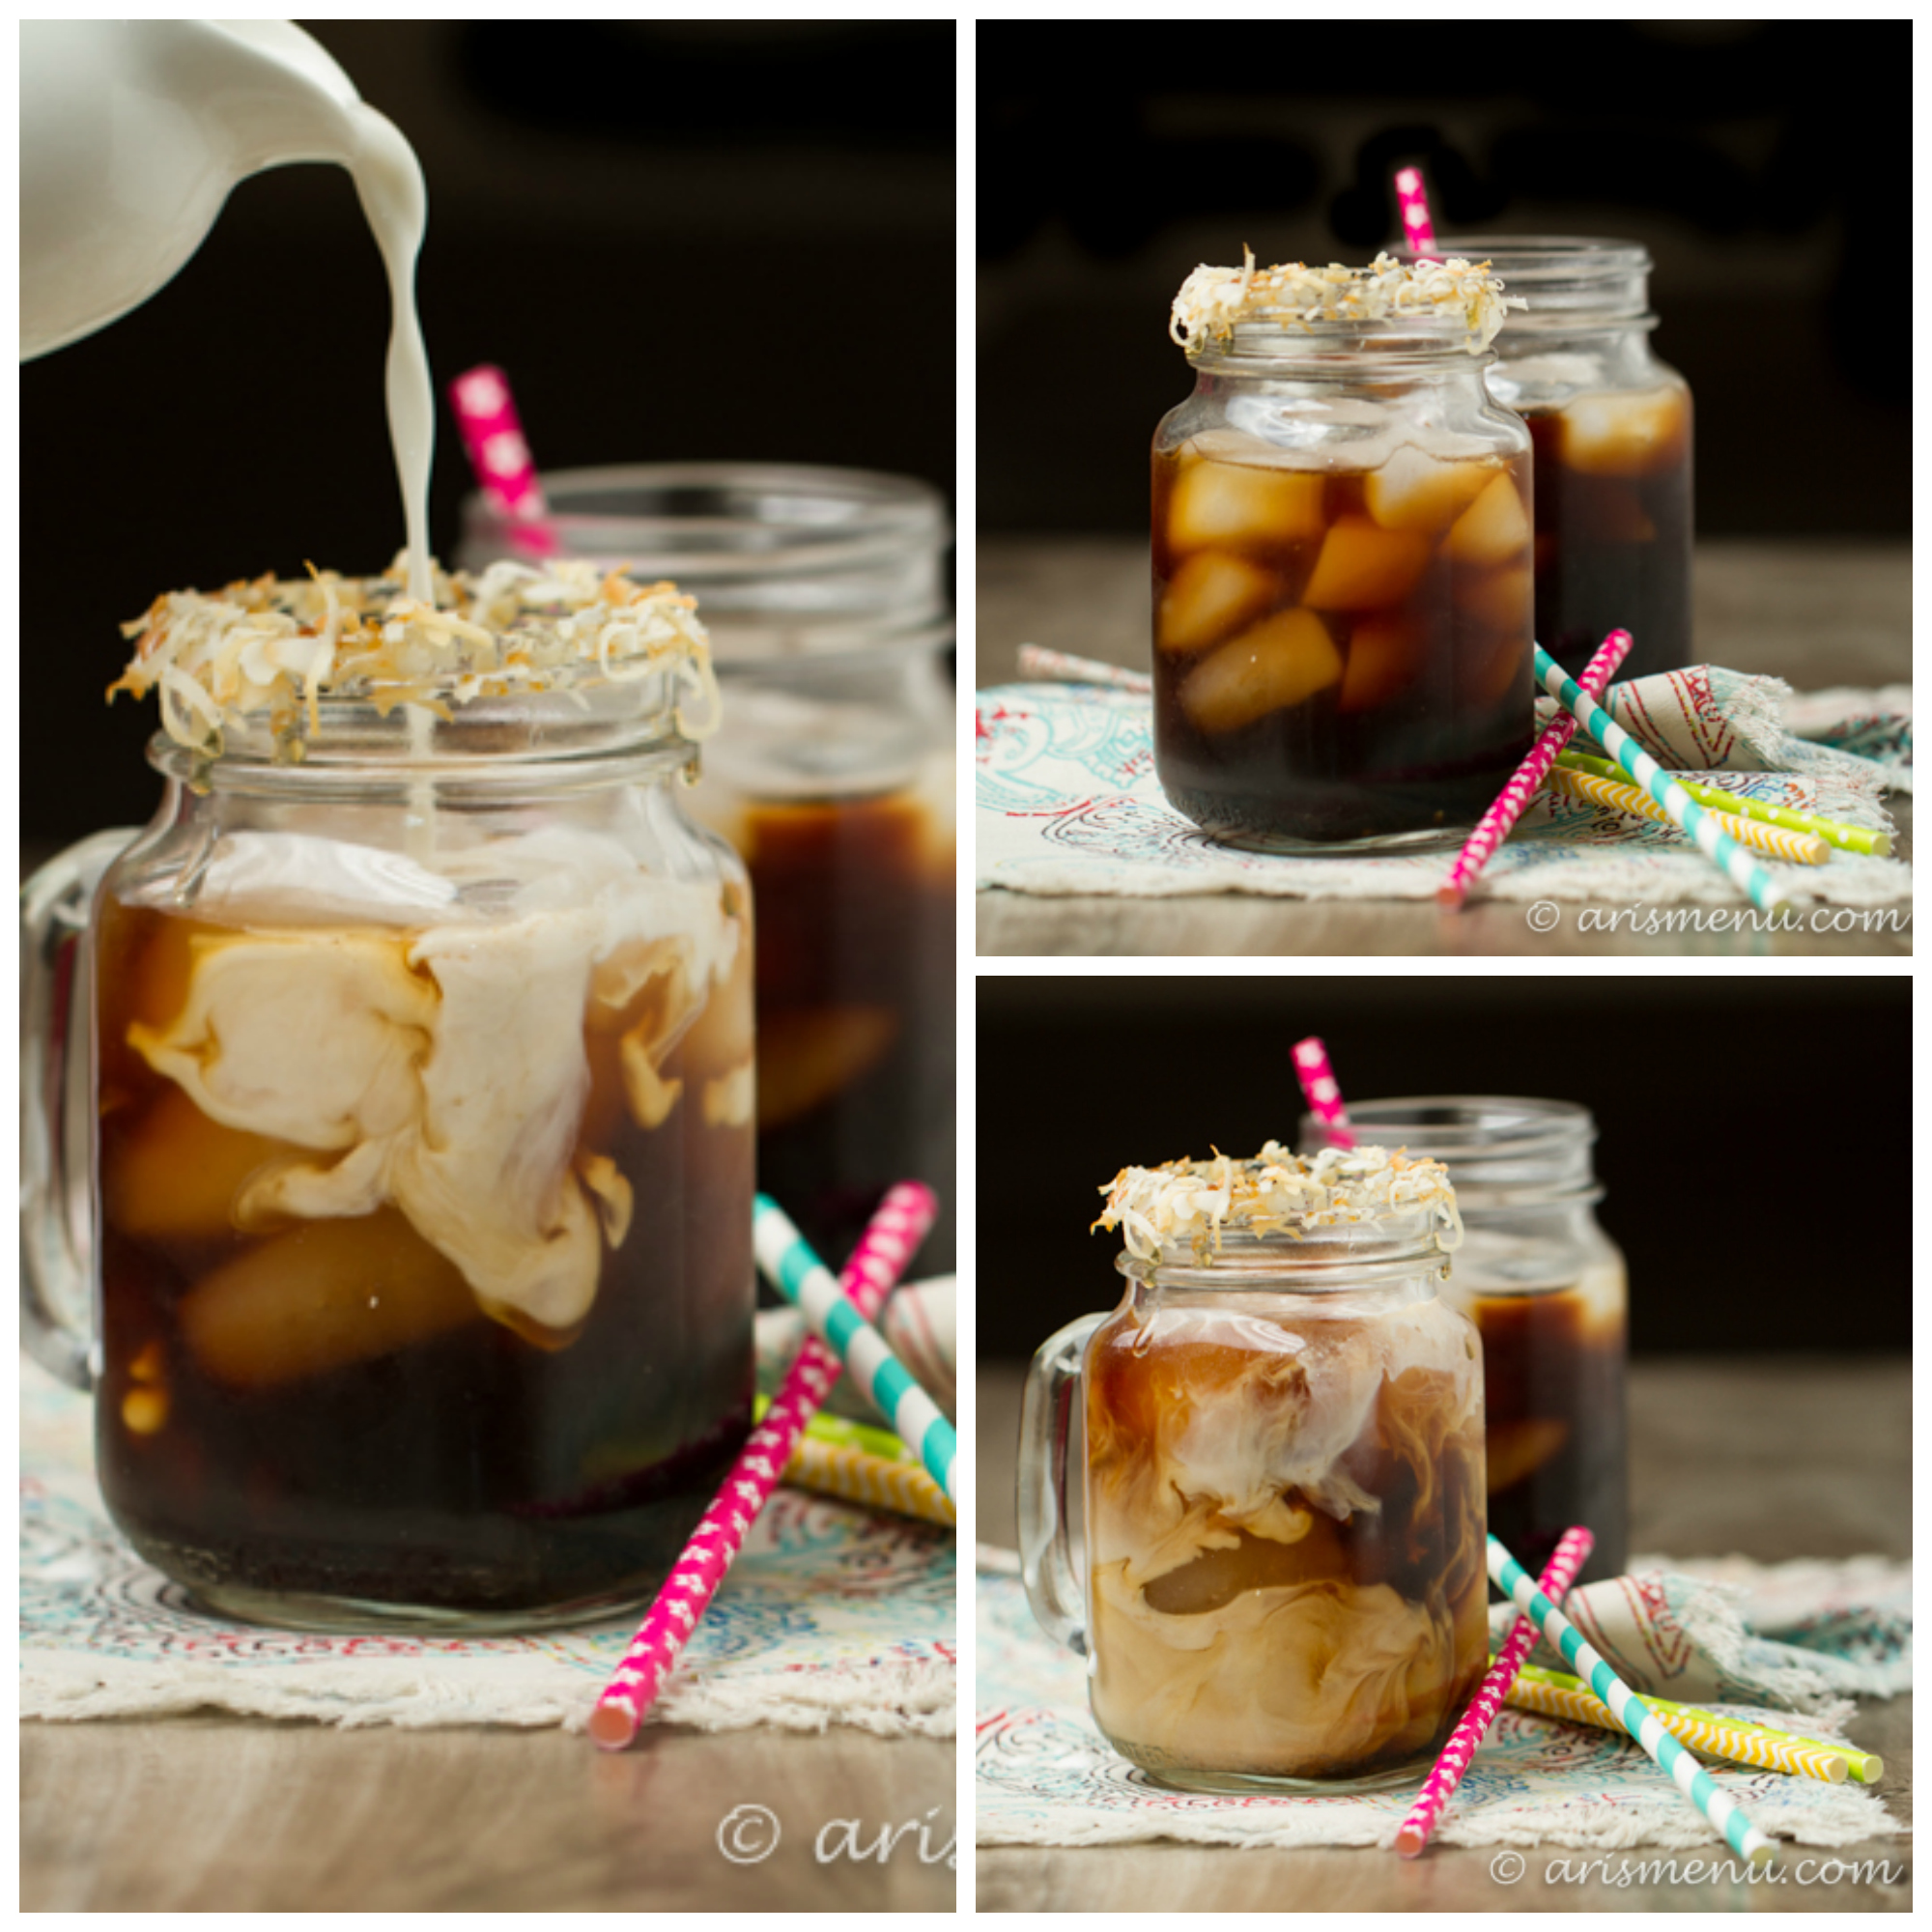
Alright, remember when I said you have to add water? I brewed this stuff wayyyyy stronger than my other cold brew recipes, and ya know what? I like it even better! I tasted it on without adding water, and it was way too intense even for me. This recipe makes a concentrate and you really do need to add water. I used 1/3 concentrate / 2/3 water and that’s perfect for me. Silky and smooth, but not watered down because that is the worst. I recommend using coffee with a hint of cocoa for optimal flavor, but really any coffee you like will work great! Let me just say, I’m already working on batch #2 and I made triple the amount this time. 😉

Ultra smooth, nutty cold-brewed iced coffee without a hint of bitterness. Literally THE BEST iced coffee I have ever tasted.
Ingredients
- 12 ounces ground coffee (preferably dark roast)
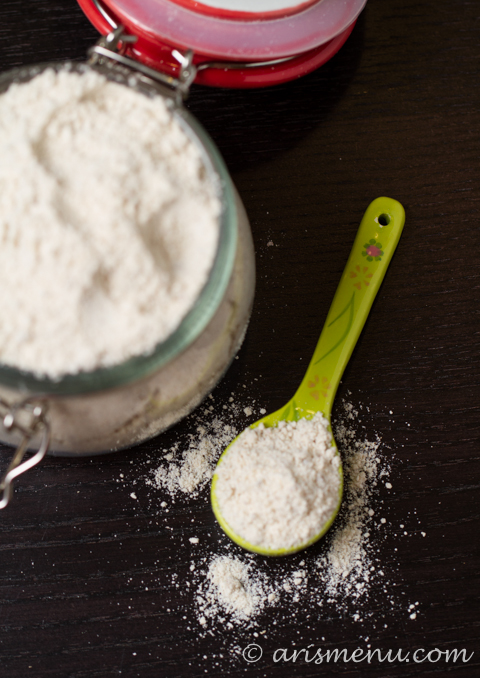
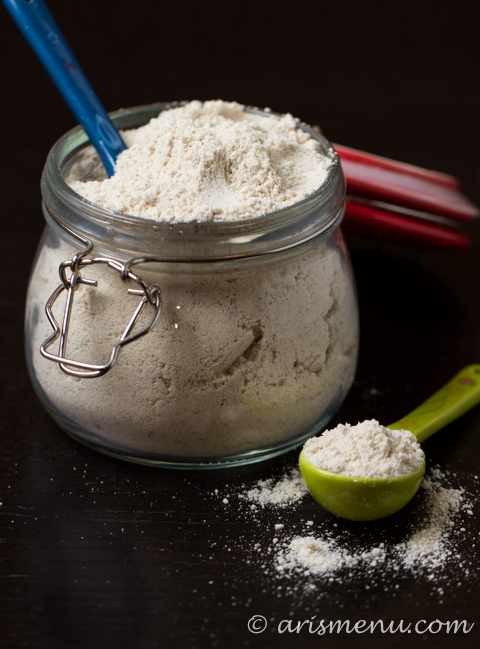
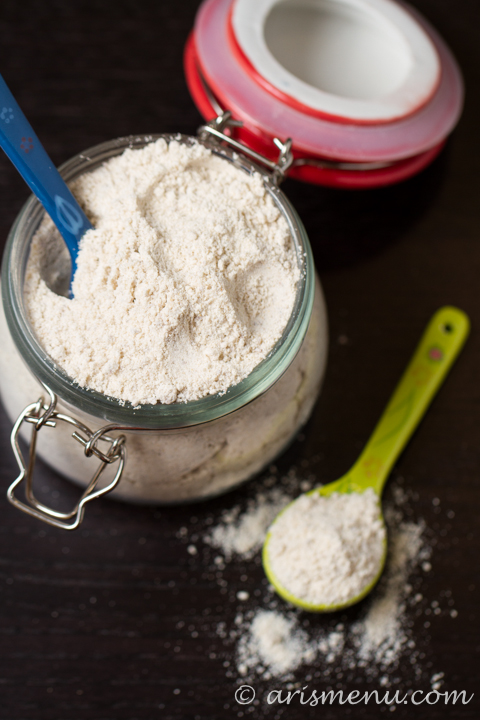
- 2 cups unsweetened toasted coconut*
- 8 cups filtered water
Instructions
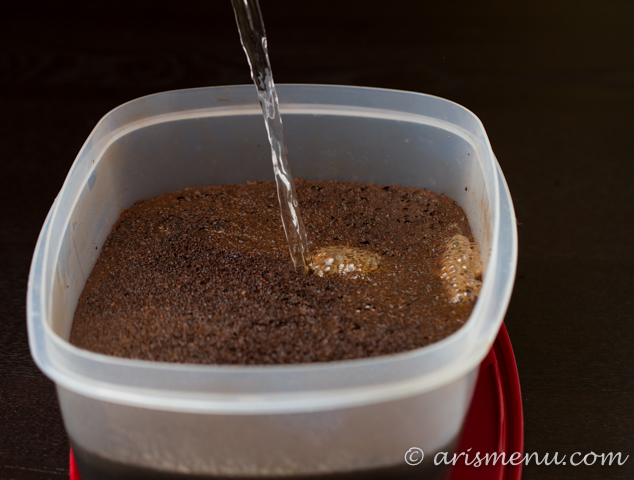
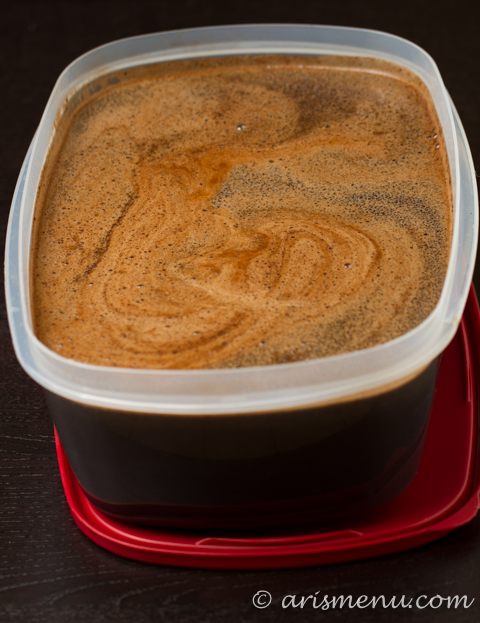
- Pour coffee and coconut into a large air tight container (at least 1.5 gallons or larger). Pour water on top and stir lightly to combine. Cover and store at room temperature for 24-36 hours.
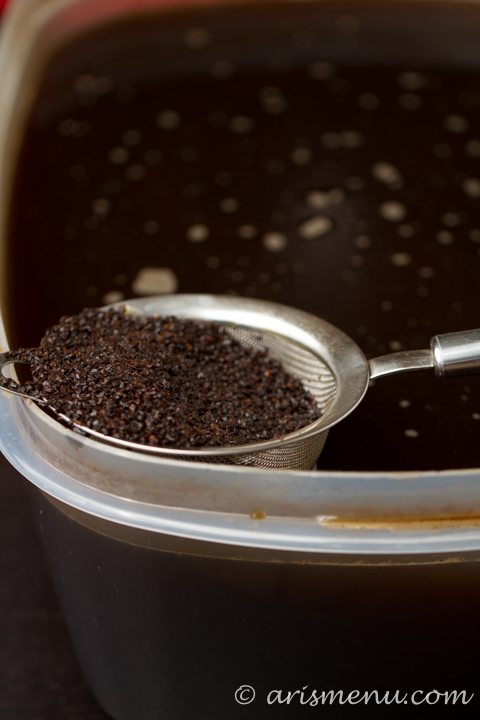
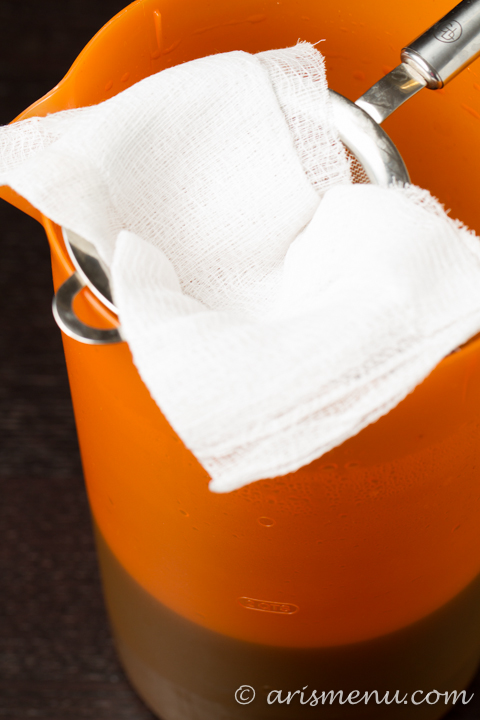
- Scoop out as much of the grounds and coconut as possible with a fine mesh strainer. Rinse strainer, then cover with a double layer of cheesecloth. Place covered strainer over a 1 gallon jug (or desired container). Use a measuring cup to pour coffee over your covered strainer to filter any remaining grounds. If your coffee begins to have trouble filtering through, change your cheesecloth out for a fresh one.
- To serve, combine 1 part coffee with 2 parts water. Add any desired cream or sweetener.
Notes
*To make your own toasted coconut, just place shredded or flaked coconut on a large cookie sheet and bake at 350 for 3-5 minutes. Watch carefully because it can burn quickly.
And to see step by step photos of how this cold brew process works, check out my post on how to make cold brewed iced coffee!