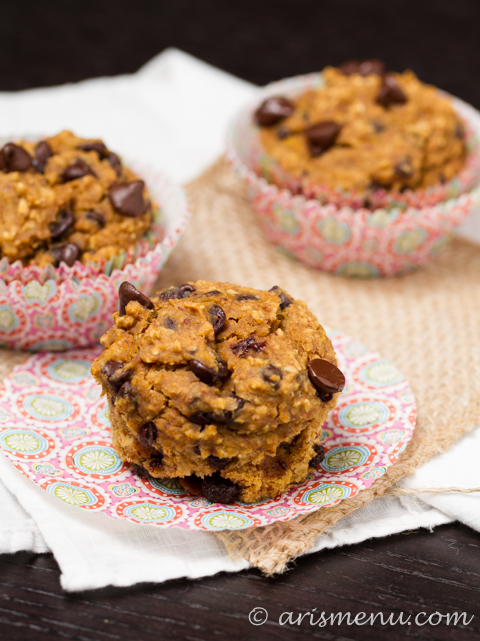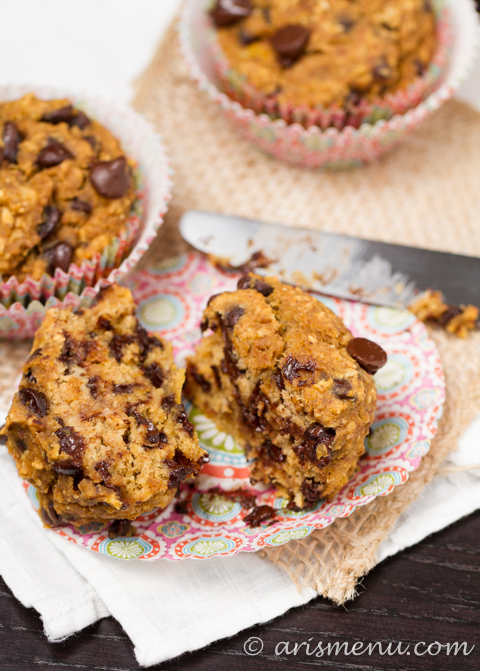
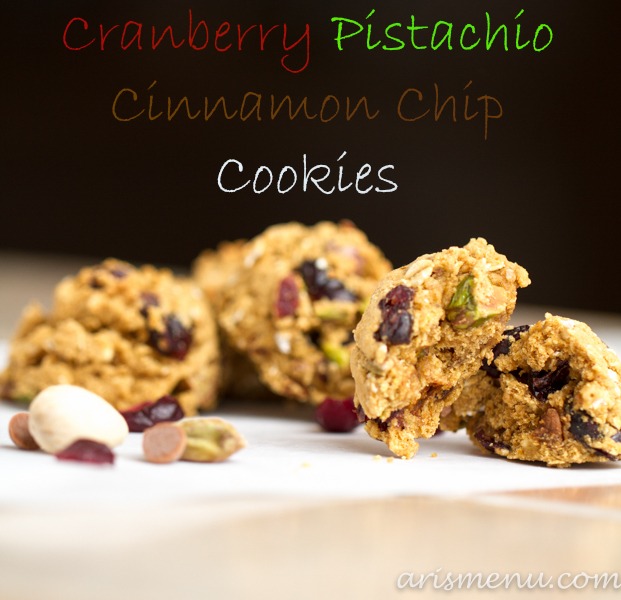
Soft, nutty pumpkin spiced oatmeal cookies stuffed with dried cranberries, pistachios and sweet cinnamon chip. These are the perfect combination fall cookie.
So somehow it became mid November? I don’t even know. Today my mom had to remind me that I was hosting a birthday party on Sunday. I legitimately forgot. Who does that? It’s also the day I had double booked myself to volunteer for Ironman AZ (so bummed that I ended up having to miss it), and yet I found myself thinking “it’s my last open weekend!” Wrong.

So turns out I’m birthday party-ing this weekend, and oh just riding 111 miles with thousands of my new BFFs the following weekend. I can’t even believe the century is finally here. I don’t know what I was thinking, but when I signed up it didn’t seem nearly as scary as running a marathon. I just assumed I’d do a few long rides, and I’d be good. Of course, it’s that time in training where I start to seriously doubt every single thing I’ve ever done, and all the sudden decide I am incapable of riding 111 miles. Even though I already rode 100. Mostly by myself.
Oh, and then it’s Thanksgiving. My favorite holiday. I could talk about that forever, but today I’d rather talk to you about cookies. Fall cookies. Since, ya know, fall is almost over even though it seems like it just began 5 minutes ago? Is it shorter than all of the other seasons or something? Figures the best season would be short.
So I threw every fall weapon you could imagine into these babies. Pumpkin spice, cranberry, cinnamon, the whole 9 yards, and they are totally magical. Soft and chewy, but with that hearty, nutty texture that only the best oatmeal cookies provide. And pistachios are a totally superior nut, in my opinion. They just have a little something extra special. 😉
Soft, nutty pumpkin spiced oatmeal cookies stuffed with dried cranberries, pistachios and sweet cinnamon chip. These are the perfect combination fall cookie.
Ingredients
- 1 1/2 cup white whole wheat flour*
- 1 tsp baking soda
- 1 tsp baking powder
- dash salt
- 1 tsp pumpkin pie spice
- 1/2 cup apple butter
- 1 1/2 tbsp coconut oil
- 1/2 cup sugar
- 1/2 cup brown sugar
- 1 egg
- 2 tsp vanilla extract
- 1 cup rolled oats
- 1 cup cinnamon chips
- 1/2 cup pistachios, roughly chopped
- 2/3 cup dried cranberries
Instructions
- Preheat oven to 350. In a medium bowl whisk together flour, baking soda, baking powder, salt, and pumpkin pie spice. Set aside.
- In a large bowl, beat together apple butter, coconut oil, sugar, egg and vanilla until combined. Slowly beat in dry ingredients, then fold in oats, followed by cinnamon chips, pistachios and cranberries.
- Line a baking sheet with silpat parchment paper, and drop cookies onto the sheet using a small cookie scoop.
- Bake for 12 minutes until golden.Let stand until fully cooled. Store in a loosely covered container for 5-7 days.
Notes
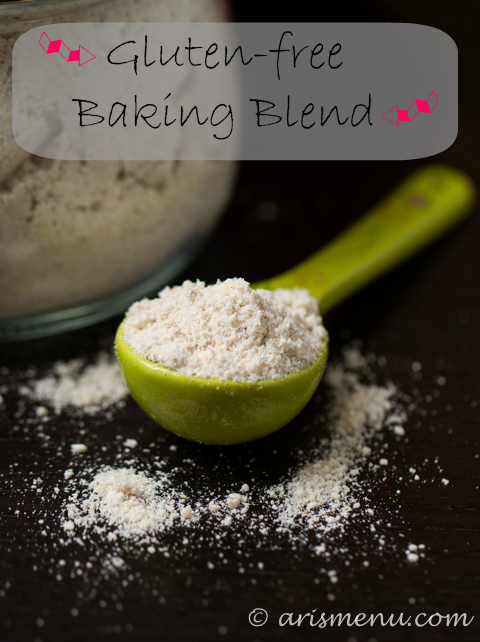
*Tested with white whole wheat, but gluten-free baking blend may be substituted. If dough is too sticky, simply add a bit more flour.