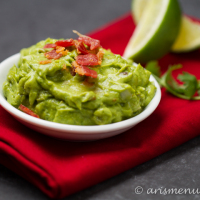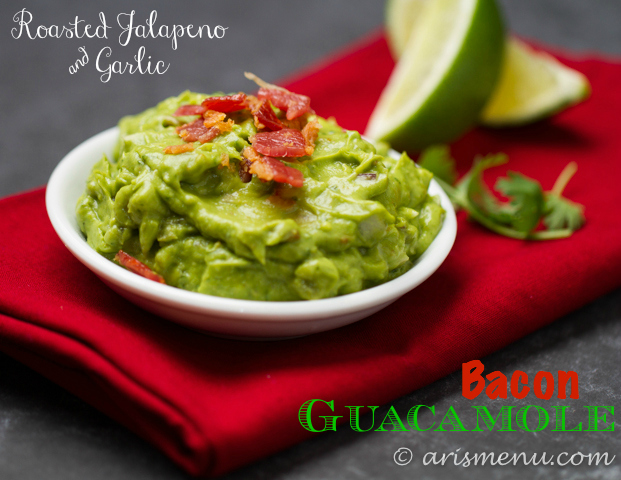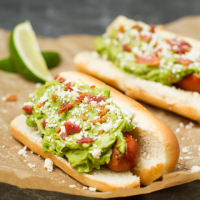
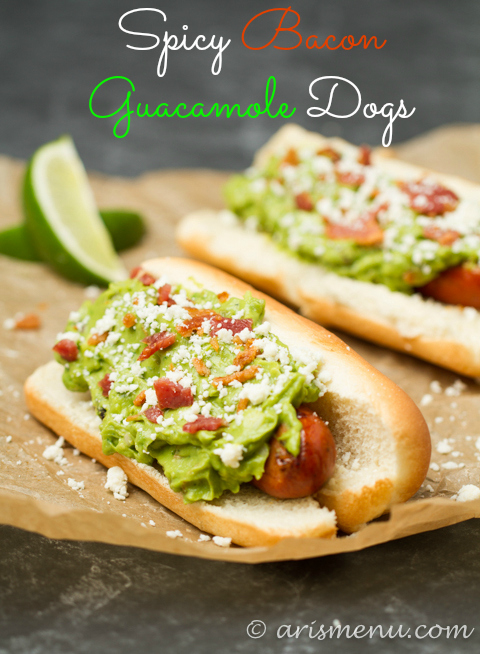
Spicy grilled hot dogs smothered in roasted jalapeno and garlic bacon guacamole and topped with cotija cheese. These hot dogs take typical grilling to the next level with their spicy, bold flavors and perfectly contrasting textures.
It’s not like you need a reason to make fancy, delicious, to-die-for guacamole. In fact hunger is reason enough for me, and a fork is a totally acceptable vehicle. However, a spicy sausage may be an even more delicious vehicle.
For a while I was on the fence about hot dogs. Somewhere along the line they became one of those gross foods in my mind that you don’t eat past the age of 7. Ummm, that was a big mistake because for years I missed out on the amazingness that is hot dogs and sausages.
I also believe that all things are better with guacamole. Even the most delicious things can become instantly more delicious when you add guacamole. Juicy burger? Add guac! Simple grilled chicken? Totally different when smothered with avocado-y goodness. A spoon the size of your face? I think you know the answer. 😉
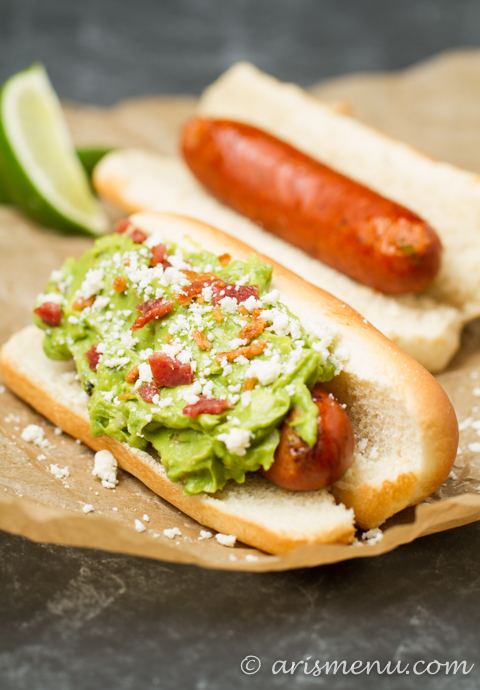
My friends from Fork in the Road happened to send me some of their products to try, and after absolutely loving them at BTP, I knew I was in for a treat! I ended up using the hot links which are perfect for this flavor combination, but you can use any hot dog or sausage you like!

Spicy grilled hot dogs smothered in roasted jalapeno and garlic bacon guacamole and topped with cotija cheese. These hot dogs take typical grilling to the next level with their spicy, bold flavors and perfectly contrasting textures.
Ingredients
- 6 hotdogs or sausages
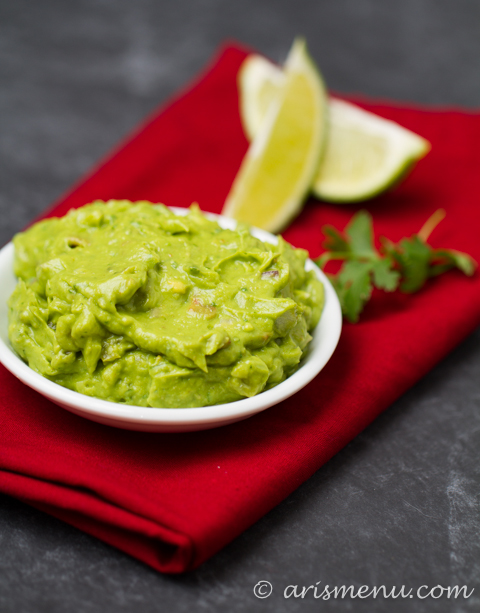
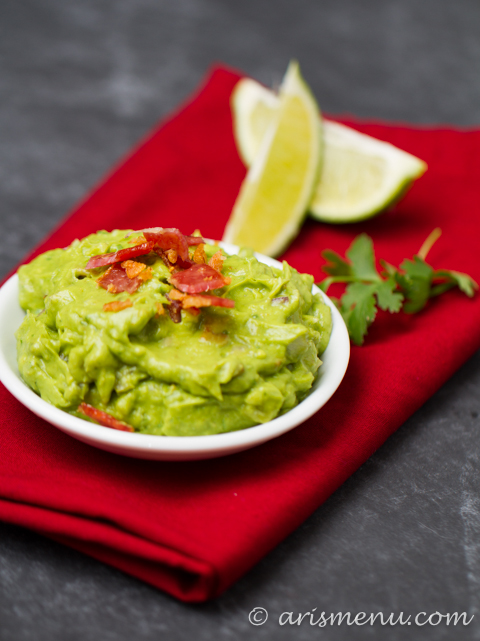
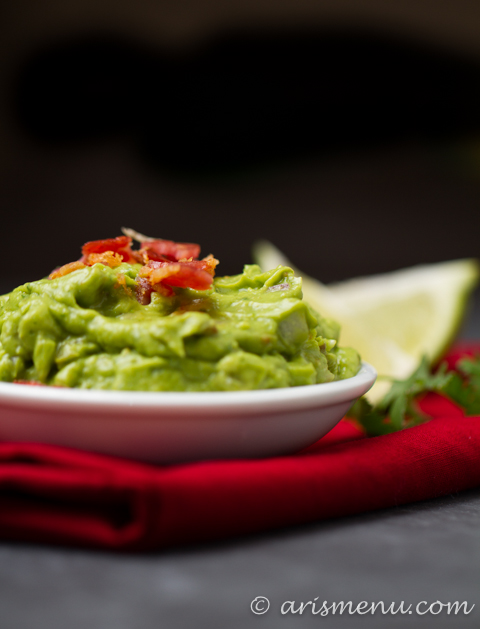
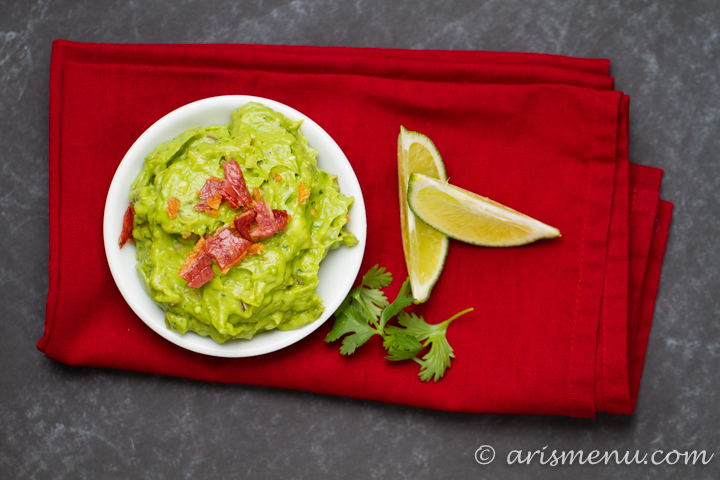
- 1 batch Roasted Jalapeno & Garlic Bacon Guacamole
- freshly crumbled cotija cheese
- whole grain buns, optional*
Instructions
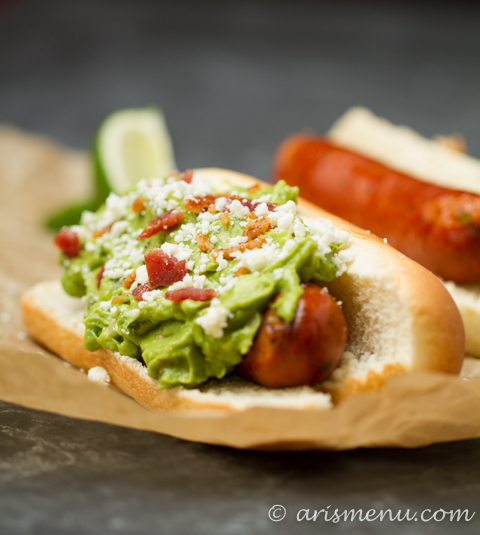
- Grill hotdogs/sausages to desired doneness, about 5 minutes. Toast buns if desired. Place hotdogs/sausages in buns or on a plate, smother with guacamole, and top with a generous pinch of cheese. Serve immediately.
Notes
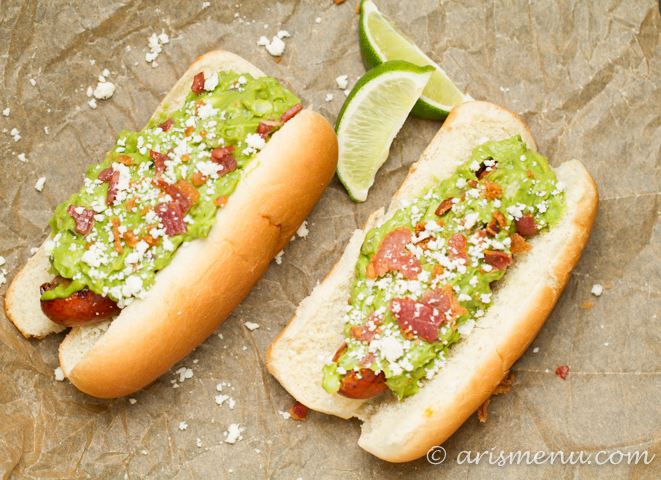
Buns are totally optional. They look prettier, but I ate these bunless and they were absolutely delicious!
Disclosure: This is not a sponsored post. I was supplied with free sausages from Fork in the Road, but was not in any other way compensated for this post. Recipe and opinions are my own.