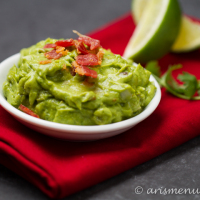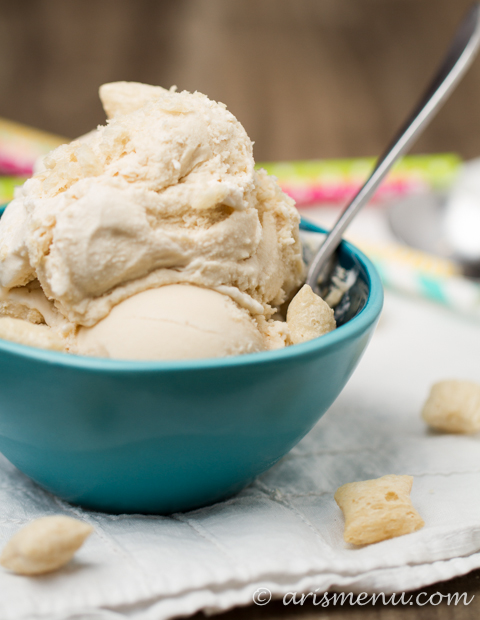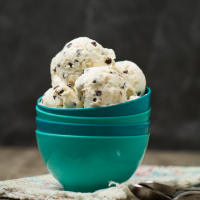
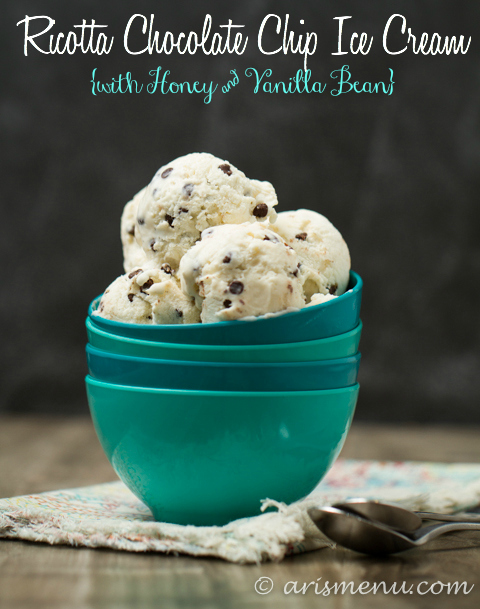
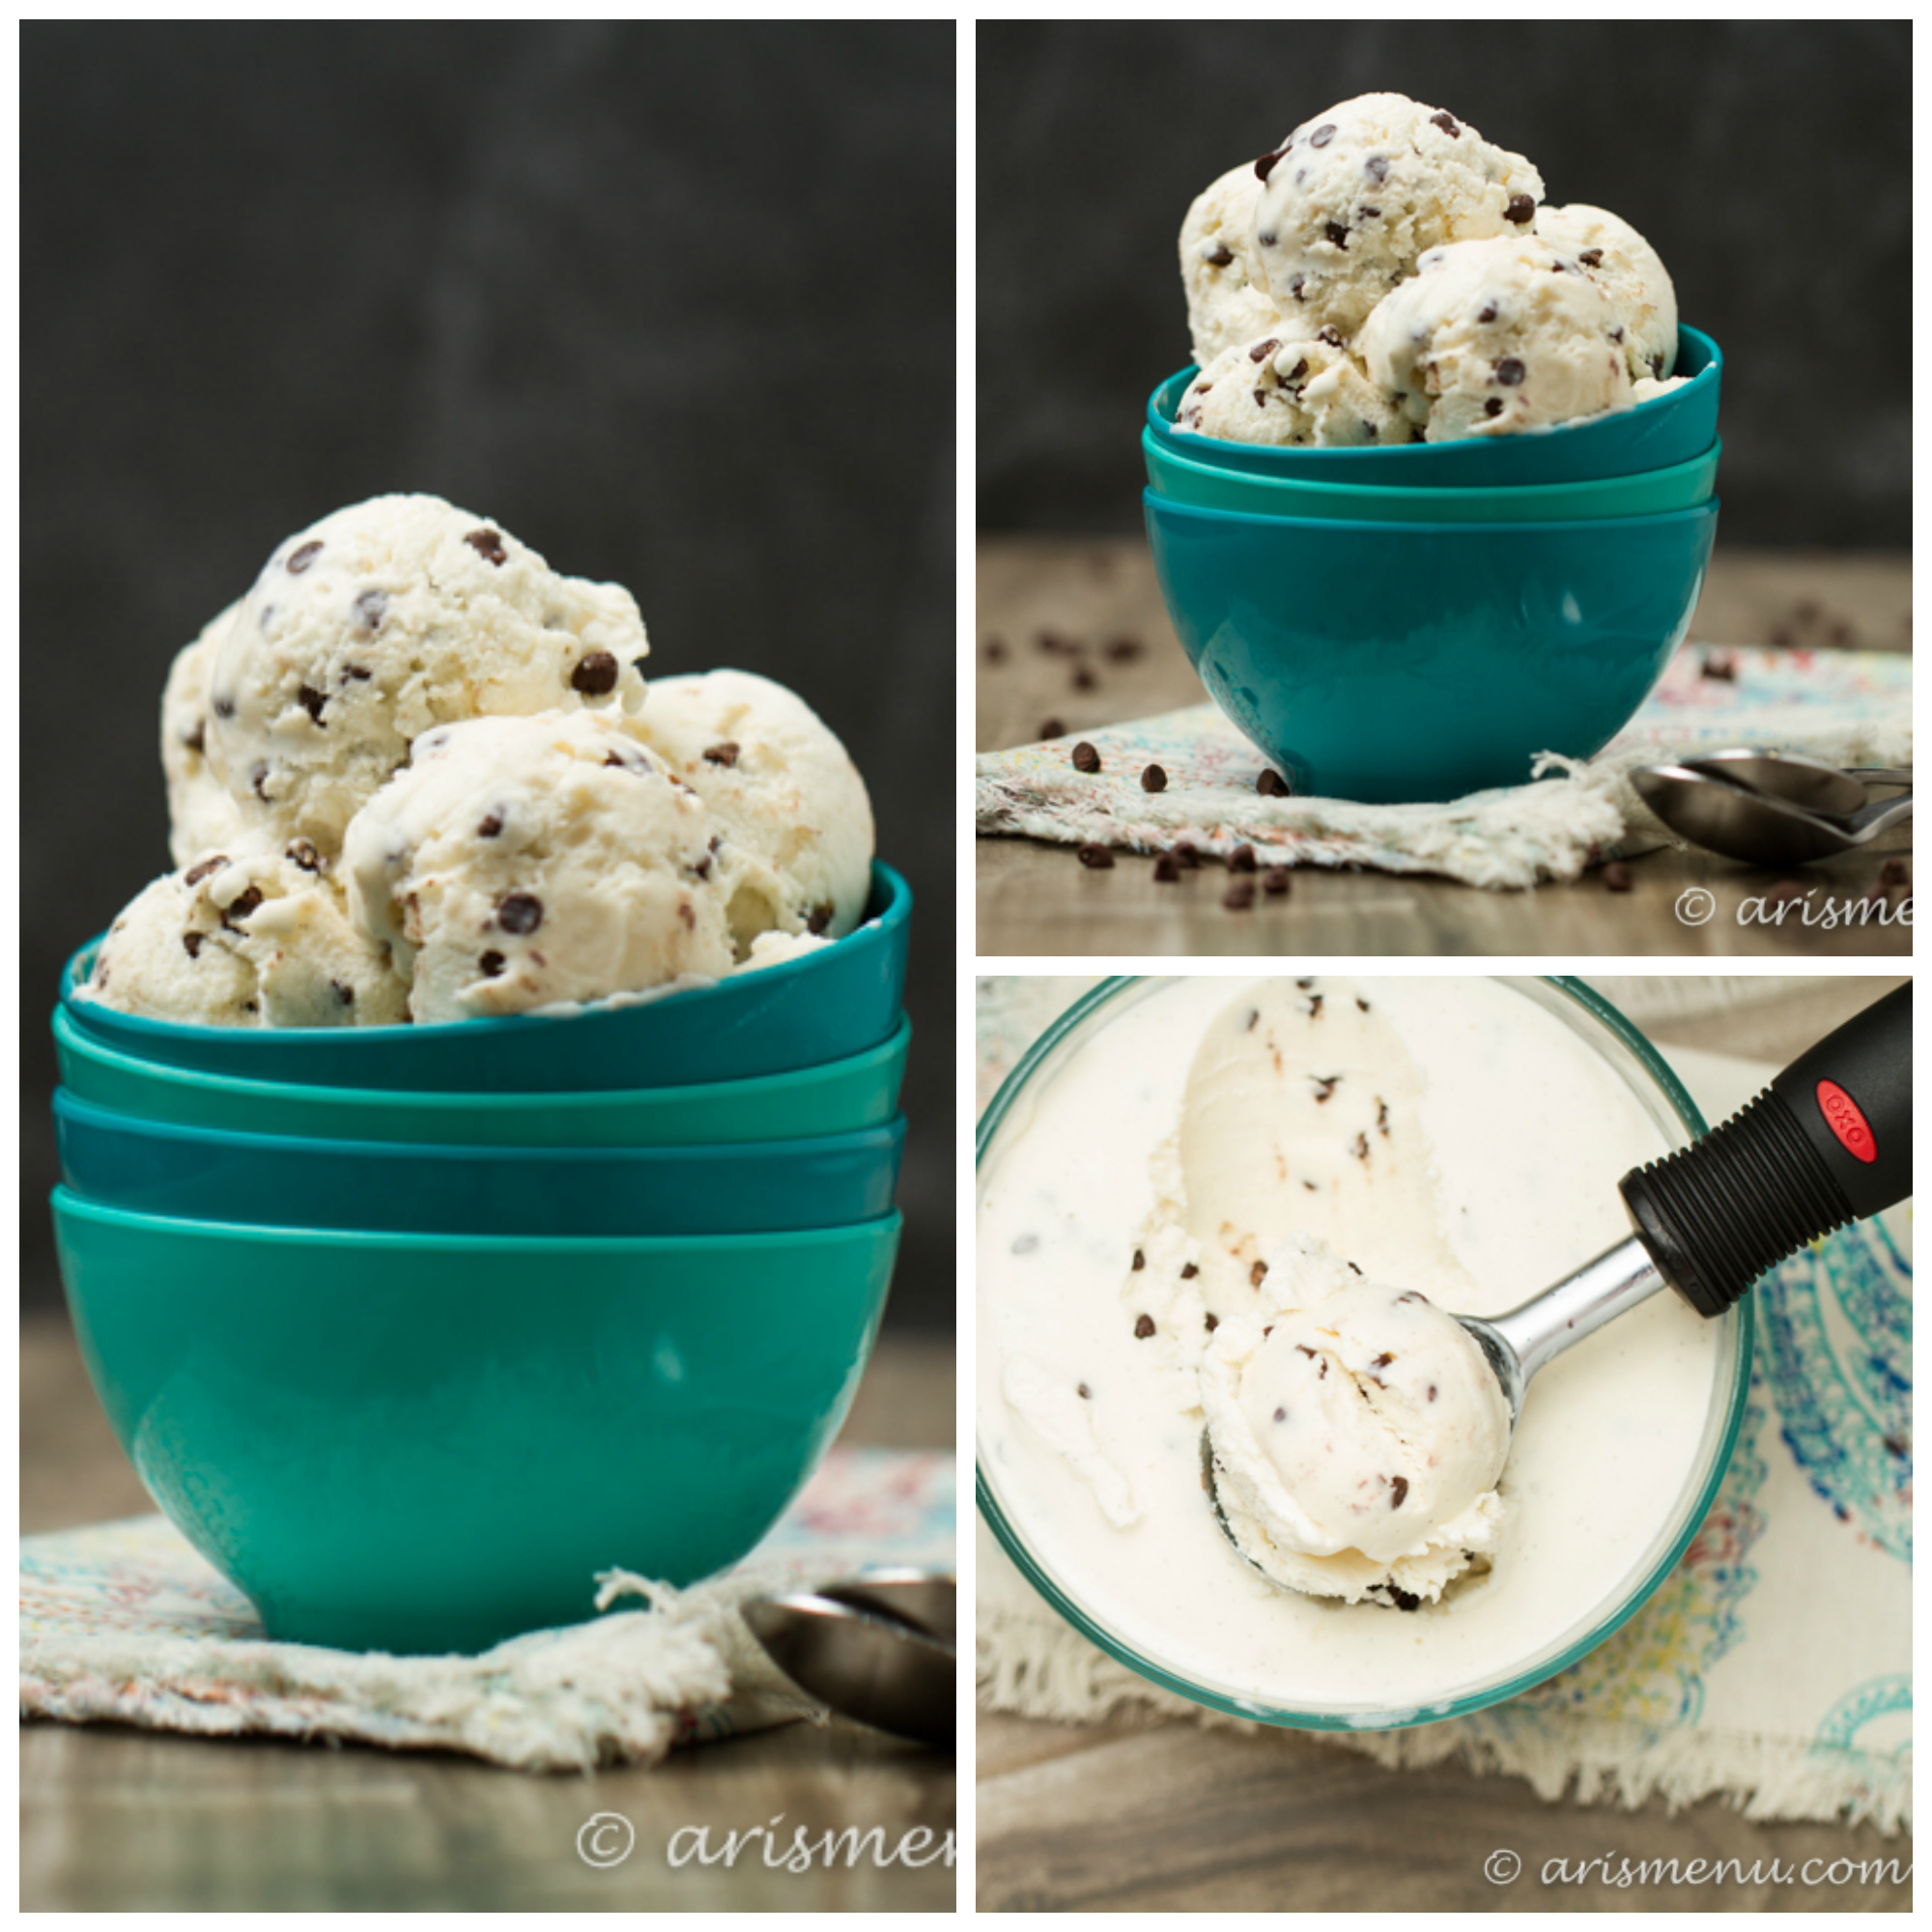
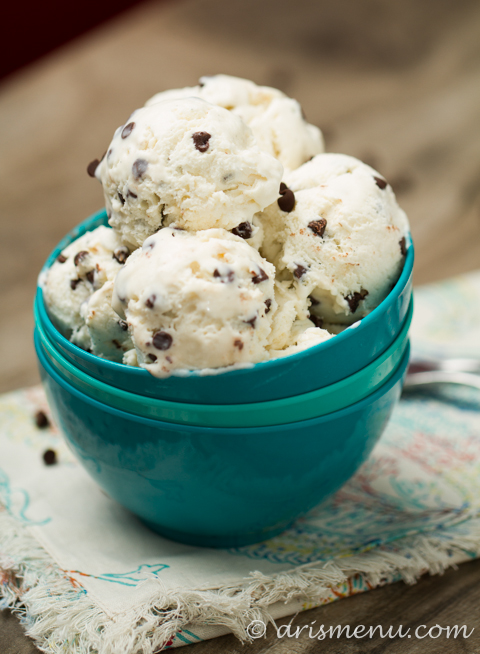
Rich, creamy ricotta ice cream loaded with mini dark chocolate chips with underlying flavors of honey and vanilla bean. All the flavors of a classic cannoli in ice cream form!
Do you ever love something so much that you feel like no matter how much you try to describe it, you can never quite put it into words? It’s how I feel about Mia Michaels’ choreography, or when I saw One Flew Over the Cuckoo’s Nest on Broadway, or when I first discovered CILANTRO! I can’t tell you how good it is, you just need to experience it with me.
That’s how I feel about this ice cream. I felt like no matter how many pictures I took, or adjectives I thesaurus-ed, nothing could quite capture my new favorite ice cream. I loved it more than any ice cream I’ve ever purchased at a homemade ice cream shop, and definitely more than anything I’ve ever bought at the store.
First of all, I am OBSESSED with ricotta cheese. Once upon a time, I spent like an entire year on phase 1 of the South Beach diet. It was not a good year. I can tell you, however, that my favorite part was “snacking” on low-fat ricotta cheese. And by “snacking”, I mean opening the tub, grabbing a spoon, and looking down to see half the container had disappeared. Whoops.
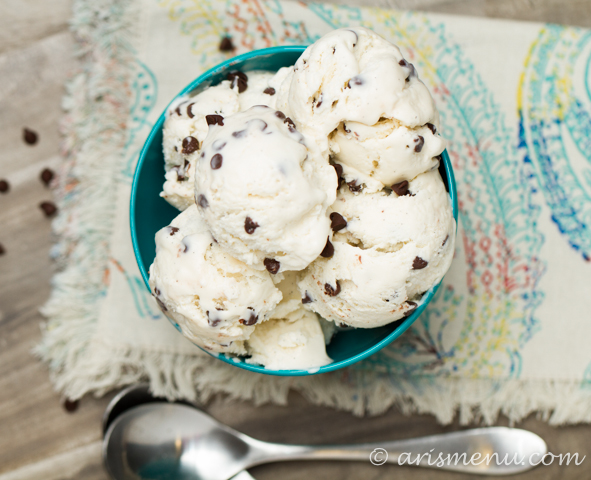
But it’s not just the ricotta that makes this so special. It’s the hint of honey, the little specs of vanilla bean that carry a bold flavor (one of my very favorite flavors), and the multiple dark chocolate chips you get in every bite. I don’t know what it is about the mini chocolate chips that make them so much better, but they really do make a difference here, and although you are free to use whatever chip you like, I highly suggest the tiny guys for this recipe. Mini chips = more chips in every bite = automatically better.

Rich, creamy ricotta ice cream loaded with mini dark chocolate chips with underlying flavors of honey and vanilla bean. All the flavors of a classic cannoli in ice cream form!
Ingredients
- 1 cup whole milk
- 2/3 cup sugar
- 3/4 cup heavy cream
- 1/4 cup honey
- 15 ounces ricotta cheese
- 4 ounces reduced fat cream cheese, at room temperature
- seeds from 1 vanilla bean
- 1 teaspoon vanilla extract
- 1 tablespoon bourbon, optional
- 3/4 cup mini dark chocolate chips
Instructions
- In a medium pot, combine whole milk and sugar over medium to medium-low heat. Stir constantly until sugar is fully dissolved and incorporated. Remove from heat. Let cool to room temperature.
- Add heavy cream, honey, ricotta, cream cheese, vanilla bean seeds and vanilla extract and blend in a large blender or food processor. Refrigerate for at least 4 hours, or up to overnight.
- Freeze according to ice cream maker instructions. If desired, add bourbon during the last few minutes of freezing. Fold in chocolate chips then transfer to freezer safe container to finish freezing completely.