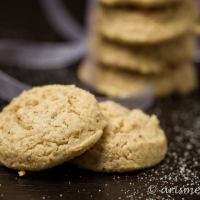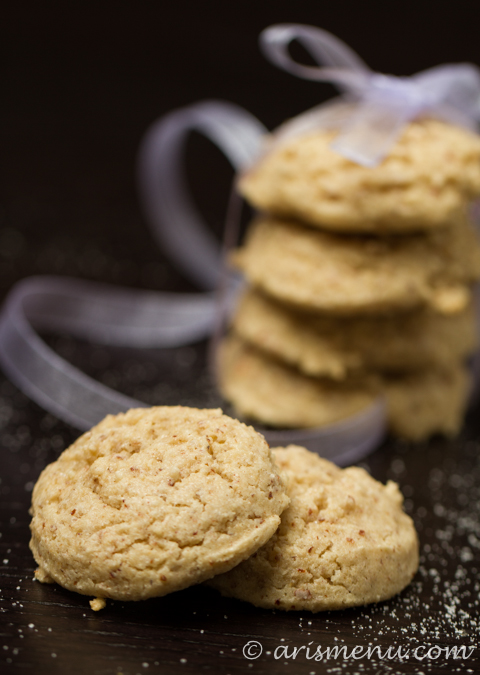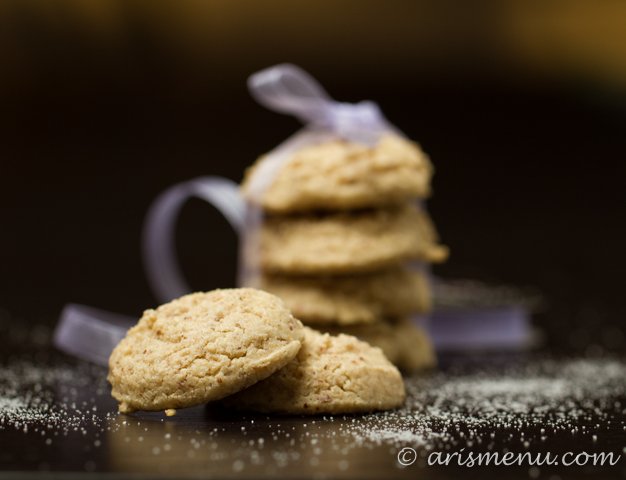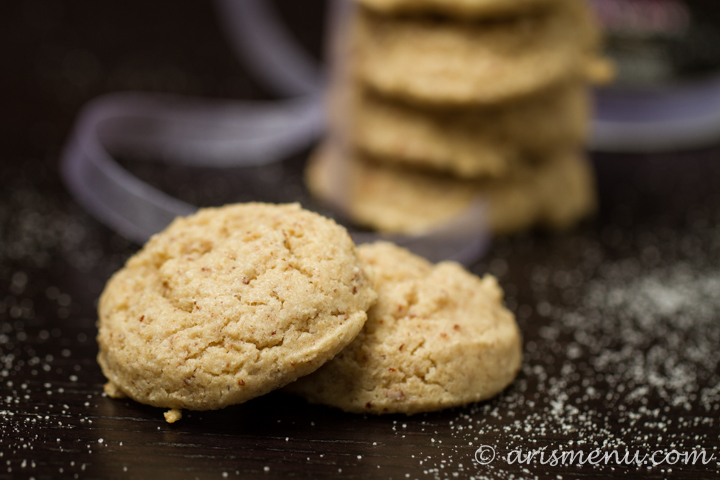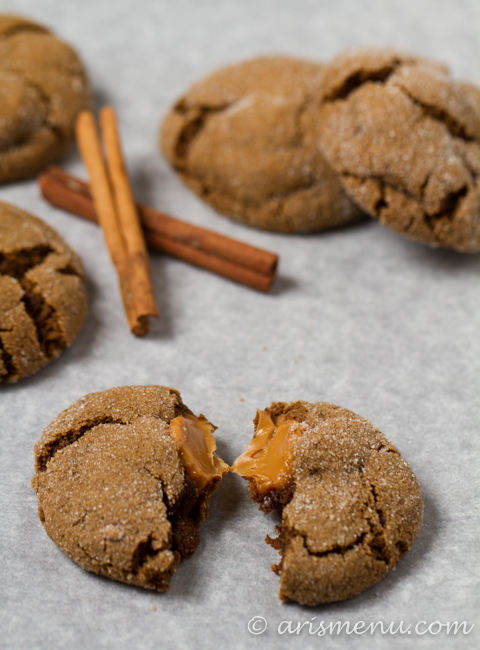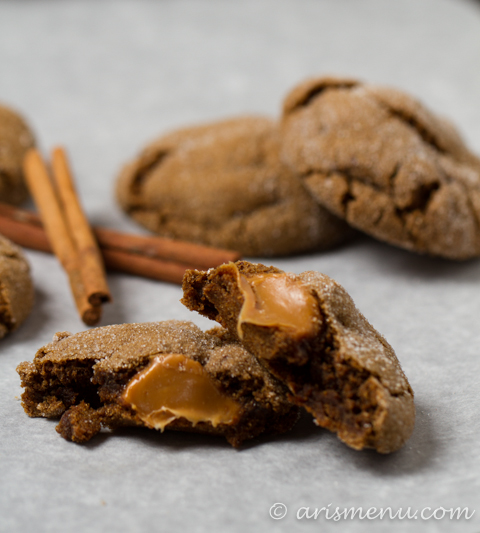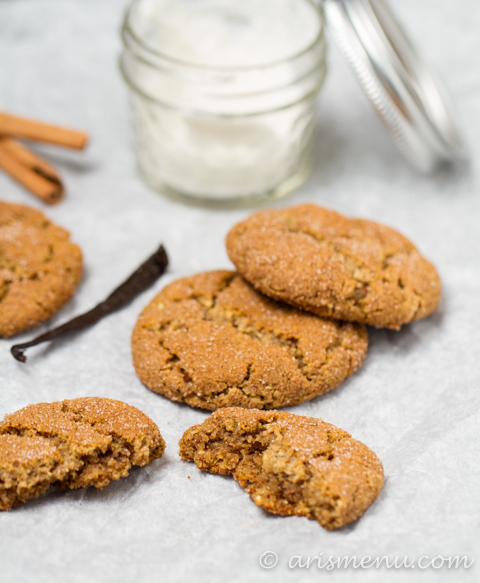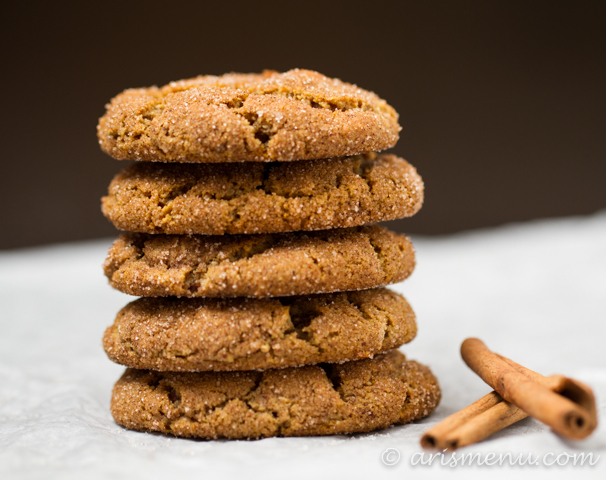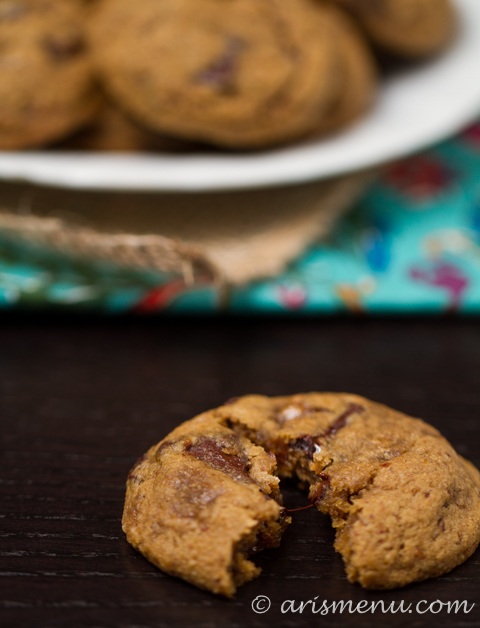
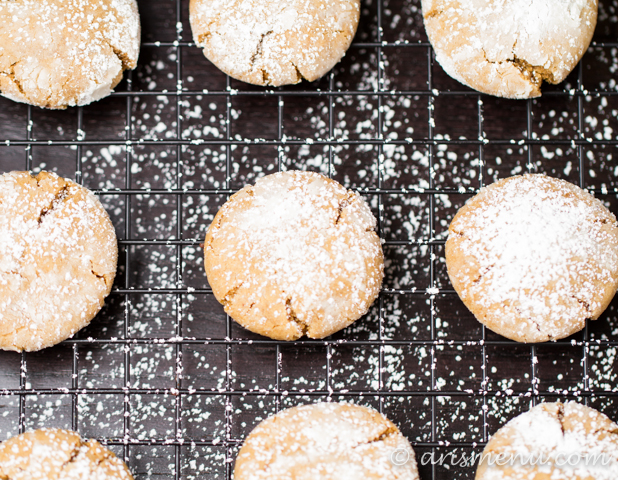
Soft and chewy peanut butter cookies stuffed with melty dark chocolate and covered with powdered sugar–just like an inside out buckeye! Vegan, gluten-free, and seriously addicting.

You know it’s Christmas time when I post cookies 3 days in a row. Okay, that’s a lie. I always post cookies. I love cookies. Everyone has their “thing”, their go-to dessert, that one thing they feel like they do significantly better than all other baking. Mine is totally cookies. In fact, I mess up brownies more times than I get them right, and I constantly have to remake cupcakes because I under bake them (because that works with cookies…not so much with cakes…).

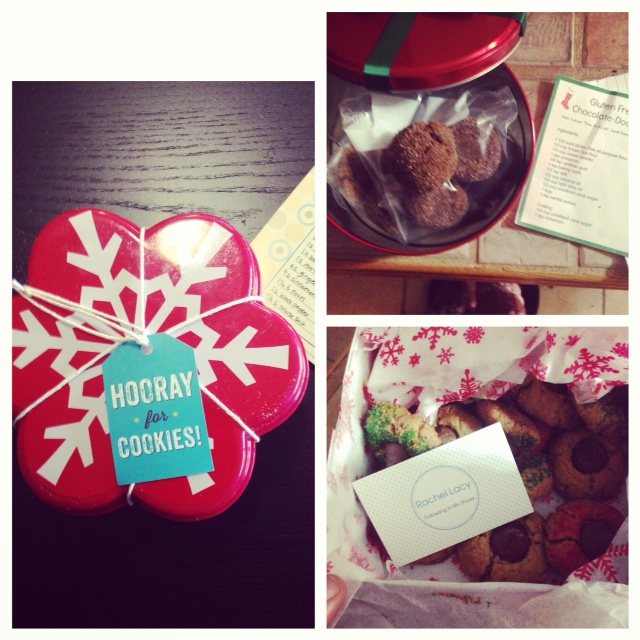
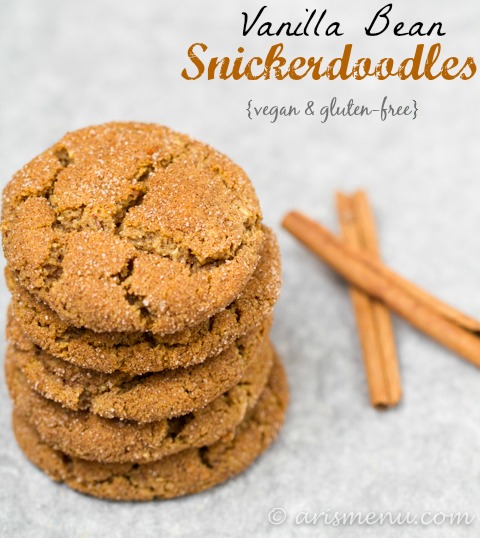
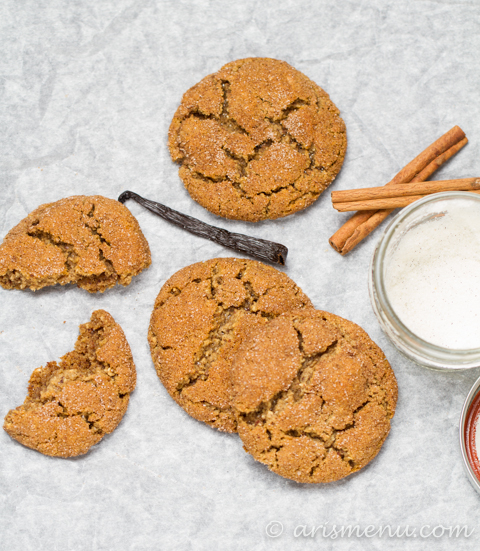
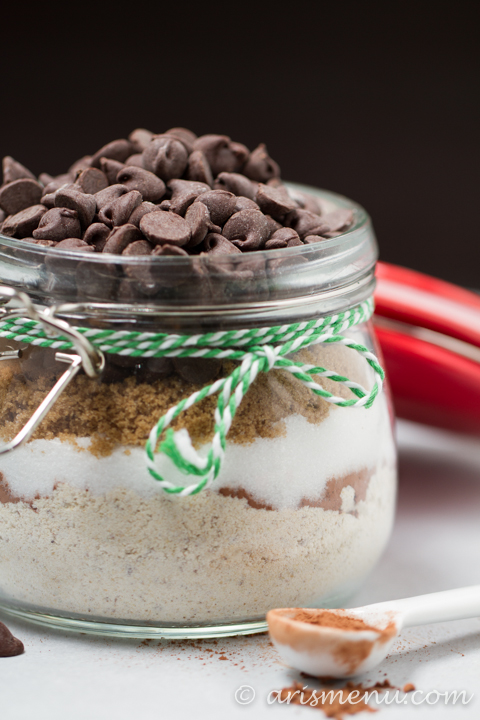
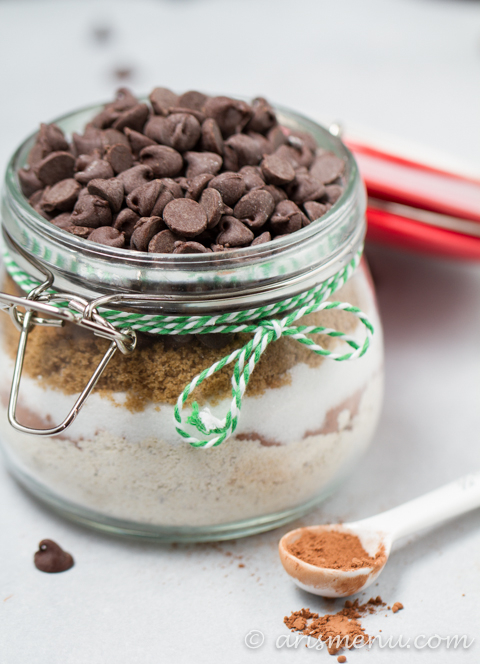
For part of my segment for Health2Fit (read more about the whole experience here), Natalie asked me to bring in some health(ier) cookies so she could demonstrate some creative ways to package them for swaps. That was awesome for me since I love to bake things, and then I totally fail at packaging in any sort of attractive manner. They were a huge hit at the studio, and everyone said they wouldn’t have been able to tell that they were lightened up, vegan & gluten-free!
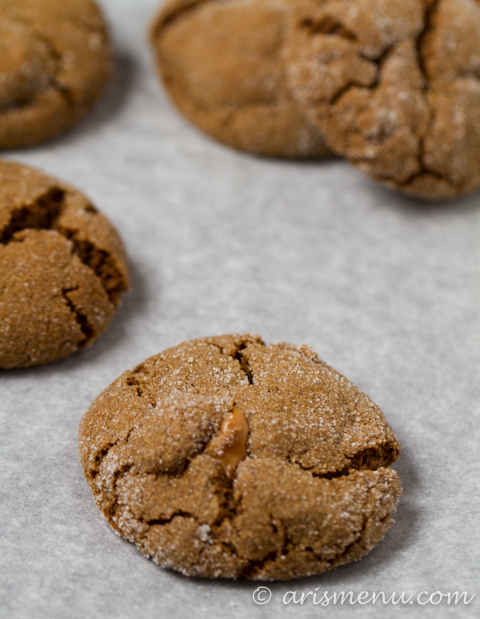
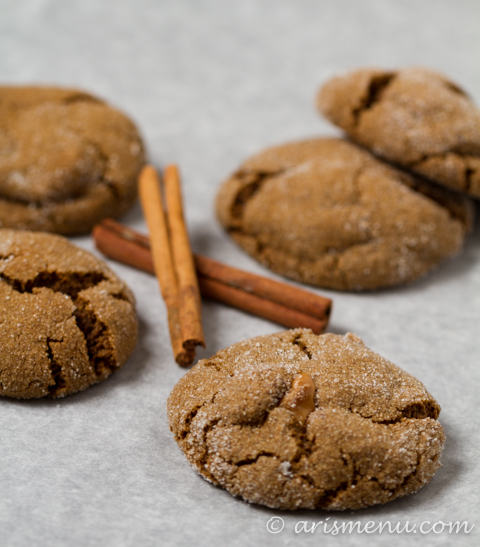
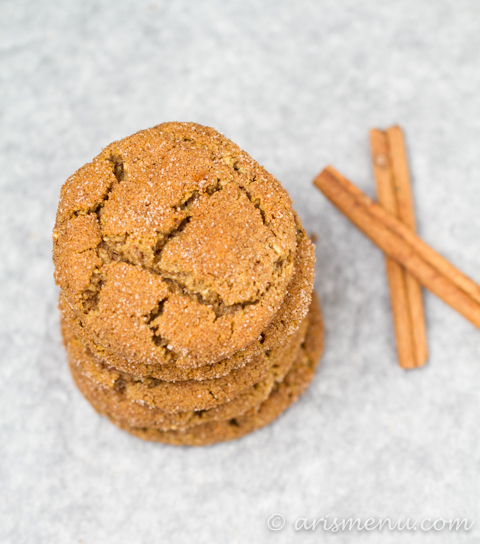
I’ve made these with both white whole wheat flour, and then more recently with my gluten-free baking blend. The only adjustment for the gluten-free version included baking time. They cooked about 1-2 minutes quicker than the original. In fact, the first batch I second guessed myself, left them in too long, and ended up with overly chewy (not the good kind of chewy), flat cookies. I was worried that they wouldn’t work, but the next batch, I took out as soon as they set, and they were awesome! Not quiiiite as puffy as these, but certainly not flat, and the taste was identical.

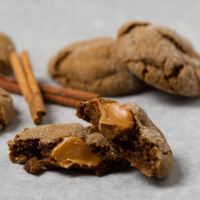
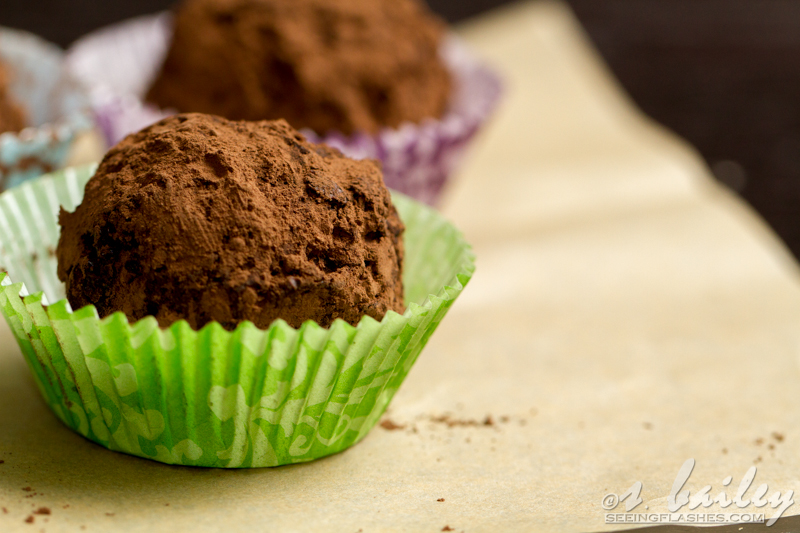
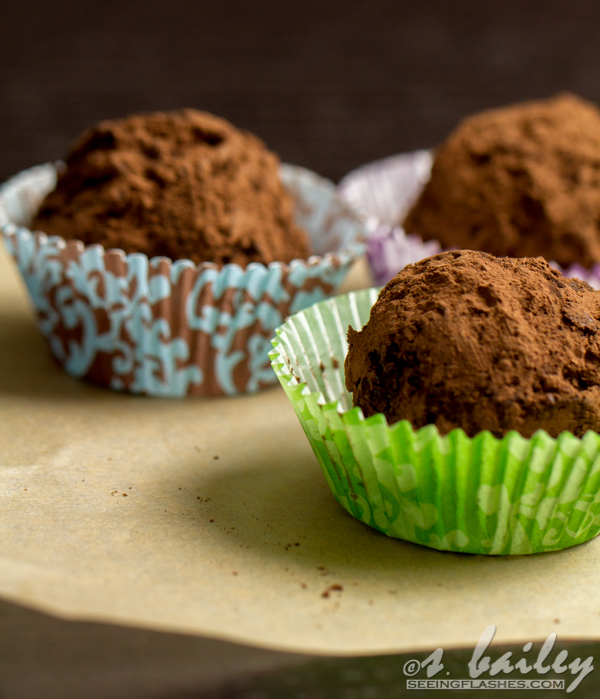
Oh, and I guess maybe we should discuss what buckeyes actually are? Because I had no idea until the last year when I saw them floating around the blog world. It’s kind of like a Reese’s cup crossed with a truffle. They are little balls of peanut butter mixed with powdered sugar covered (mostly) with chocolate, but leaving one little “eye” remaining, So these cookies are…the opposite! Dark chocolate in the middle, with the peanut butter and powdered sugar on the outside. I love melty dark chocolate in the center of my cookies, and I am a peanut butter fanatic. The powdered sugar is that perfect extra touch that makes these cookies the first to go at parties or cookie swaps!
Soft and chewy peanut butter cookies stuffed with melty dark chocolate and covered with powdered sugar--just like an inside out buckeye! Vegan, gluten-free, and seriously addicting.
Ingredients
- 1 1/4 cup gluten-free baking blend or white whole wheat flour*
- 3/4 tsp baking soda
- 1/2 tsp baking powder
- 1 tbsp corn starch
- 1/2 cup apple butter
- 1 cup peanut butter
- 3/4 cup brown sugar
- 1/2 cup granulated sugar
- 1 tsp vanilla extract
- 4 oz good quality dark chocolate, in small squares or roughly chopped
- approx 1/2 cup powdered sugar for rolling ( + more for dusting)
Instructions
- In a medium bowl, combine flour, baking soda, baking powder, and corn starch. Set aside.
- In a large bowl, beat the apple butter, peanut butter, sugars, and vanilla until smooth. Beat in dry ingredients until well combined, scraping down the sides of the bowl as necessary. Refrigerate for 30 minutes.
- Preheat oven to 350 degrees. Line 2 large cookie sheets with silpat or parchment paper. Pour powdered sugar in a shallow bowl. Roll dough into 1" balls then press a square of dark chocolate inside. Re-roll dough around chocolate. Make sure no chocolate is showing. Add more dough if necessary. Roll in powdered sugar, then transfer to prepared baking sheet.
- Bake until edges are just set, about 8-10 minutes. Do not over bake. Cool completely on cookie sheet. Store in an airtight container at room temperature for up to 1 week.
Notes
*Gluten-free cookies will bake 1-2 minutes faster than if you use white whole wheat flour. Check gf cookies at 7 minutes, and wheat cookies may be in for closer to 11 depending on your oven.
PS: Don’t forget to check out the segment this Saturday (12/14) @ 11am AZ time. Local channel 7, cable 13.