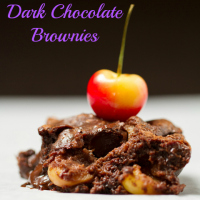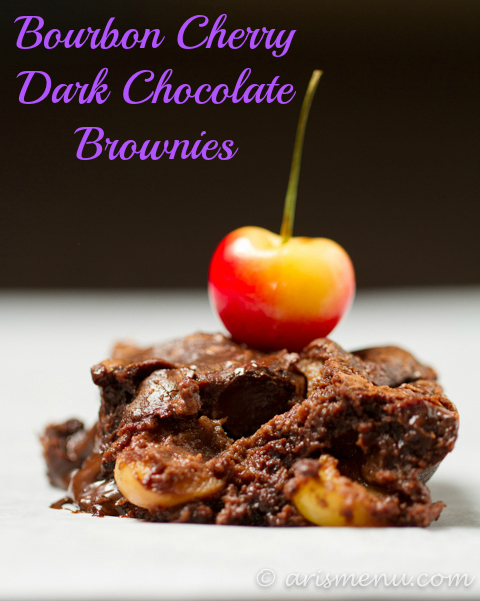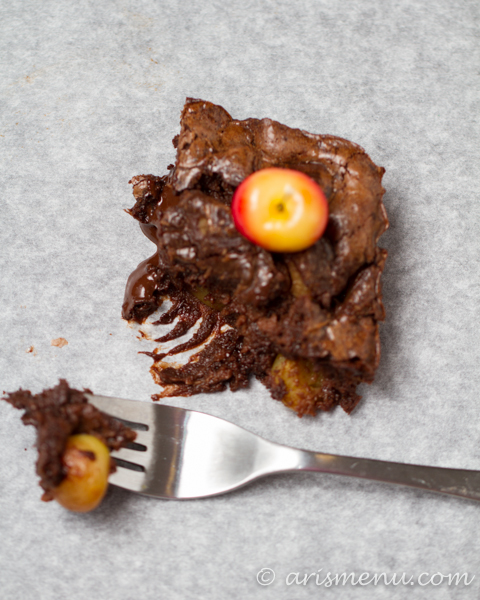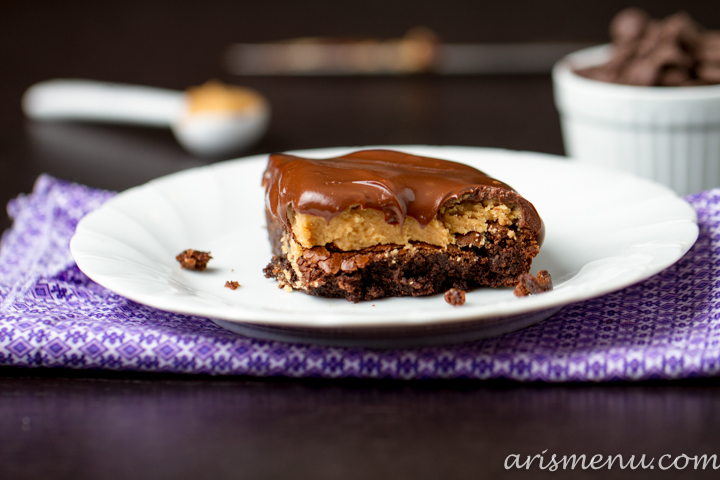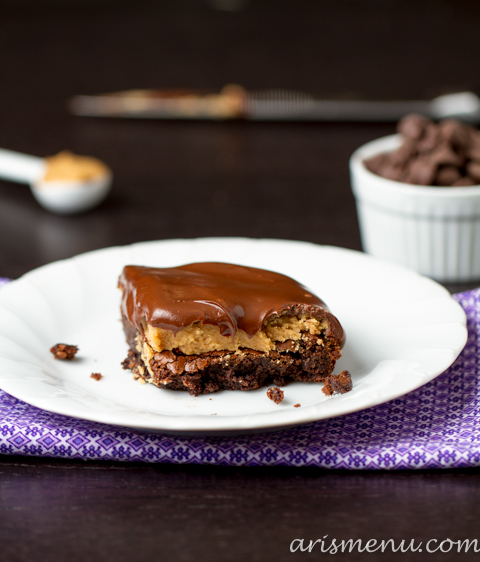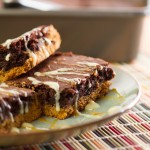
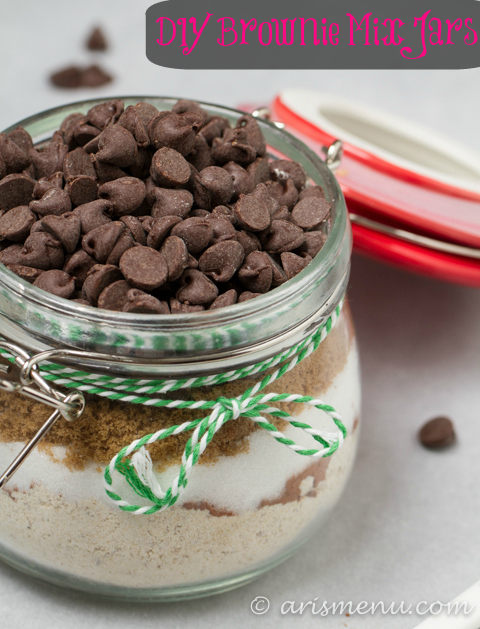
A simple, easy, DIY gift idea for rich and fudgey gluten-free brownie mix. So easy to make, and a perfect gift for anyone in your life who loves chocolate! Includes dairy-free & vegan options.
Every year I do a huge holiday baking day. I usually invite hermano to “help”, and he’ll mix a few things, and then he just lays around…that is until I need a taste tester. 😉
I do enjoy it, but I usually end the day totally exhausted and swearing off ever stepping foot in my kitchen again. And don’t even think about getting me to cook dinner. It always ends up being a Chipotle night, even though all I really ever want at the end is greasy, cheesy pizza. But let’s be honest, all I ever want is greasy, cheesy pizza. And chocolate. And fro-yo.
The truth is, DIY mixes are so expensive at places like Starbucks or the Hallmark store, and they seem like a novelty item, but they are really easy to put together, far less time consuming than huge batch baking, and really inexpensive. The biggest expense ends up being the jars, but if you go to the dollar store, a thrift store, or hit the clearance section of your craft store, you can get them very reasonably.
Not to mention, the store-bought mixes are loaded with refined flours, and often times lots of weird preservatives. By making them yourself, you can control what goes in, and that includes changing things up, and adding your own mix-ins. If you know the person you’re giving it to loves chocolate and peanut butter, you could add some mini peanut butter cups, or Reese’s Pieces.
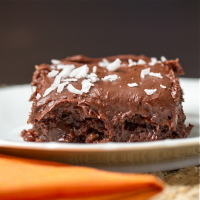
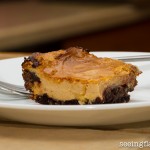
I just joined The Recipe ReDux which is a challenge hosted by dietitians to create unique and delicious recipes that are also healthy. While brownies are still somewhat indulgent, it is the holidays, and these are 100% whole grain, and the butter is replaced with nonfat yogurt. So you can have your cake brownie and eat it too. 😉
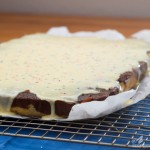
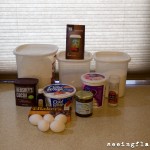
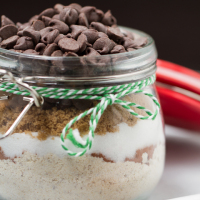
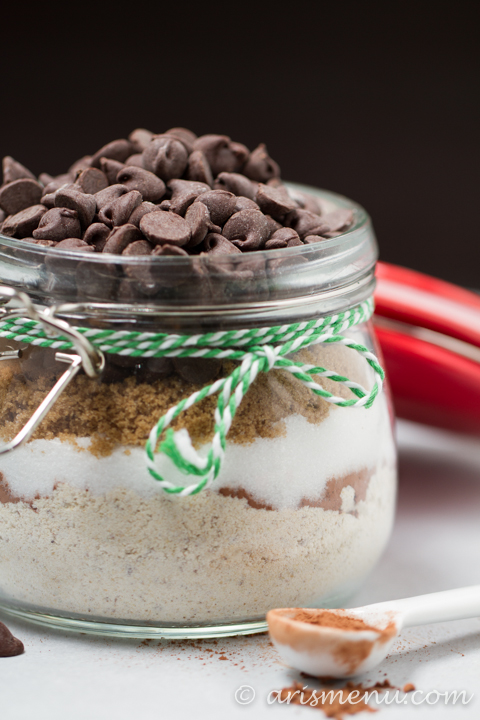
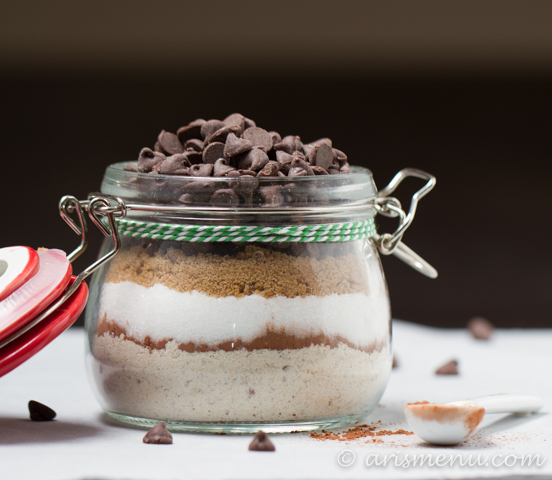
I just took my favorite brownie recipe, and layered the dry ingredients in a jar–it literally took less than 5 minutes, and you can easily do the same thing with any of your favorite recipes. I use my gluten-free baking blend, but you could use white whole wheat flour, or almond meal, or any blend of your own. All you need to add are eggs and some nonfat vanilla yogurt–everything else is included. You could also keep it dairy-free by using coconut oil instead of yogurt, or vegan by replacing the eggs with 2 tbsp cornstarch and 1/3 cup almond milk–so it can work for anyone in your life!
A simple, easy, DIY gift idea for rich and fudgey gluten-free brownie mix. So easy to make, and a perfect gift for anyone in your life who loves chocolate!
Ingredients
- 1 cup + 2 tbsp gluten-free baking blend (or white whole wheat flour
- dash salt
- 2/3 cup granulated sugar
- 2 tbsp brown sugar
- 2 tbsp cocoa powder, preferably Dutch process
- 1/2 tsp espresso powder
- 5 1/2 oz dark chocolate, about 1 scant cup
- 1/2 cup nonfat vanilla yogurt
- 2 eggs
Instructions
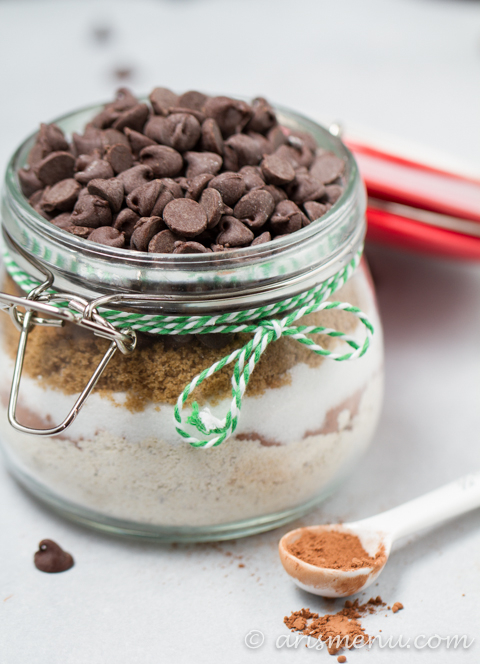
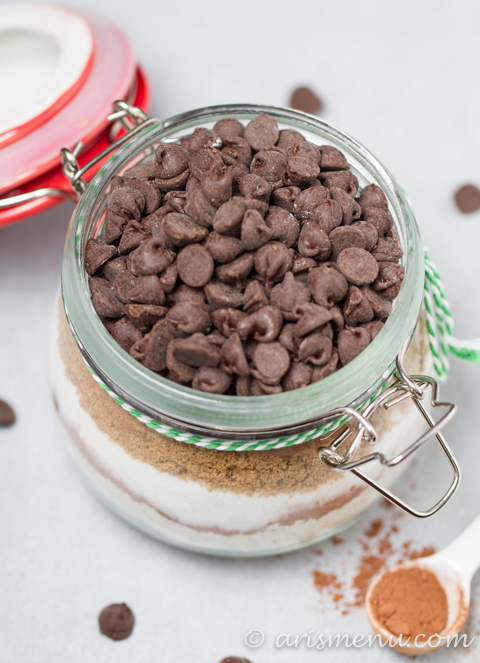
- In a medium bowl, whisk flour and salt together. In a 3.5-4 cup jar, layer ingredients in order listed. You may change the order as long as you leave the chocolate chips on top. Use a tablespoon to smooth down after each layer for the best visual effect.
- To make brownies, preheat oven to 350. Line a 9" square pan with aluminum foil and spray with nonstick spray. Set aside.
- In a large bowl, melt the chocolate and let cool. Stir in yogurt, whisk eggs in one at a time. Gently fold in remaining ingredients until just combined.
- Transfer to prepared baking tin and bake until a toothpick inserted in the center comes out mostly clean with a few crumbs, about 30 minutes. Cool completely in pan then serve. Store in an airtight container for up to 5 days.
Notes
Recipe easily doubled in a larger jar. Feel free to add mix ins of your choosing.
For dairy-free brownies, replace yogurt with melted coconut oil For vegan brownies, also replace egg with 2 tbsp cornstarch and 1/3 cup almond milk.