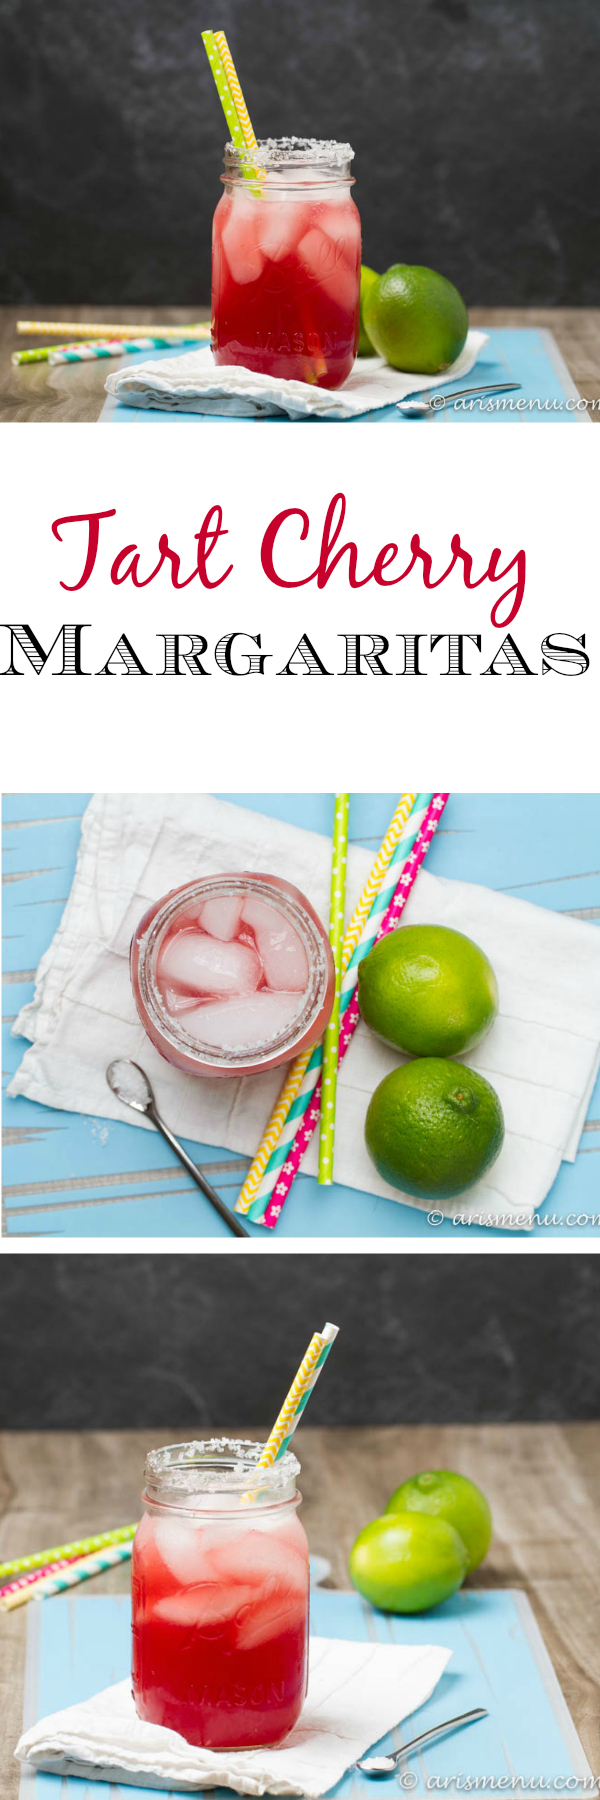
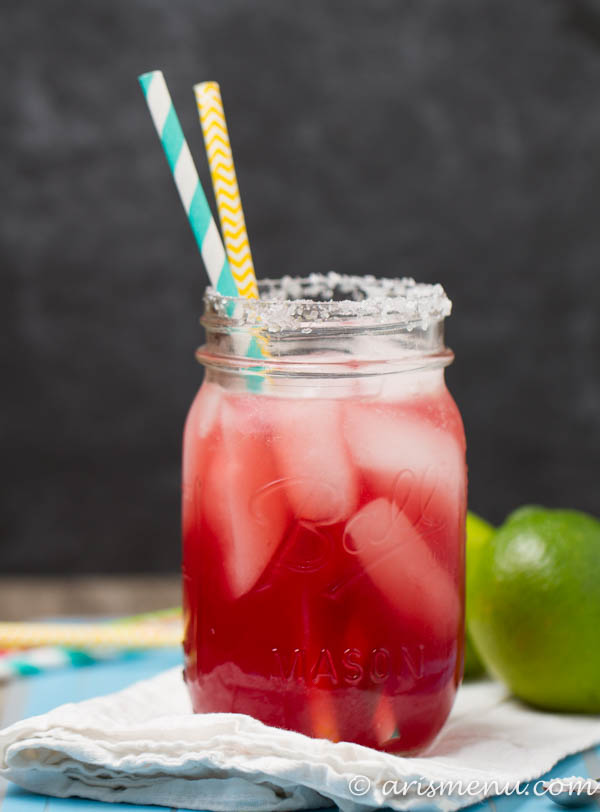
Tons of fresh flavor and the perfect amount of sweetness, tart cherry margaritas will disappear in minutes at any gathering.
 ..
..
Maaaar-gaaaaa-riiiiiitas! Only, like, the very best margaritas I have ever had in my entire life. And I do not use the words “very best” lightly I have had, and made, some bomb margaritas (does anyone still say bomb anymore?), but these babies take the cake.
I made an entire pitcher–like HUGE pitcher–for friends and family and literally the entire thing was gone in approximately 90 minutes. Even my friends who rarely drink kept going back for more, and I had to cut Steve off so there would be enough left for our guests. Not that I blame him though…I was equally obsessed.
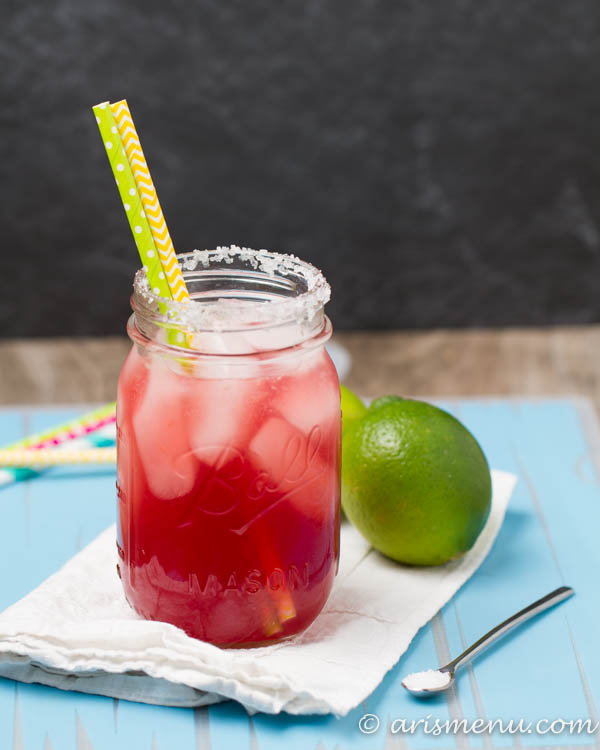
I like a margarita where I can taste my tequila. I love a hint of sweetness, but I hate those margs that taste like pure sweet and sour mix. Ummm…gross. These are sweetened by with a little simple syrup. I use sugar, but you could always use agave to keep it naturally sweetened. The tart cherry juice and sour lime give it a little bite that you’d expect from a great margarita.
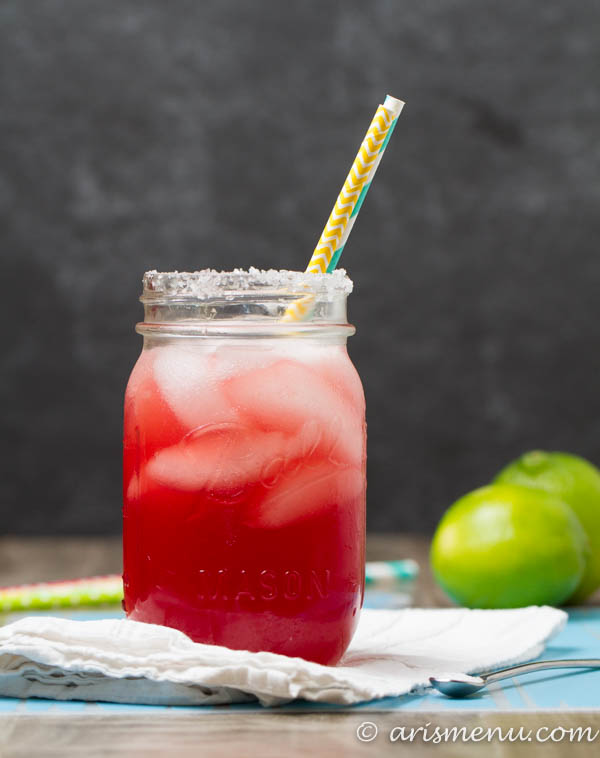
With just 5 ingredients and a big, bold taste, these will quickly become your favorite margarita, just like it has for me!
- For the simple syrup:
- 2 cups water
- 1 1/2 cups granulated sugar
- For the margaritas:
- 3 cups 100% tart cherry juice
- 2 cups fresh lime juice (I used about 15 limes)
- 2 1/2 cups tequila
- 1/2 cup triple sec
- simple syrup
- To make the simple syrup, heat water and sugar in a large sauce pan over medium high heat. Bring to a boil then reduce to a simmer, stirring constantly until sugar is completely dissolved. Remove from heat and let it cool for about 15 minutes.
- To make the margaritas, gently stir all ingredients together in a large pitcher. Cover and refrigerate until ready to serve.