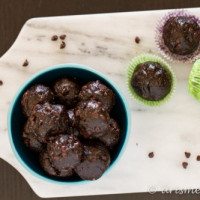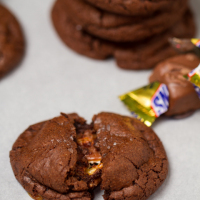
Rich, fudgy, brownie-like chocolate cookies stuffed with melty mini Snickers and topped with sea salt for the perfect extra bite. These gluten-free Snickers Stuffed Chocolate Brownie Cookies are the perfect way to use up Halloween candy, a great Christmas cookie, or perfect for any occasion!

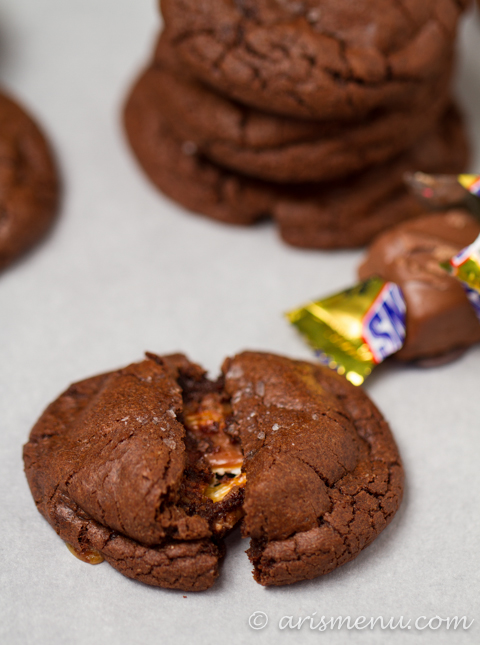
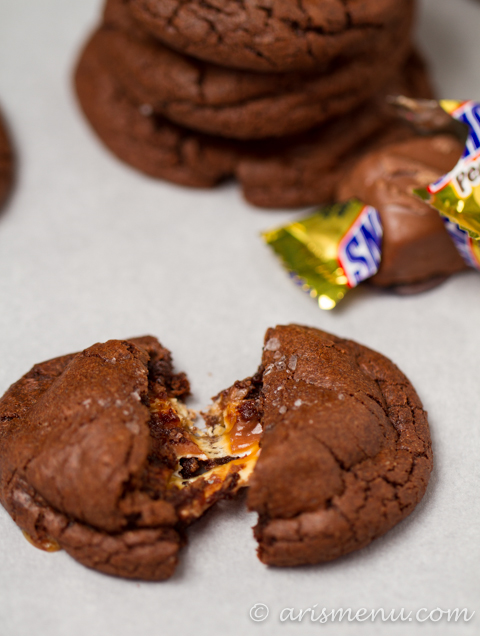
Oh, hello cookie. Cookie that tastes and feels like a brownie. Cookie that is stuffed with one of my very favorite candies. Cookie with melty chocolate, caramel and nougat in every bite. Cookie with big sea salt crystals adding the perfect balance to all that candy sweetness. Just wanted to say heyyyyy.

Let’s chat about candy for a second. I have really strong opinions. For example, 3 Musketeers–WHAT IS THE POINT? It’s just so fluffy, and soooo overly sweet, and there’s nothing to it. Ick. And then there’s Milky Way. That’s just like a lesser Snickers. It’s like it’s trying to be a Snickers for the poor people with nut allergies, but without the salty peanuts to add crunchy and bite, what is even the point?? Then we get to the good ones. Snickers, Butterfinger, Reese’s and Twix. Those are the ones that, come Halloween time (okay…any time), I can’t resist grabbing a mini, or 7. In fact, the leftover Snickers from these cookies were totally bad news. I usually end up taking them into work and using them as bribery to toss at the kids that impress me in rehearsals. I know, I know…I should give them carrot sticks, probably, but I’m a terrible influence.
Anyway, these cookies are a bit indulgent, but they are whole grain, gluten-free, and shockingly don’t contain any butter or oil! They taste like a rich, buttery brownie, so you’ll never notice the little healthier adjustments. Of course, you are free to use real butter and white flour–they will still be great, but I honestly can’t taste the difference!
Rich, fudgy, brownie-like chocolate cookies stuffed with melty mini Snickers and topped with sea salt for the perfect extra bite. These gluten-free Snickers Stuffed Chocolate Brownie Cookies are the perfect way to use up Halloween candy, a great Christmas cookie, or perfect for any occasion!
Ingredients
- 1 cup gluten-free baking blend (or white whole wheat flour)
- 1/4 cup unsweetened cocoa powder (I use Hershey's special dark or Dutch process)
- 1 teaspoon baking powder
- dash salt
- 8 ounces dark chocolate, melted and cooled
- 2 large eggs
- 2 teaspoons vanilla extract
- 5 tablespoons apple butter
- 2/3 cups brown sugar
- 1/4 cup granulated sugar
- 24 mini Snickers candies (I bought a combination bag with regular, peanut butter and dark chocolate)
- coarse sea salt for sprinkling (optional)
Instructions
- In a medium bowl, whisk together baking blend, cocoa powder, baking powder and salt. Set aside.
- In a large bowl, beat together melted chocolate, eggs, vanilla, apple butter, and sugars until well combined, then slowly beat in dry ingredients until just combined. Cover and chill for 30 minutes.
- Preheat oven to 350. Line 2 baking sheets with parchment paper or silpat. Spray hands with nonstick spray (this sounds weird, but it will prevent dough from sticking to your hands during rolling) and roll dough into about 1" balls. Press the center with your thumb to make a whole for the Snickers. Gently press 1 mini Snickers into the center and then re-roll dough around it. Make sure dough is completely covering the candy. Add more dough if necessary. Place onto prepared baking sheet and repeat with remaining dough. Sprinkle each cookie with a small pinch of coarse sea salt (if desired) just before baking.
- Bake for 10 minutes until just set. Cool completely on pan. Store in an airtight container for one week (these cookies stay pretty darn soft and gooey for days!).