I don’t like to make things I’ve already made. I mean, I make the same thing for breakfast every single day, and I order the same thing every time at my favorite restaurants, but I don’t like to bake things more than once, even if it’s a different recipe. Well, unless it’s cookies. Cookies are my favorite. I will make them over and over and over for no reason at all. Cake on the other hand? Meh, I can take it or leave it. I will always eat a dessert, but cookies and fro yo are my true loves.
Well, that is the case with most cakes anyway, but every once in a while, I come across one I really love. 😉
I’ve already made a regular tres leches cake, and a vegan tres leches cake. I had no desire to make an other one, but when people make birthday requests, I can’t say no.
I wanted to try something new and different, and I immediately remembered this recipe that caught my eye a few weeks ago. I’m pretty sure I’ve said about 5 billion times that Jessica’s blog is my very very favorite. She is my blogspiration–her writing, her recipes, her gorgeeeooouuusss photography….everything is just soooo good. If you haven’t you must go check it out rightthissecond.
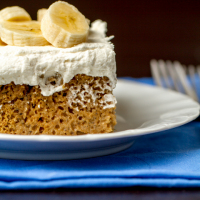
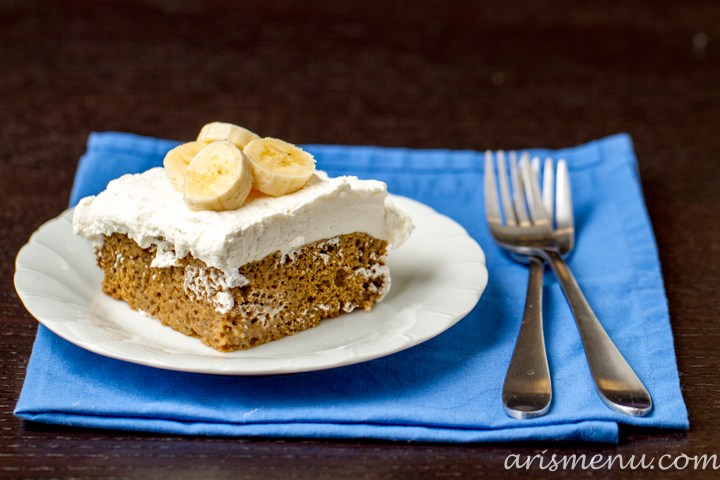
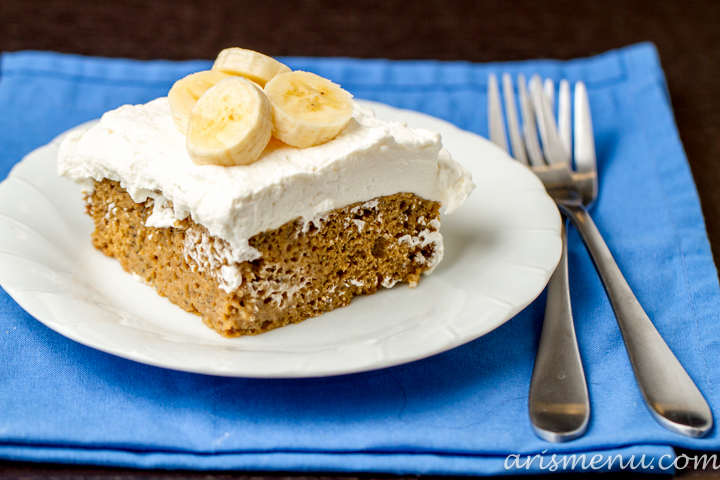
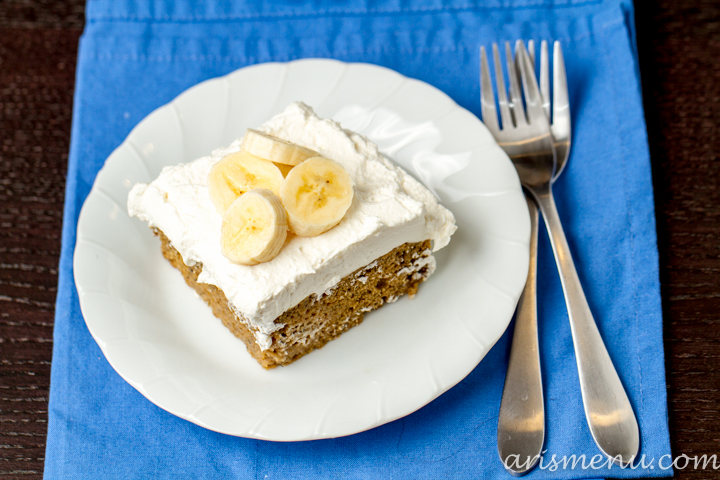
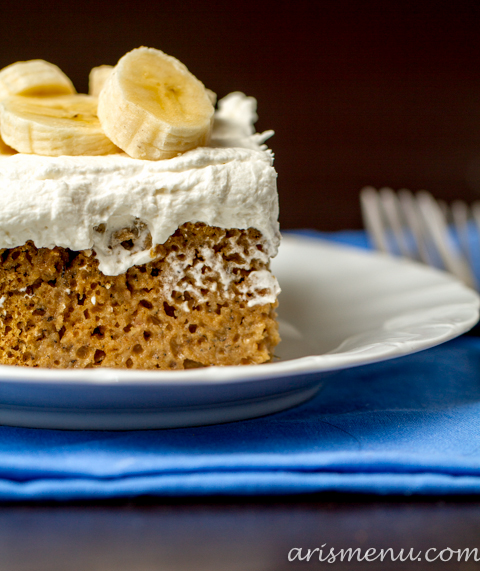 And as usual, she doesn’t disappoint! Soft, gooey, milk soaked banana cake? Sign me up. I may even like it better than cookies.
My swaps:
- White whole wheat flour for all purpose (+fiber, +protein)
- Applesauce for butter (-fat, -calories, -cholesterol)
- Less sugar (-sugar…obviously)
- Unsweetened almond milk for light coconut milk (-calories)
- Sweetened condensed coconut milk for regular condensed milk (-calories)
- Regular sliced bananas for caramelized bananas (-fat, -calories, -sugar, -cholesterol)
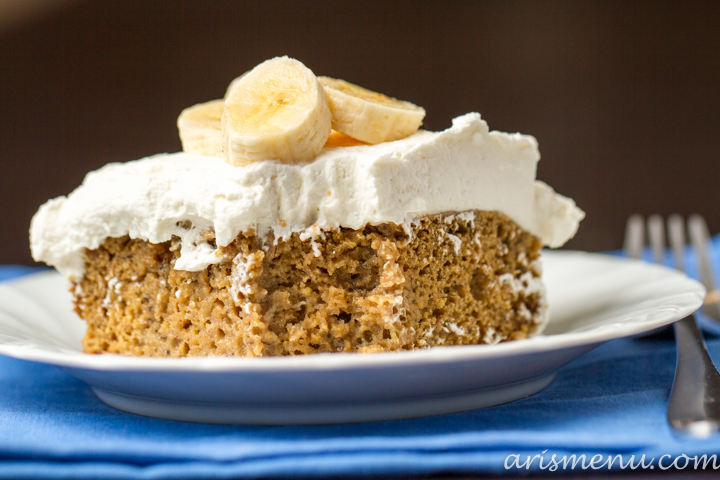
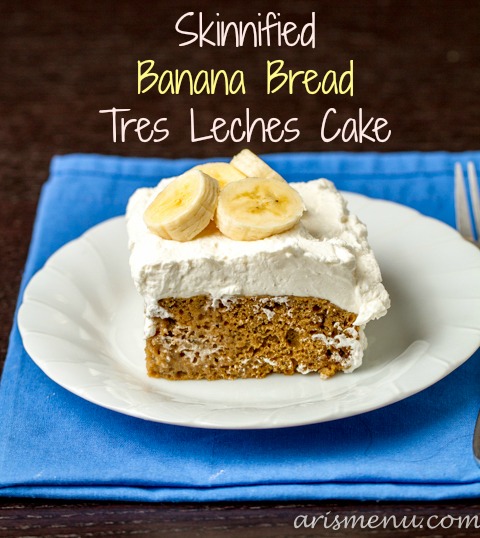
Skinnified Banana Bread Tres Leches Cake
adapted from How Sweet It Is
- 2 1/2 cups white whole wheat flour
- 2 tsp baking powder
- pinch cinnamon
- pinch salt
- 1/2 cup unsweetened apple sauce
- 1/3 cup brown sugar
- 1/4 cup sugar
- 2 eggs, yolks and whites separated
- 2 tsp vanilla extract
- 4 medium bananas, mashed
- 2/3 cup + 1/2 cup unsweetened almond milk, divided
- 1/2 cup sweetened condensed coconut milk
- 1/2 cup fat-free evaporated milk
- 1 1/2 cups cold heavy whipping cream
- 1-2 tbsp powdered sugar
- 2-3 bananas for topping
Directions:
- Preheat oven to 350. Spray a 9×13 baking dish with nonstick spray.
- In a small bowl, whisk together flour, baking powder, cinnamon and salt. Set aside.
- In an other small bowl, beat egg whites until stiff peaks form. Set aside.
- In a large bowl or stand mixer, beat together egg yolks, applesauce and sugars until creamy. Add vanilla and mashed bananas and beat until well combined. Add half of the flour mixture, followed by 2/3 cup almond milk, then the remaining flour mixture. Mix until just combined. Fold in egg whites.
- Transfer batter to prepared baking dish, and bake until golden and a toothpick inserted in the center comes out with just a few moist crumbs, about 25 minutes. Cool completely
- In a medium bowl, whisk together 1/2 cup almond milk, sweetened condensed coconut milk and evaporated milk. Pour the milk mixture over the cake in 3 small batches, brushing with a pastry brush in between each time. Cover and let cake sit in refrigerator for at least 1 hour (overnight is preferable).
- To make the whipped cream topping, in a large bowl, beat whipping cream on high until stiff peaks form. Add powdered sugar slowly to reach desired sweetness mixing on medium speed. Spread evenly over cake.
- Top with freshly sliced banana just before serving.