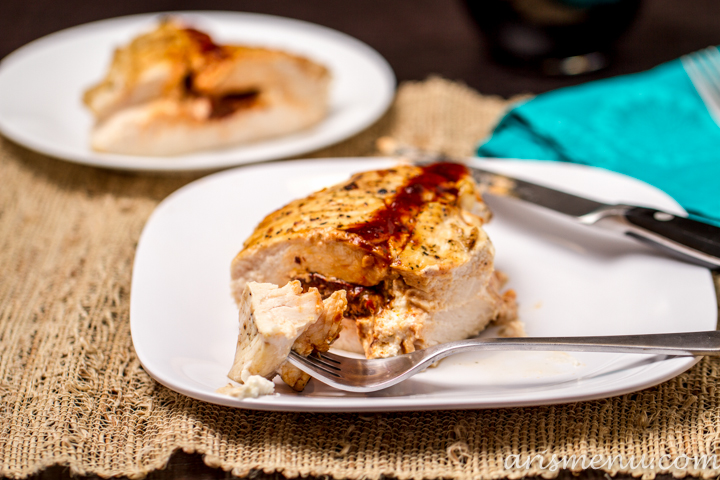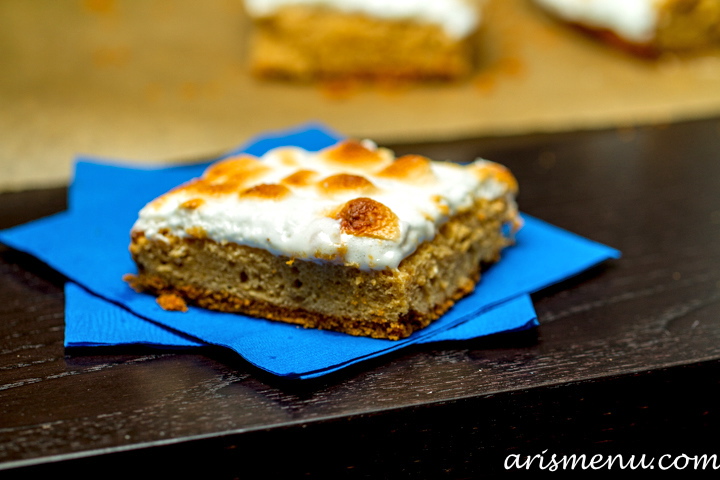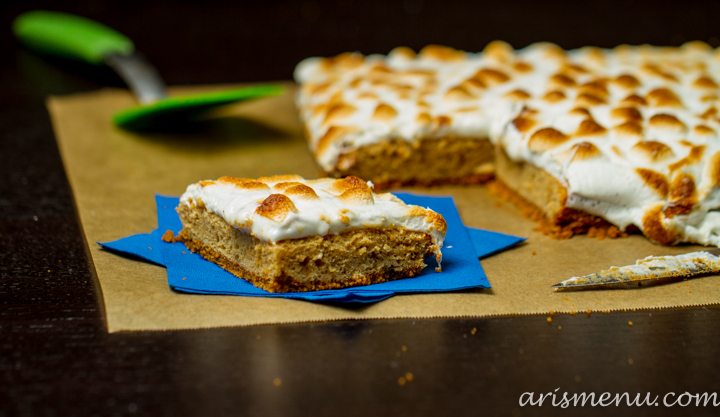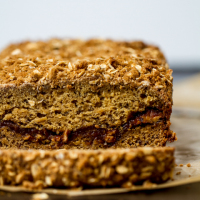
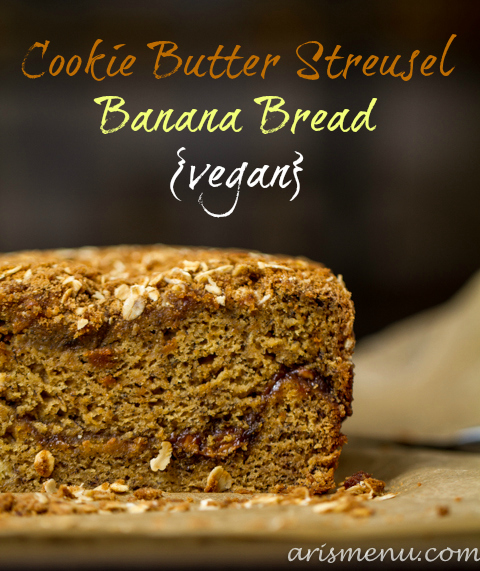
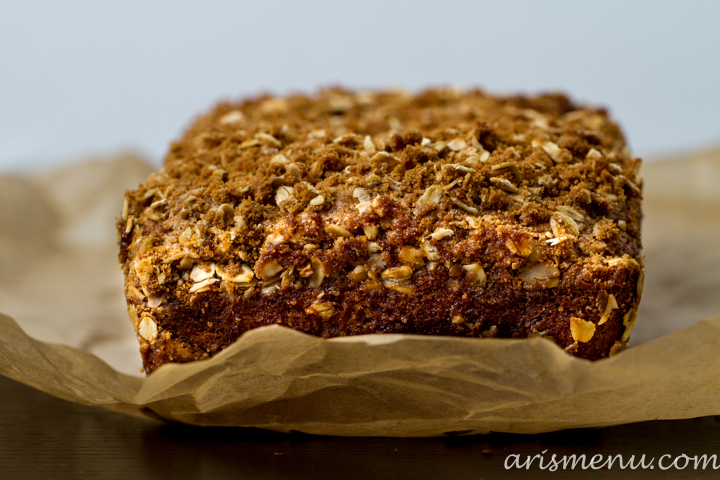
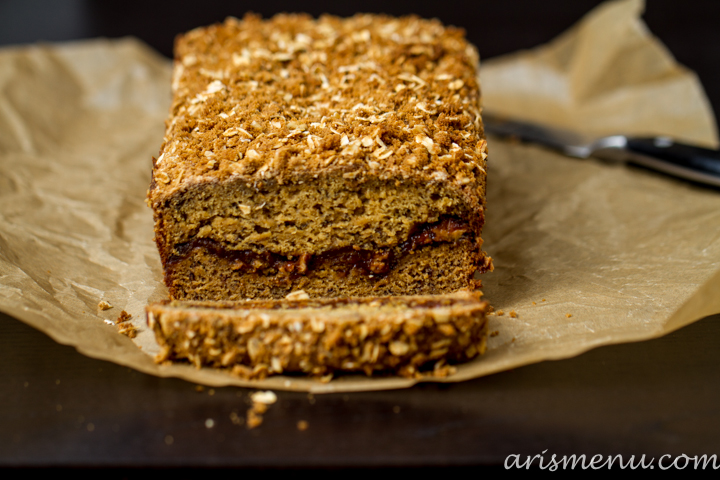
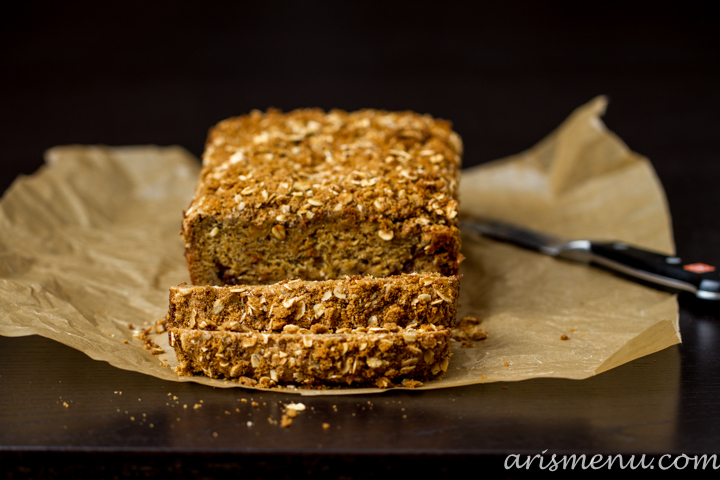
Soft and tender vegan banana bread swirled with creamy cookie butter and topped with a crumbly cookie butter & oat streusel.
You know when there is a trendy clothing item that everyone starts wearing? First, you judge it (well…I do). Then, it starts to grow on you, and eventually curiosity gets the best of you, and you find yourself in a fitting room not even 100% sure why you’re trying this on, but then once it’s on your body you fall in so much love, and everything makes sense in the world?
That’s how I feel about banana bread. One day, I opened my reader, and almost all of the food blogs I follow posted banana bread. I’ve never been one to think “OMG, I really want to make some banana bread!’, but that day all the cool kids were doing it, and I totally wanted to fit into their crowd.
PS: I was NOT a cool kid in school. I was that awkward kid that fit into absolutely no social groups, and didn’t really have any friends until high school. Somehow awkward clothing choices, bad jokes, and an obsession for musical theatre don’t equal popularity? It’s a total mystery. But I mean, let’s be honest…those things still pretty much apply…
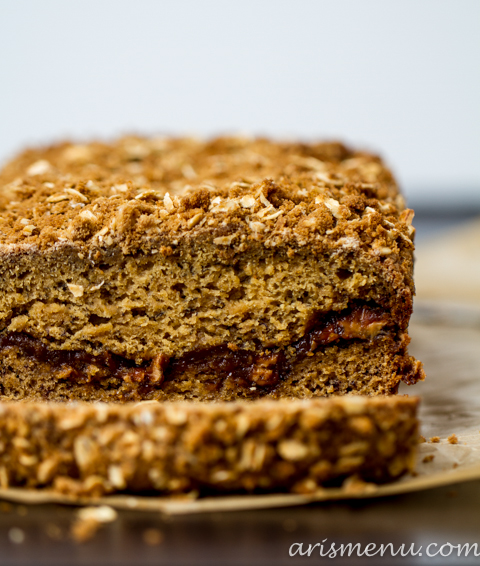
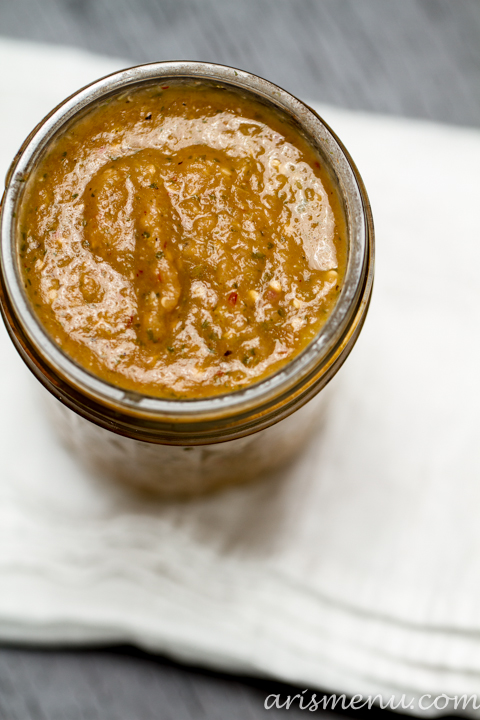
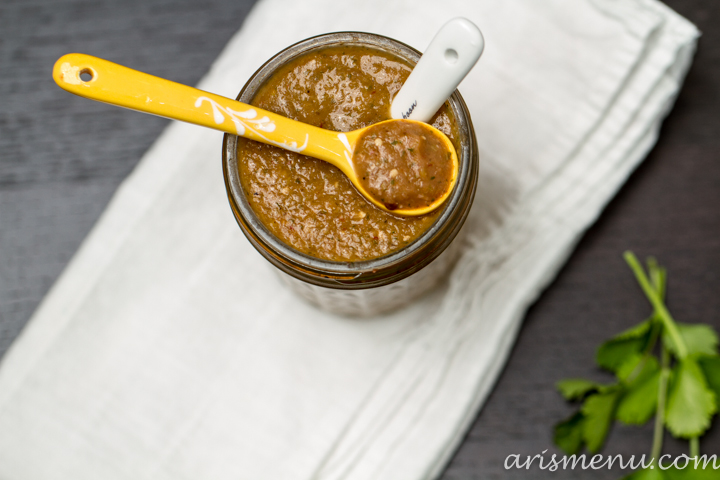
Anyway, I was on a mission to make banana bread, but it couldn’t just be regular banana bread. That’s not the way I work. So I filled it with melted cookie butter, and topped it with what might be my favorite thing ever–cookie butter streusel.
You guys. First of all, I made streusel with no butter. I didn’t think it was possible to achieve the right texture, but I did. Not only that, I made streusel with no flour, and, this streusel is…so….good. I wish I could give you a better description–I mean, it’s crumbly and it tastes buttery (magic), but words can’t describe how amazing it is, so we’ll stick with “….so….good.”
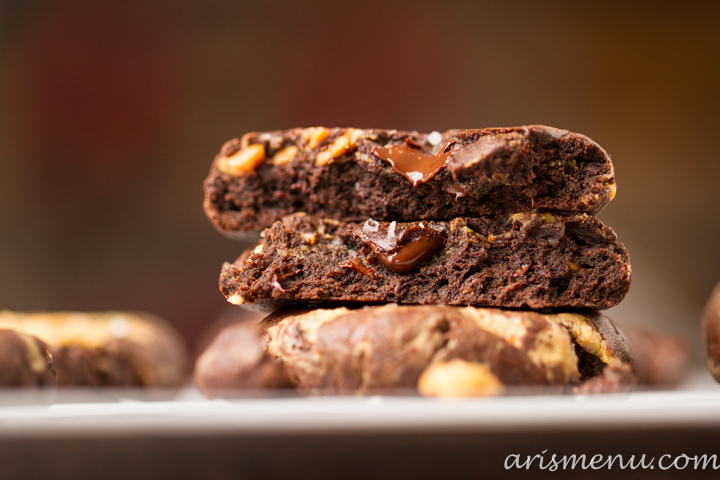
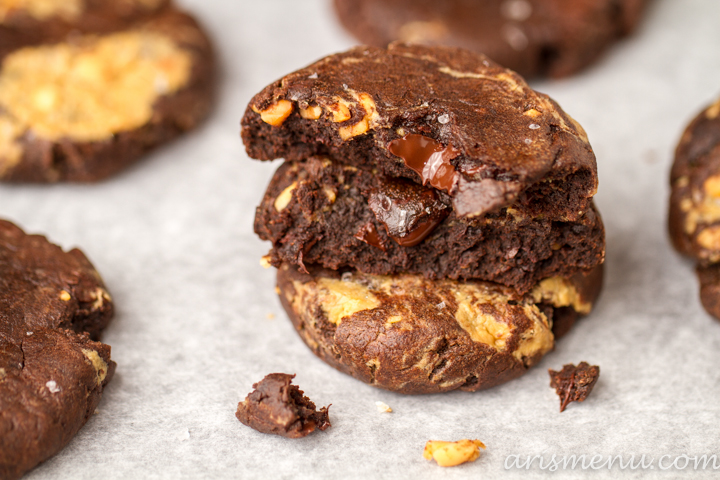
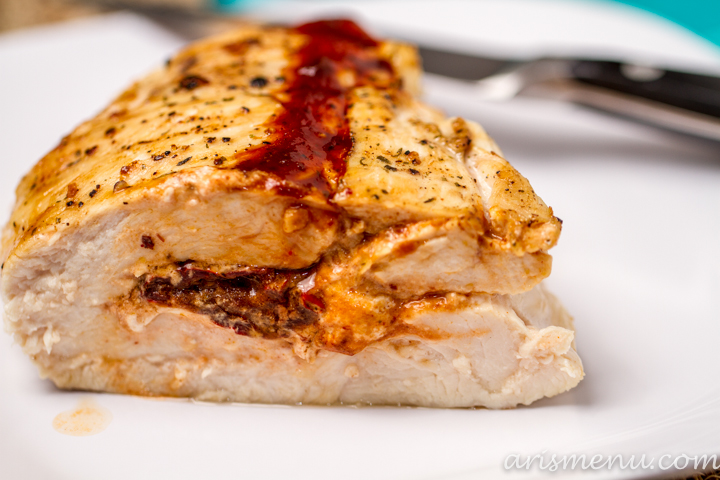
And the banana bread? It’s so soft and that m word that I really hate. I really wanted the cookie butter to stand out, so I didn’t want to just mix it into the batter where the flavors get muted–that’s my biggest pet peeve about cookie butter (and Nutella for that matter) in baked goods. I wanted to sink my teeth in and get slapped in the face with cookie butter flavor. Can you think of anything better?

I don’t think I can. This was one of those recipes that made my dance-around-my-kitchen-giddy, and I had to give it away to my family immediately so that I wouldn’t eat the entire loaf. It was that good.
Soft and tender vegan banana bread swirled with creamy cookie butter and topped with a crumbly cookie butter & oat streusel.
Ingredients
- For the banana bread:
- 2 cups white whole wheat flour
- 2 tbsp corn starch
- 1 tsp baking soda
- 1 tsp baking powder
- 3/4 cup unsweetened almond milk
- 1 tsp apple cider vinegar
- 3 extra ripe medium bananas, mashed
- 1/3 cup unsweetened applesauce
- 2/3 cup brown sugar
- 1/2 cup sugar
- 1 tsp vanilla extract
- 1 cup cookie butter or Biscoff spread, melted
- For the cookie butter streusel:
- 1/4 cup raw oats
- 3 tbsp brown sugar
- 1 1/2 tbsp cookie butter or Biscoff spread
Instructions
- Preheat oven to 350. Spray a 9x5" loaf pan with nonstick spray. Set aside.
- Begin with banana bread. In a medium bowl, whisk together flour, cornstarch, baking soda, and baking powder. Set aside. In a small bowl or measuring cup, whisk together almond milk and apple cider vinegar. Let stand.
- In a large bowl or stand mixer, beat together mashed bananas, applesauce, sugars and vanilla until well combined. Add half the dry ingredients, followed by almond milk mixture, then remaining dry ingredients. Mix until just combined.
- Pour half the batter into prepared loaf pan. Pour 1 cup melted cookie butter on top in an even layer. Top with remaining batter.
- To make the streusel, combine oats, brown sugar and 1 1/2 tbsp cookie butter. Mix by hand until ingredients are combined and form a crumbly texture. Sprinkle evenly over batter.
- Bake until golden and set, and a toothpick inserted in the center comes out mostly clean, about an hour. Cool completely. Store leftovers in an airtight container for up to 1 week.