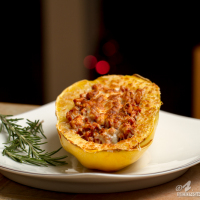
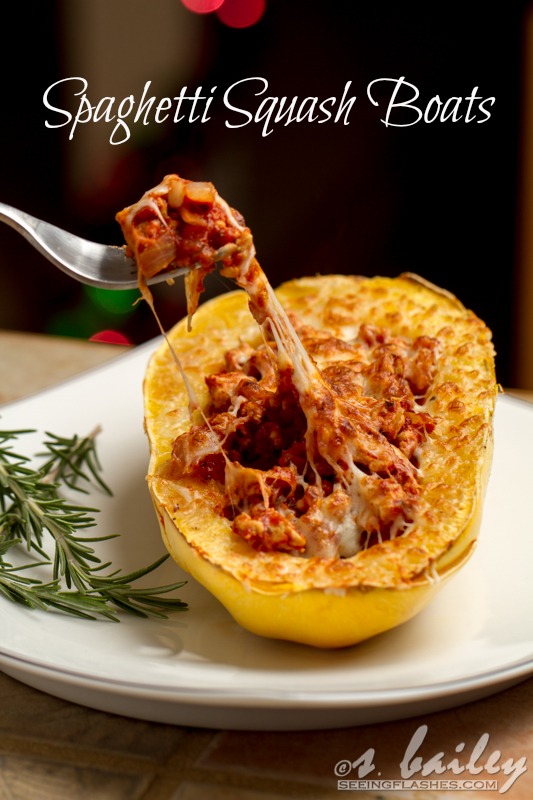
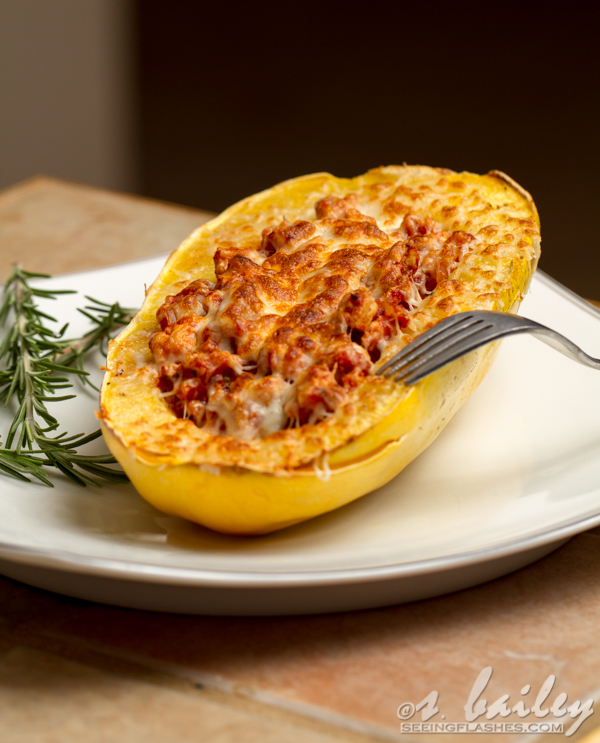
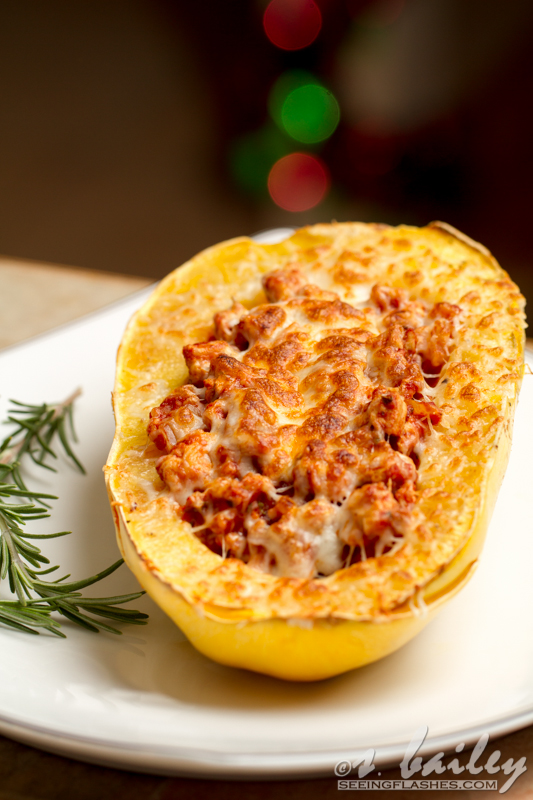
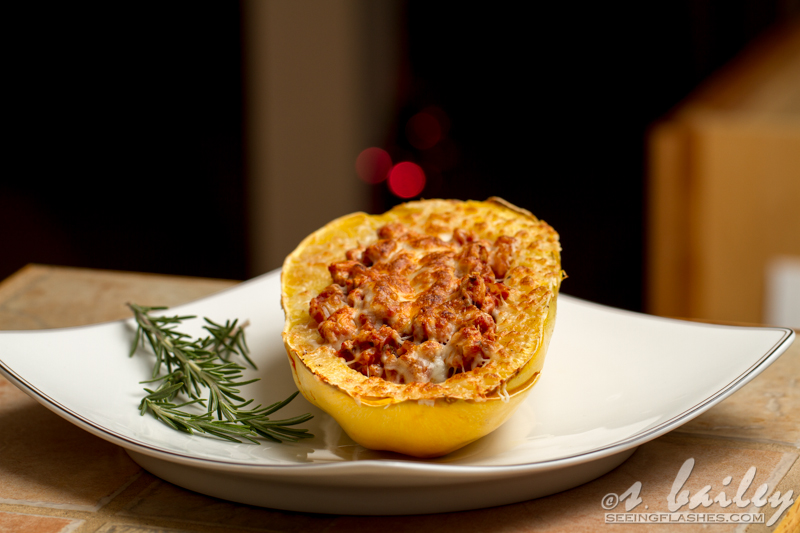
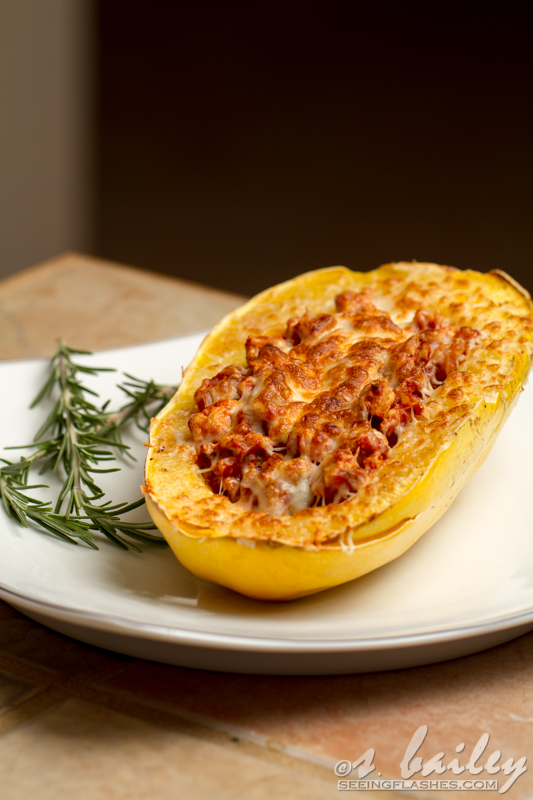
Warm, comforting and cheesy spaghetti squash boats give you all the flavor of spaghetti and meat sauce, in a healthy spaghetti squash topped with melty mozzarella cheese.
I have a confession. I kind of secretly dislike all of those “Get Back On Track After The Holidays” posts that go up. I know, I know…. And the thing is, I know that the best way to get back to feeling great after a period of eating less than great is to fill up on good healthy food and remind myself that contrary to recent events, I do actually love vegetables.
It just seems so….cliche. However, I know there’s always this big “problem” of WHAT DO WE EAT BETWEEN CHRISTMAS AND NEW YEARS??? Family is in town, you’re sick of leftovers, and every restaurant in town seems to have a two hour wait.
*Insert mandatory cliche about how this dish will help you stay healthy during the holidays*
Okay, but seriously, how can your family not enjoy these super cute spaghetti squash boats??? Everyone gets their own individual “boat”, and it looks so much fancier than it actually is! In fact, the only real time spent on this recipe is the time it takes to roast the squash. Then you just whip up a quick meat sauce, and you’re good to go! That leaves you with less time in the kitchen, and more time to relax and spend time with the people in your life.
Ever since I discovered spaghetti squash, I almost never go back to real pasta. It’s probably my favorite discovery in healthy cooking. I mean let’s be real here, we eat pasta to get to the sauce. No one orders plain spaghetti with no sauce. The pasta is merely the vehicle, and this squash is, in my opinion, a MORE delicious vehicle. It may not take the place of a gnocchi or ravioli, but when it comes to noodles, I find it more delicious, and as someone who loves to eat, I love the fact that I can load my plate up and still feel great afterwards! It’s the perfect way to sneak in veggies.
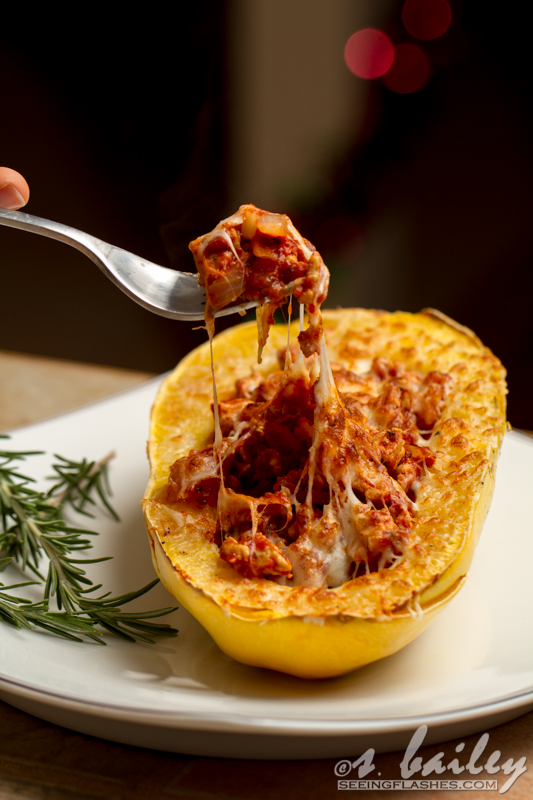
I used a spicy meat sauce, although you could use regular if you don’t like spicy, and loaded it up into each squash, then topped each boat with a little mozzarella cheese that I broiled until brown and crispy–just how I like my cheese! I served it up to a group of friends, and there was not a single bite left at the end of the evening. If you’re on the fence about the pasta swap, trust me, this is the way to try it!
- 2 medium spaghetti squash
- 2 tablespoons olive oil, divided
- salt and pepper
- 1 onion, chopped
- 4 cloves garlic, chopped
- 20 oz 99% lean ground turkey breast (you can also use the 93-94% or 96% lean ground beef)
- 1 28 ounce can crushed tomatoes
- 1 teaspoon dried oregano
- 1 teaspoon fresh or dried basil
- 2 teaspoon crushed red pepper (more or less depending on desired spiciness), optional
- 1 cup freshly grated part skim mozzarella cheese (you can use pre-grated if necessary)
- Preheat oven to 400. Slice spaghetti squash length wise and scrape out the seeds. Rub 1/4 tablespoon olive oil into squash half and season with salt and pepper. Place spaghetti squash face down in a large baking dish and bake for 40-60 min. When squash is done, middle will be tender and pull apart easily.
- In a large pan, sautee onion and garlic in 1 tablespoon olive oil over medium heat until fragrant. Add ground turkey. Season with salt and pepper and cook until browned. Add crushed tomato and remaining spices. When sauce starts to bubble, reduce heat to a simmer until thickened (about 3-4 minutes).
- When spaghetti squash is fully cooked, flip in the baking dish so that it is now skin side down. Evenly divide sauce between each squash half. Top each “boat” with 1/4 cup cheese. Turn oven to broil, and cook for an other 2 minutes, until cheese is browned and bubbling. This happens very quickly–make sure to watch closely, otherwise it can burn easily.