My vacation is over. Wahhhhh. It’s been so incredibly nice having the last two weeks almost completely off. I’ve actually been cooking dinner again! You may have noticed that I actually post recipes of “real food” instead of just cookies lately (although, if you ask me, cookies are totally a suitable dinner). This is because I finally have time to cook dinner, and I haven’t been living off Chipotle and those Trader Joe’s frozen black bean and corn enchiladas. It’s been awesome.
I think Steve has been enjoying it too. In fact, I’ve been all kinds of domestic. Last week, I took out the entire contents of my kitchen and pantry, and then reorganized and cleaned ALL OF IT. If you haven’t been to my house, it’s possible you don’t understand what I project that was. Also, if you don’t know me, and know how much I HATE cleaning, this may not seem that odd, but it was completely out of character.
Steve came into the kitchen and the first words out of his mouth were “Where are you hiding the crack?” If by crack you mean coffee, then it’s on the counter….
So I cracked out on my kitchen, and I cooked things. It was a pretty productive two weeks for me. Also, there’s something else you need to know about me: I almost never make a meal twice. If I do, it’s either super ridiculously easy, or one of my very favorites, or both. I make this one a lot. In fact, the recipe has been up here for a while, but it’s an oldie that needed a serious update.
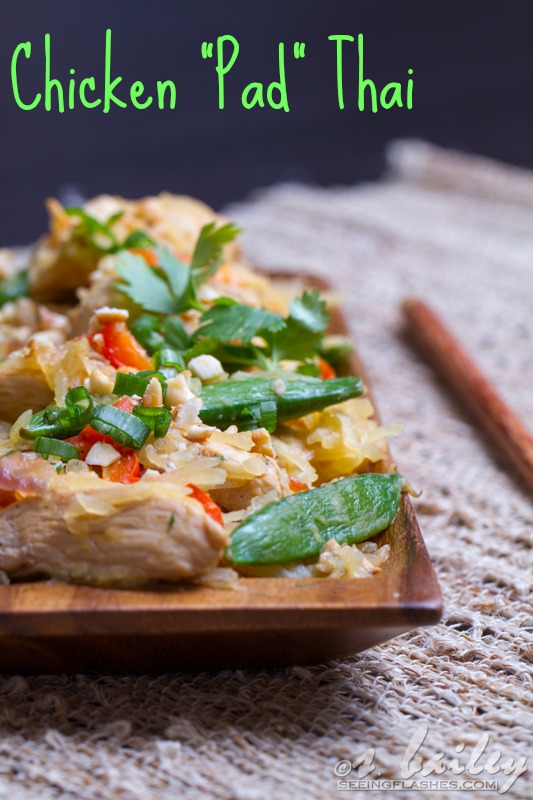
Chicken Pad Thai is one of my very favorite meals in the world. I know I’ve told you guys about how I used to think I hated Thai food, then discovered I loved it and someone told me that it was “healthy” so I believed them, and ate it like 4 x per week, but then I realized how calorie dense it is, and never ate it anymore. It was so sad. Don’t worry though, my story has a happy ending!
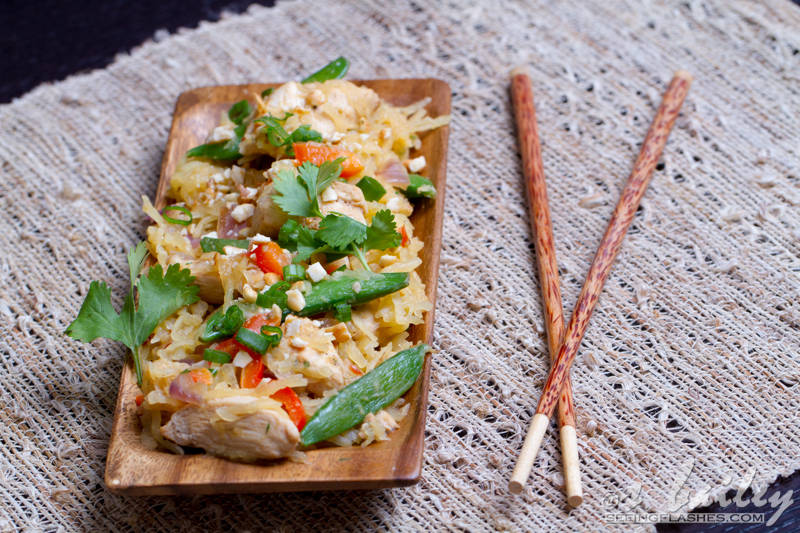
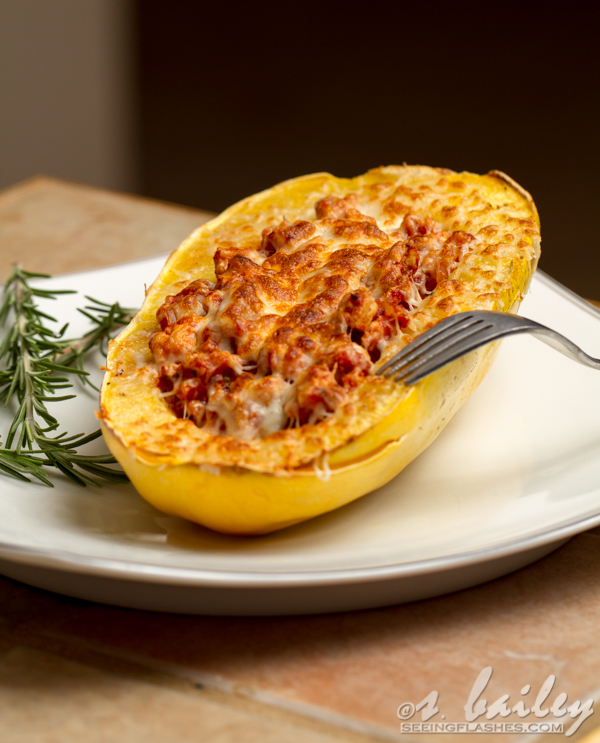
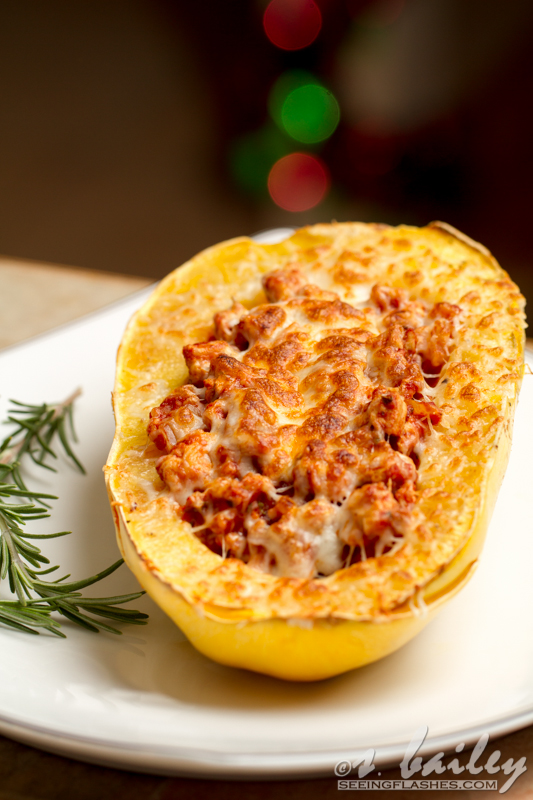
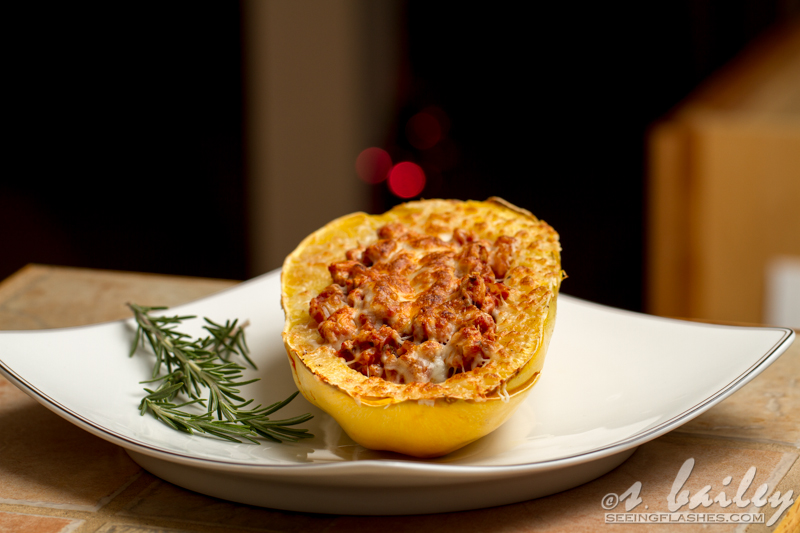
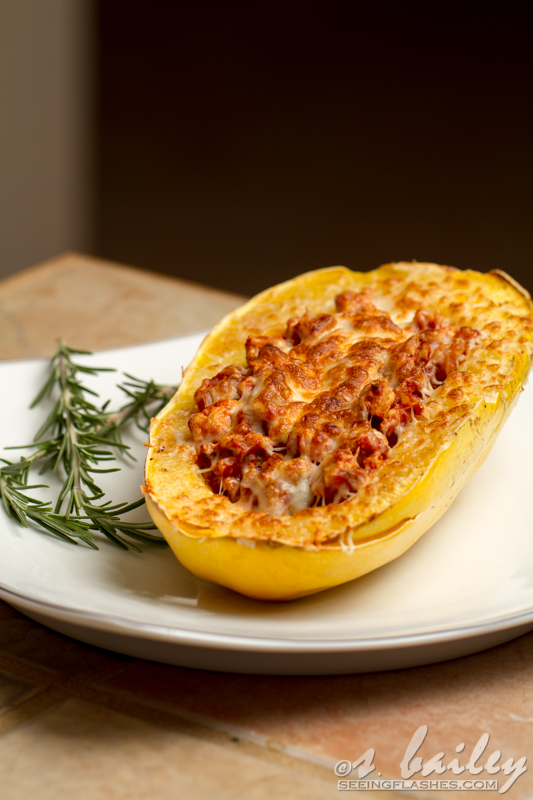
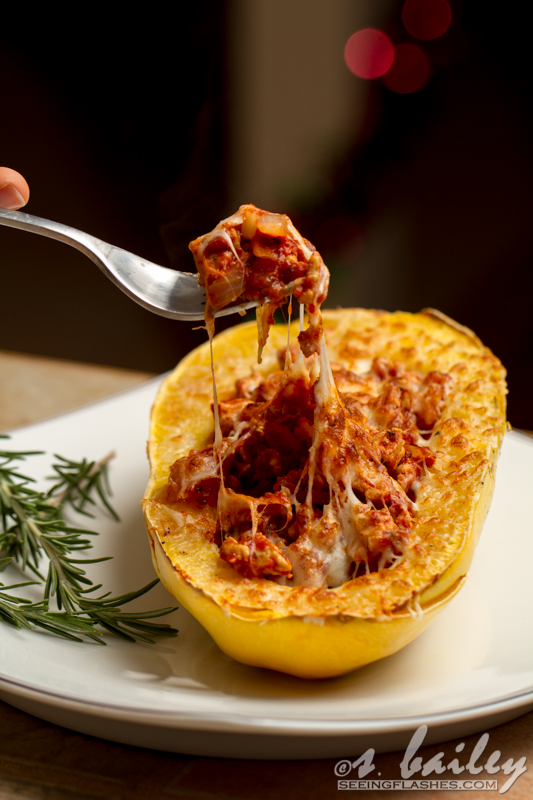
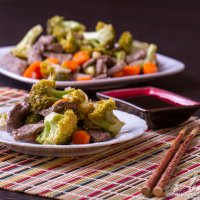
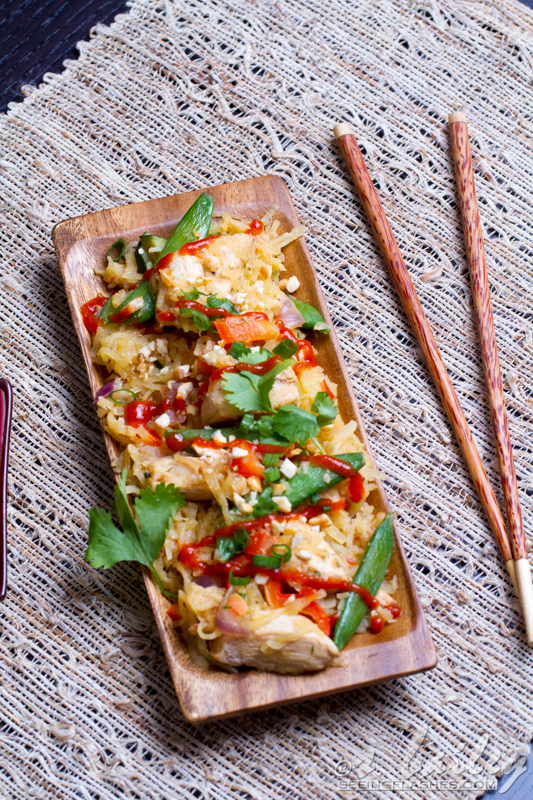
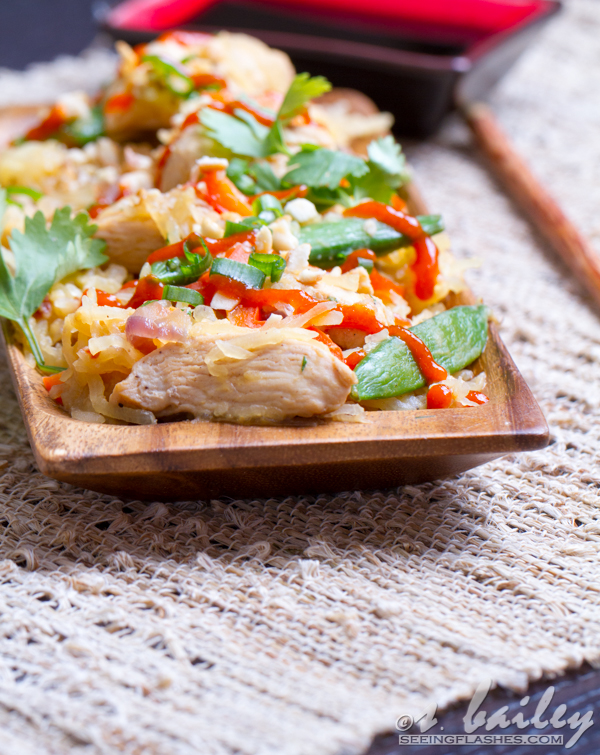
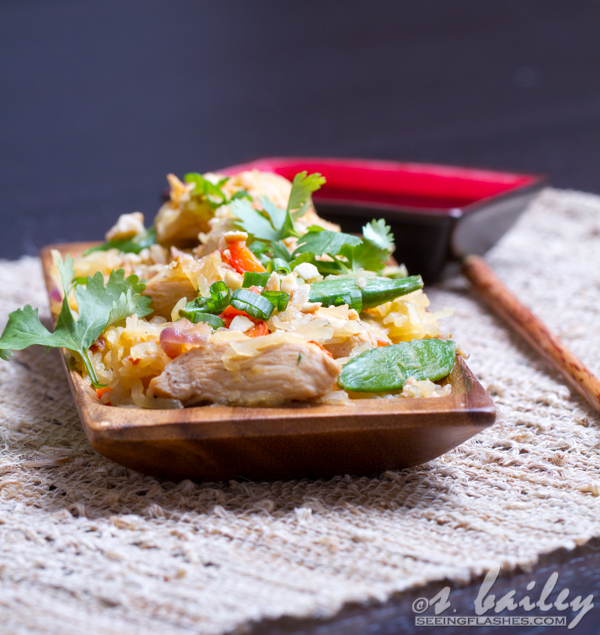
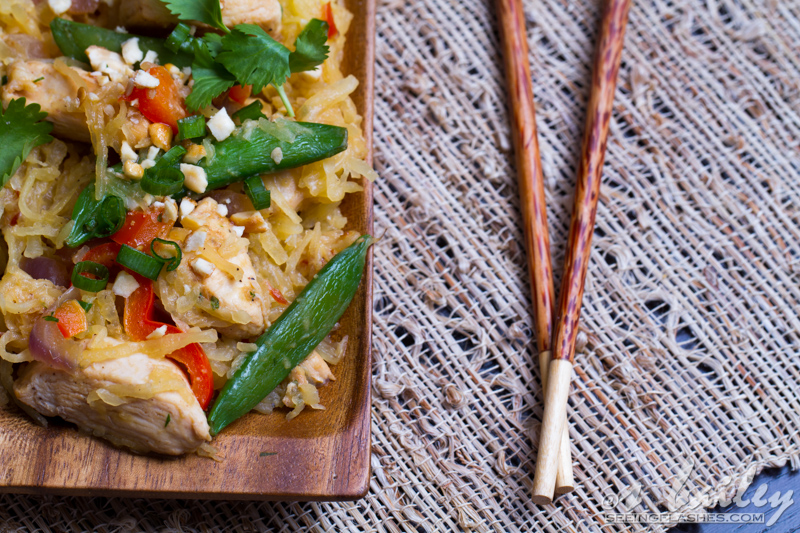
No, not that kind of happy ending. Or maybe your brain didn’t even go there? Sorry, mine did. Anyway….ever since I first made this dish, I’ve been in love. Everything you love about the bold flavors of chicken pad Thai–spicy with a slight sweetness, peanut sauce with lime and cilantro–perfection. This dish proves the true magical powers of spaghetti squash. Seriously, any meal you love that includes noodles or pasta, just sub in some spaghetti squash, and you will be hooked!
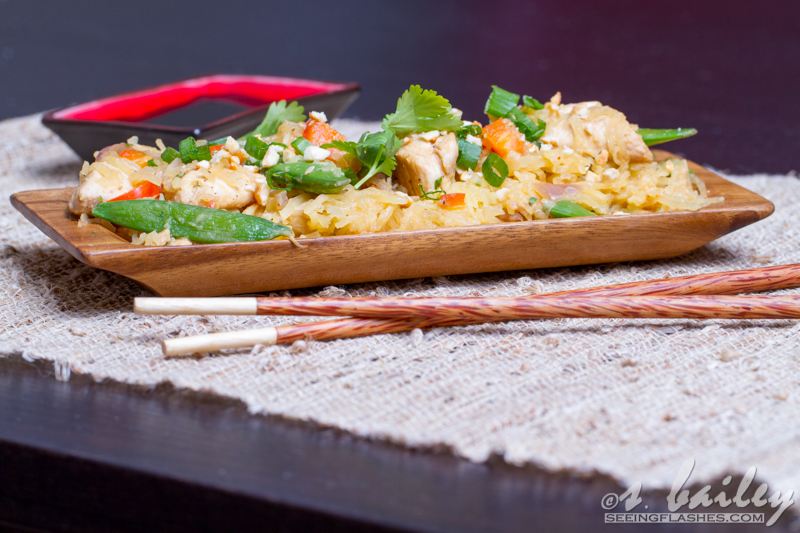
Noodleless Chicken “Pad” Thai
- 1 large spaghetti squash, split length wise and seeds removed
- 2 tsp olive oil, divided
- 1 large sweet yellow onion, chopped
- 3 cloves garlic, finely chopped
- 2 zucchinis, chopped
- 1 red bell pepper, chopped
- 1 cup snow peas or sugar snap peas
- 1 lb boneless skinless chicken breast, cubed
- 1 1/2 tbsp peanut butter
- 1 tbs reduced sodium soy sauce (if you don’t eat gluten, use gluten-free)
- 1 1/2-2 tsp chili paste
- 1 tbsp lime juice
- handful fresh cilantro, chopped
- 1 small bunch green onion, sliced
- salt and pepper to taste
- Sriracha for topping (optional)
Directions:
- Preheat oven to 400. Drizzle inside of spaghetti squash with 1 tsp olive oil and rub in with fingers. Season with salt and pepper. Transfer face down to a large roasting pan. Roast spaghetti squash for 45-60 minutes until tender.
- Meanwhile, in a large wok pan over medium heat, drizzle remaining 1 tsp olive oil and add yellow onion, garlic, zucchini, red pepper and snow peas. Cook 5-10 minutes until tender. Add chicken and season with salt and pepper. Continue cooking until all pieces of chicken are cooked throughout.
- In a small bowl, whisk together peanut butter, soy sauce, chili paste, and lime juice. Set aside.
- Use a fork to remove the insides of cooked spaghetti squash and transfer into wok pan. Pour sauce into pan, add lime juice and cilantro and toss all ingredients together for 2-3 minutes. Serve and top with green onions and Sriracha if desired. And if you’re like me, add even more cilantro 😉