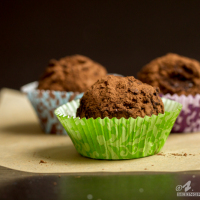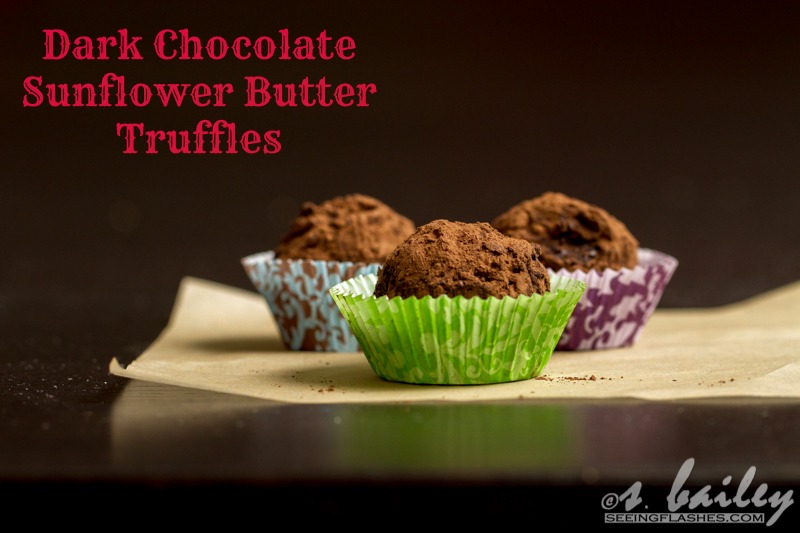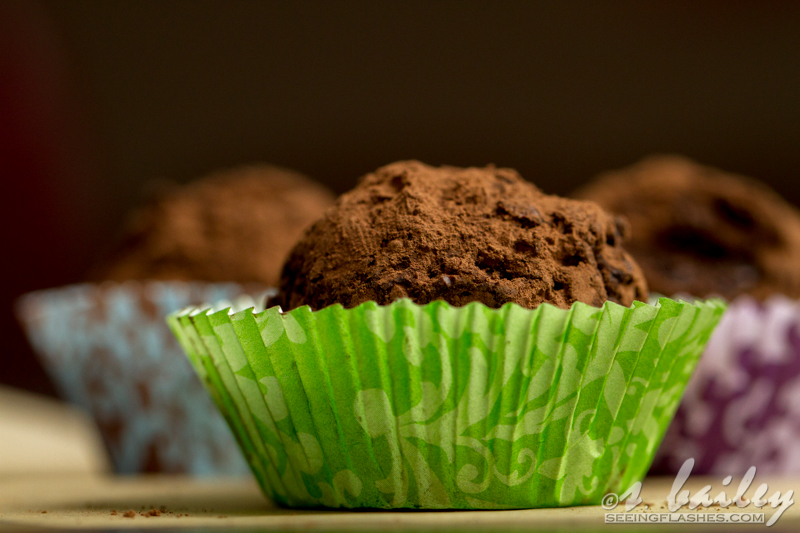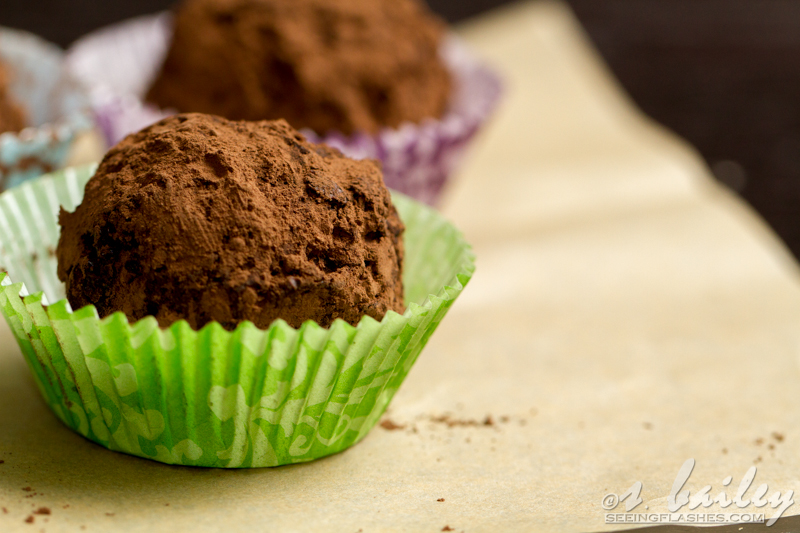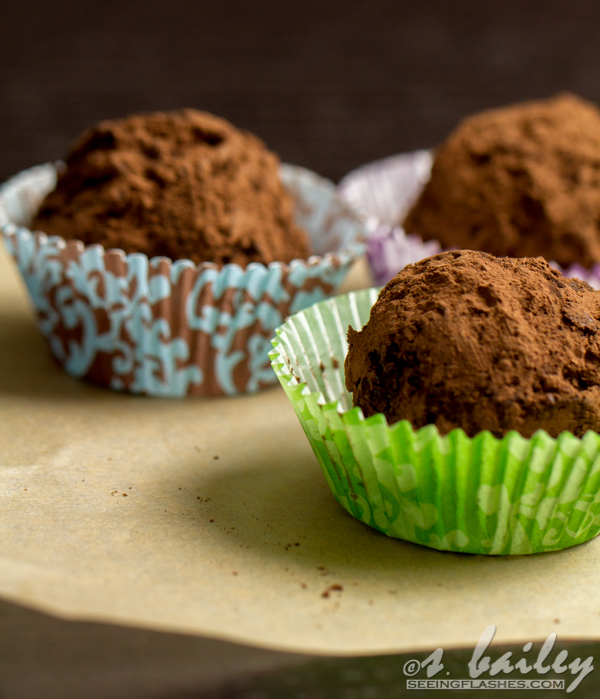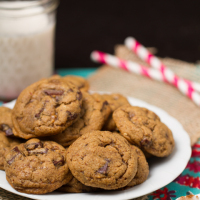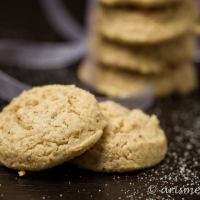
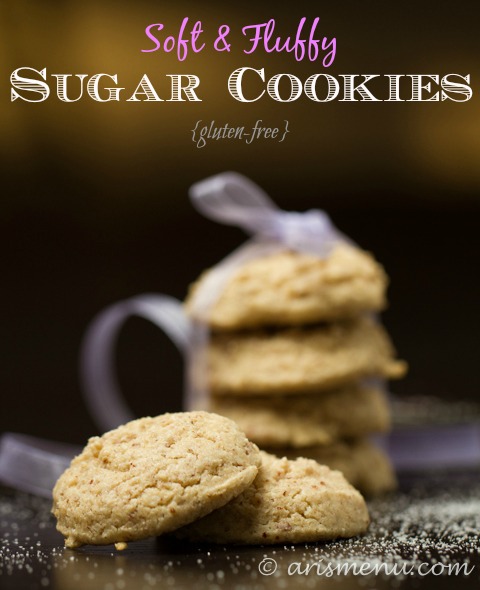
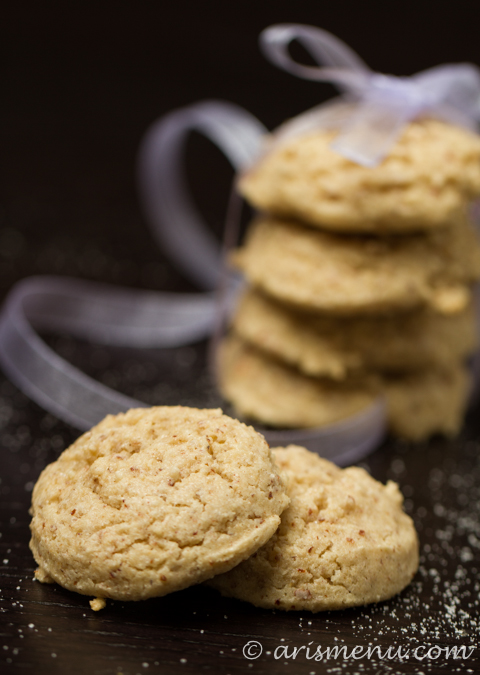
Pillowy soft, fluffy, and loaded with vanilla flavor, these sugar cookies are irresistible. Eat them plain, frost them, or decorate with your favorite holiday decorations.
Pssssst…Today is the last day to enter this awesome giveaway! Don’t miss out!
So yesterday we were discussing cookie swaps, yes? I may not have a ton of experience with them, but this year is the second time I have participated in The Great Food Blogger Cookie Swap, and it is AWESOME! You sign up, and then you are sent your 3 matches. You make and send a dozen cookies to each match, then you receive a dozen cookies from 3 surprise sources.

I signed up for the gluten-free option so I could share my cookies with Steve. The last thing I need is 3 dozen cookies that only I will eat. As awesome as that sounds. Heather sent me spict gingerbread cookies, Marianne sent me chocolate snickerdoodles, and Rachel send me peanut butter blossoms. Everything was amazing. Steve loved the peanut butter blossoms, and I kept getting drawn back to the chocolate snickerdoodles, but I mean who doesn’t love gingerbread cookies this time of year too? Seriously.
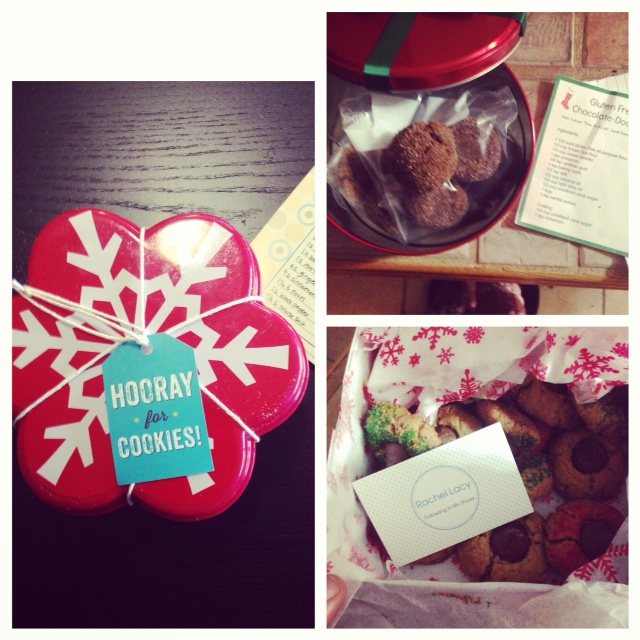
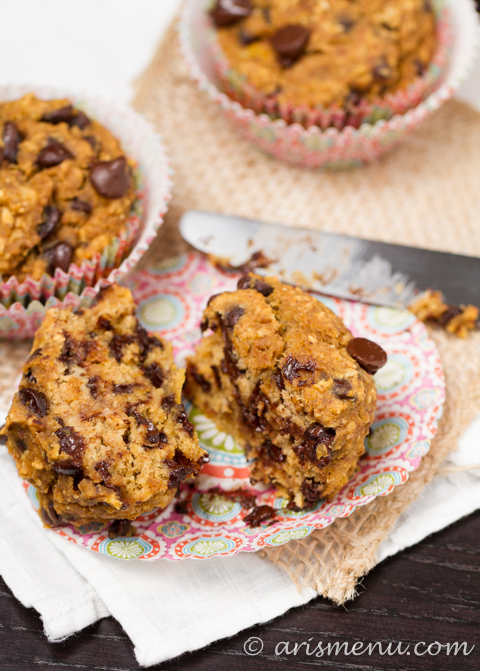
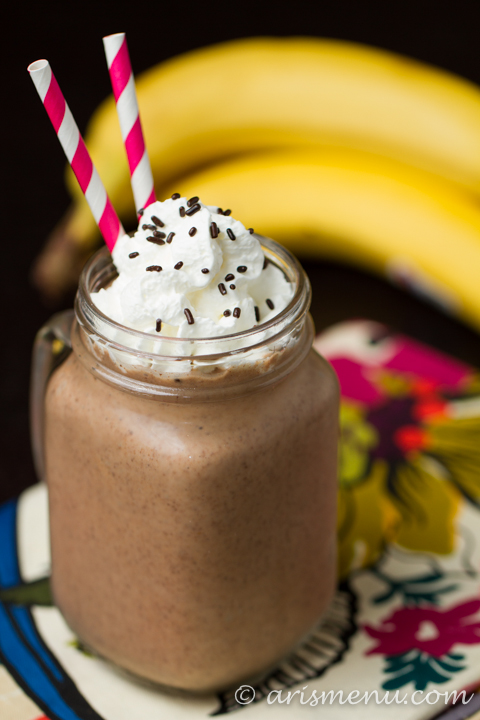
I sent these sweet li’l sugar cookies to Dre, Amy, and Sara.
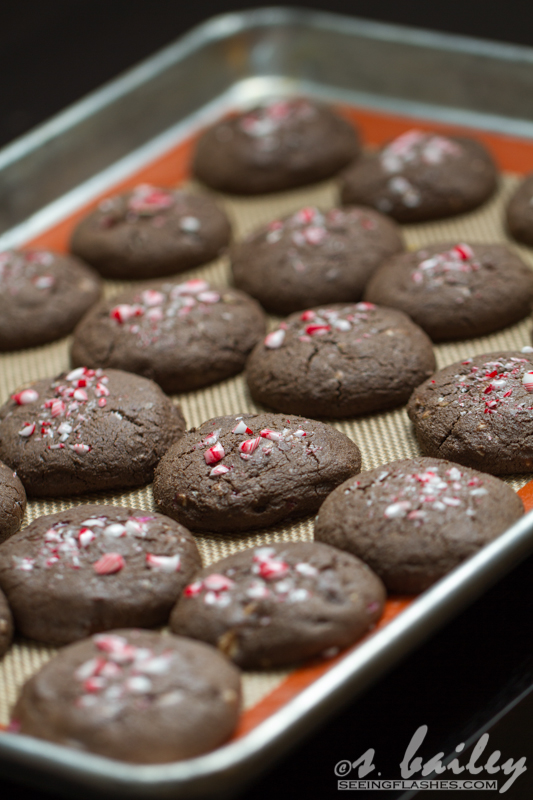
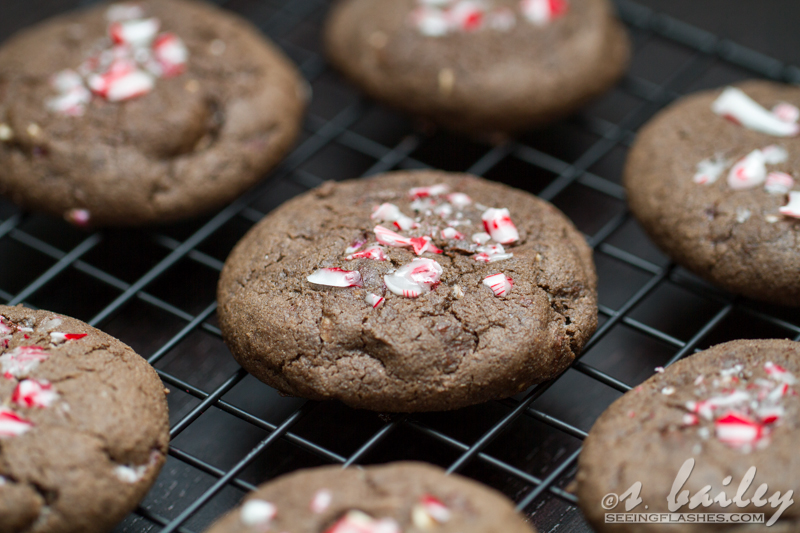
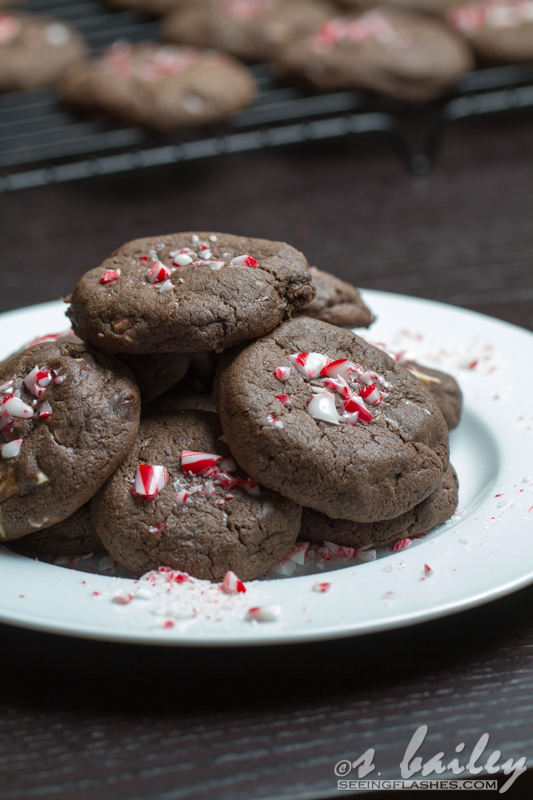
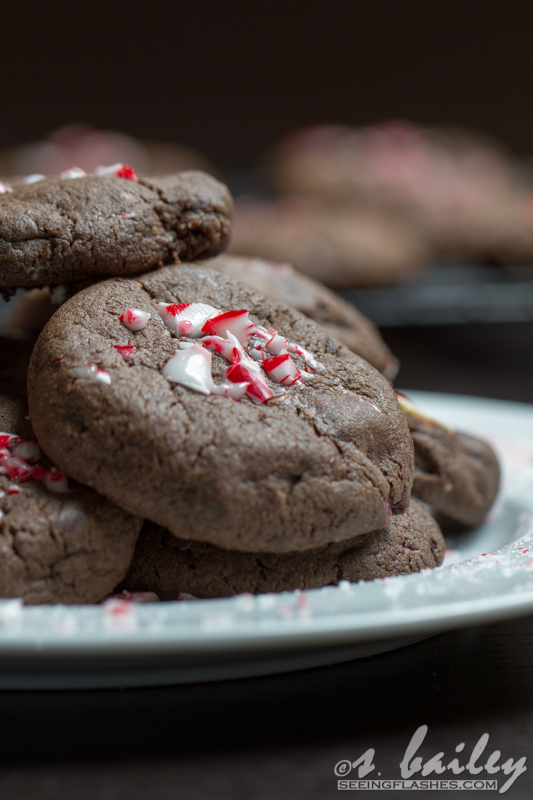
First I made peppermint mocha cookies. They were amazing (and I will totally share them soon), but they just didn’t look pretty, and I couldn’t bring myself to send something that didn’t at least begin beautiful. Although, who the heck knows what they looked like by the time they arrived. Sending cookies makes me so nervous. What if they get smushed? What if they’re dry and cakey by the time they arrive? What if, what if, what ifffffff….????
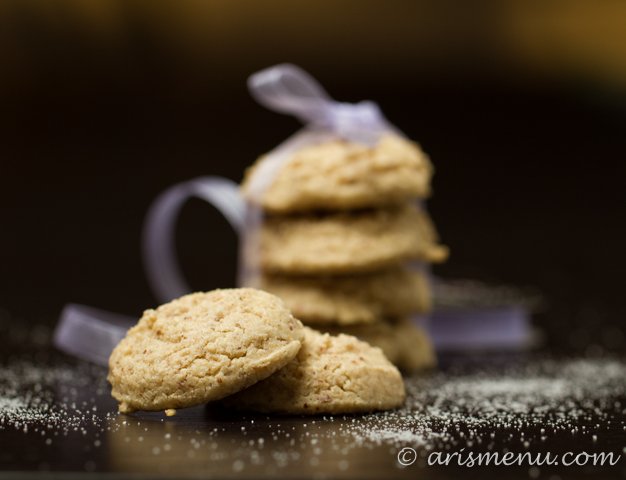
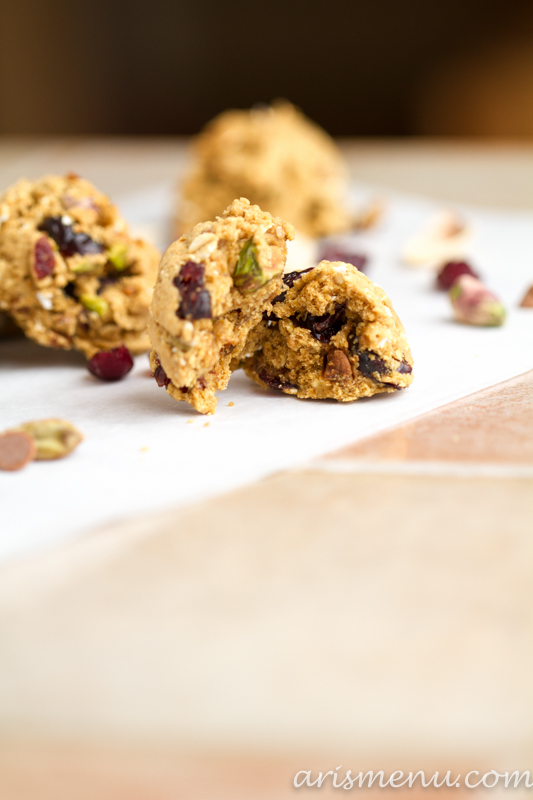
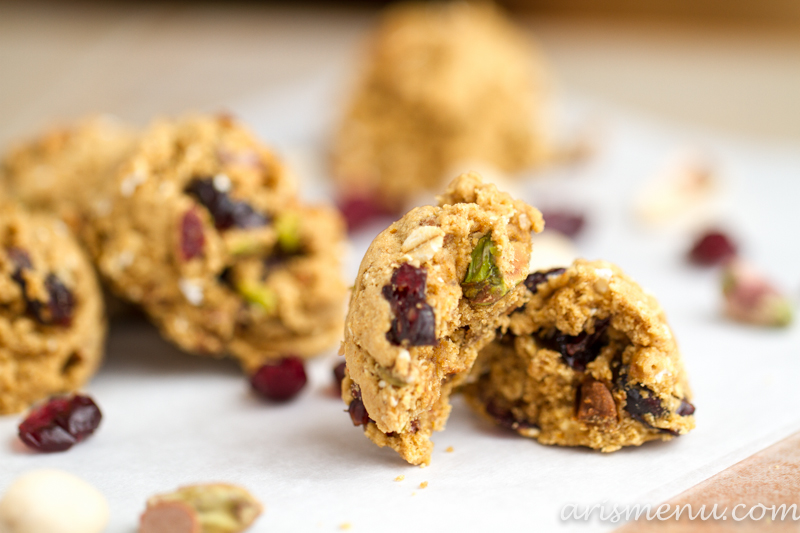
Well, I can’t tell you what they looked like when they got there, but I can tell you that I absolutely loved them. They were unbelievably soft and fluffy, and the vanilla flavor was so bold, but definitely a nice change from all the chocolate I’ve been devouring. 😉
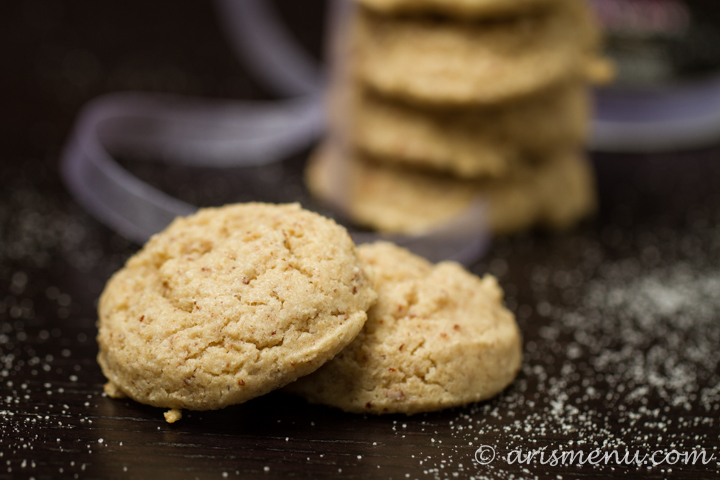
I used coconut oil + vanilla yogurt instead of my usual apple butter. I wanted to keep the color as light as possible. Between the brown rice flour, oat flour and almond meal in my baking blend, it’s really tough to get cookies that look like the original, and I couldn’t get past the idea of brown sugar cookies, so I did everything I could to keep these as white as possible. The little bit of coconut oil adds an immense amount of softness and richness to the texture, making the cookies satisfying and irresistible.
Pillowy soft, fluffy, and loaded with vanilla flavor, these sugar cookies are irresistible. Eat them plain, frost them, or decorate with your favorite holiday decorations.
Ingredients
- 5 cups gluten-free baking blend
- 1 1/2 tbsp baking soda
- pinch salt
- 1 1/2 cups granulated sugar
- 1 cup nonfat vanilla yogurt
- 1/2 cup coconut oil, melted
- 2 eggs
- 1 1/2 tbsp vanilla extract
Instructions
- In a medium bowl, whisk together baking blend, baking soda and salt. In a large bowl, beat together sugar, yogurt and coconut oil. Beat in eggs one at a time, then add vanilla. Add dry ingredients and beat until just combined, scraping down sides of the bowl as necessary. Cover and chill for 30-60 minutes.
- Preheat oven to 350. Line baking sheets with silpat or parchment paper. Use a small cookie scoop to transfer dough onto prepared baking sheet. Bake until outsides are just set, about 8-10 minutes. Cookies will look underdone. Do not over bake. Cool completely on baking sheet. Store in an airtight container at room temperature for up to 1 week.