The time has finally come! The time to share my Food Blogger Cookie Swap creation! For those of you that don’t know, the way this swap worked is hundreds of bloggers signed up to take part of the giving that two fabulous bloggers organized. We were each sent the names, addresses and blog urls of 3 people who we would send a dozen cookies to each. I was so excited to get 3 people who were completely new to me! There are so many blogs out there, that it is always nice to be introduced to new ones.
The truth is, as soon as it came down to actually make the cookies, I started regretting my decision. I started to get a lot of anxiety about what to make and if other people would enjoy my baking or if they would think it was bad or if the cookies would stay fresh–this is still my biggest concern. The thing that I’ve noticed about my healthier baking is that if not stored perfectly, a lot of times things are likely to go stale a little bit faster. I feel like using less fat it is just a little easier for things to get dried out. Generally, however, if kept in air tight containers, I’m good. I was just nervous because this is a new recipe so I wasn’t sure about shelf life.
In true Ari fashion I waited until the day before send off day to bake my cookies. Also, the first day of tech week. Smart, Ari. So at 9pm after being at the theater all day, I got in the kitchen and was feeling less than thrilled. I had made pretty much this same cookie (I just had a few ideas to make it extra special 🙂 ) for my dad’s half birthday and it was such a huge hit that I changed my original cookie plan which involved chocolate, peanut butter and pretzels and went with this instead.
And everything seemed to be going well, and as planned.
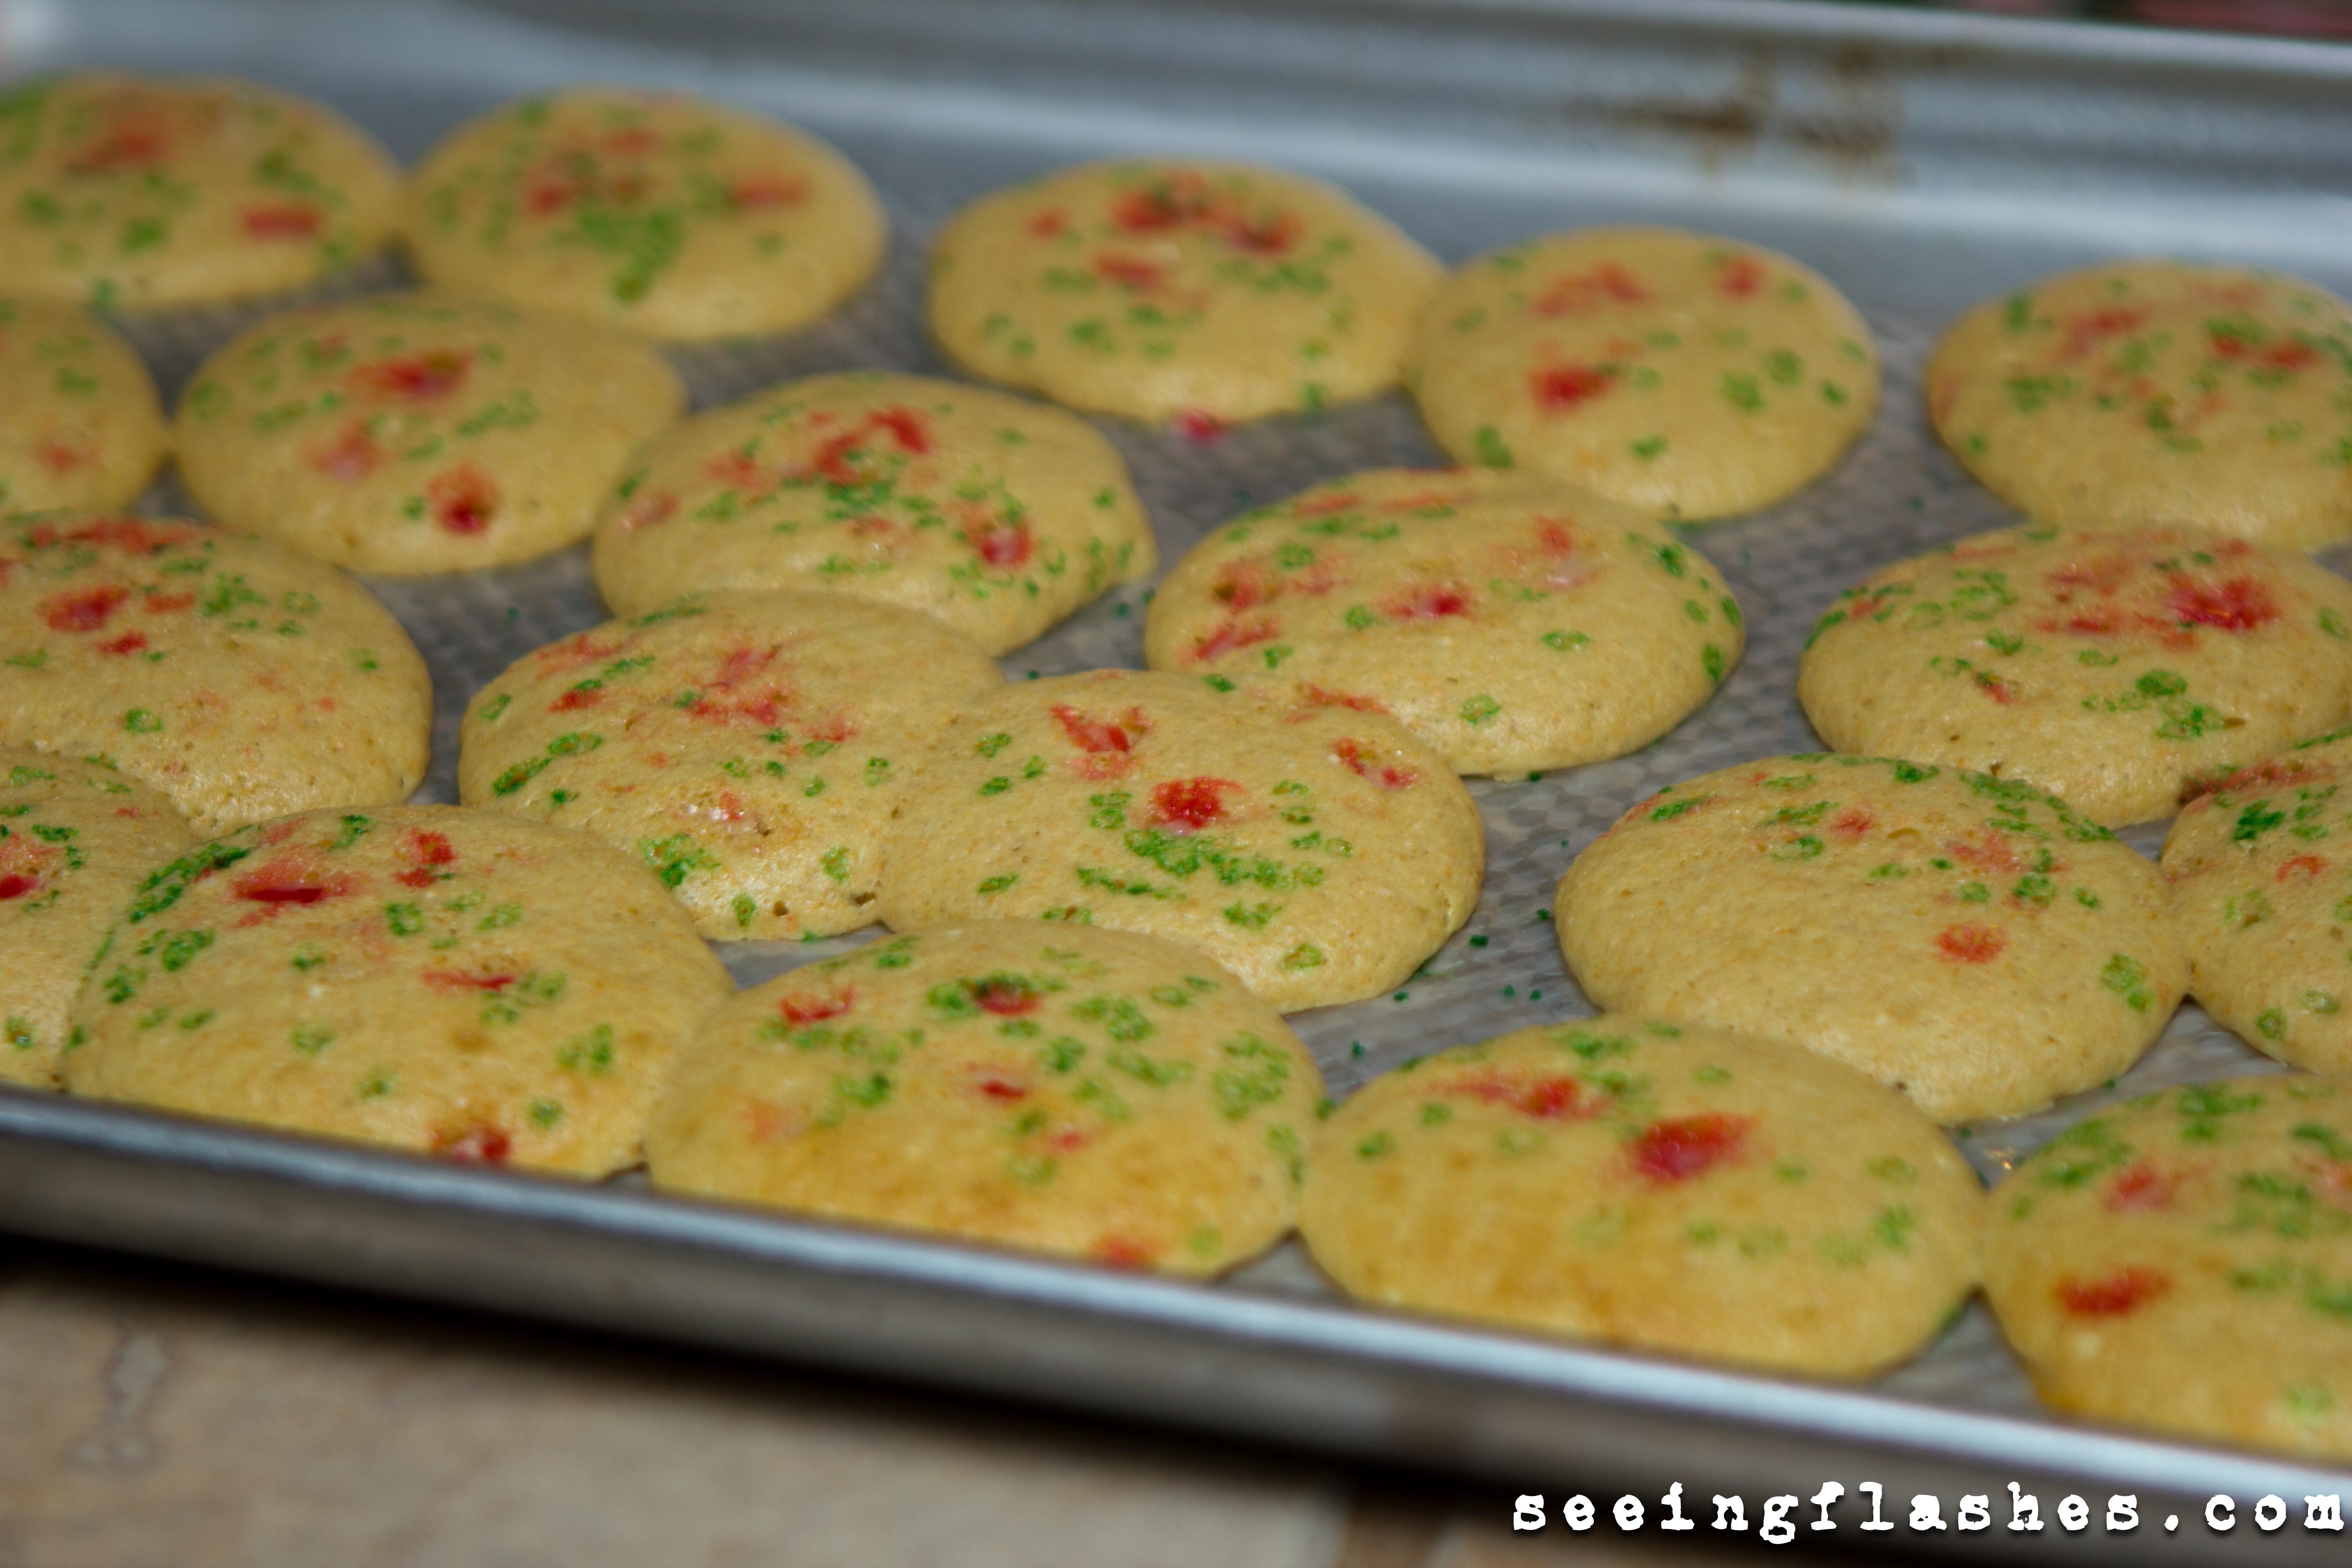
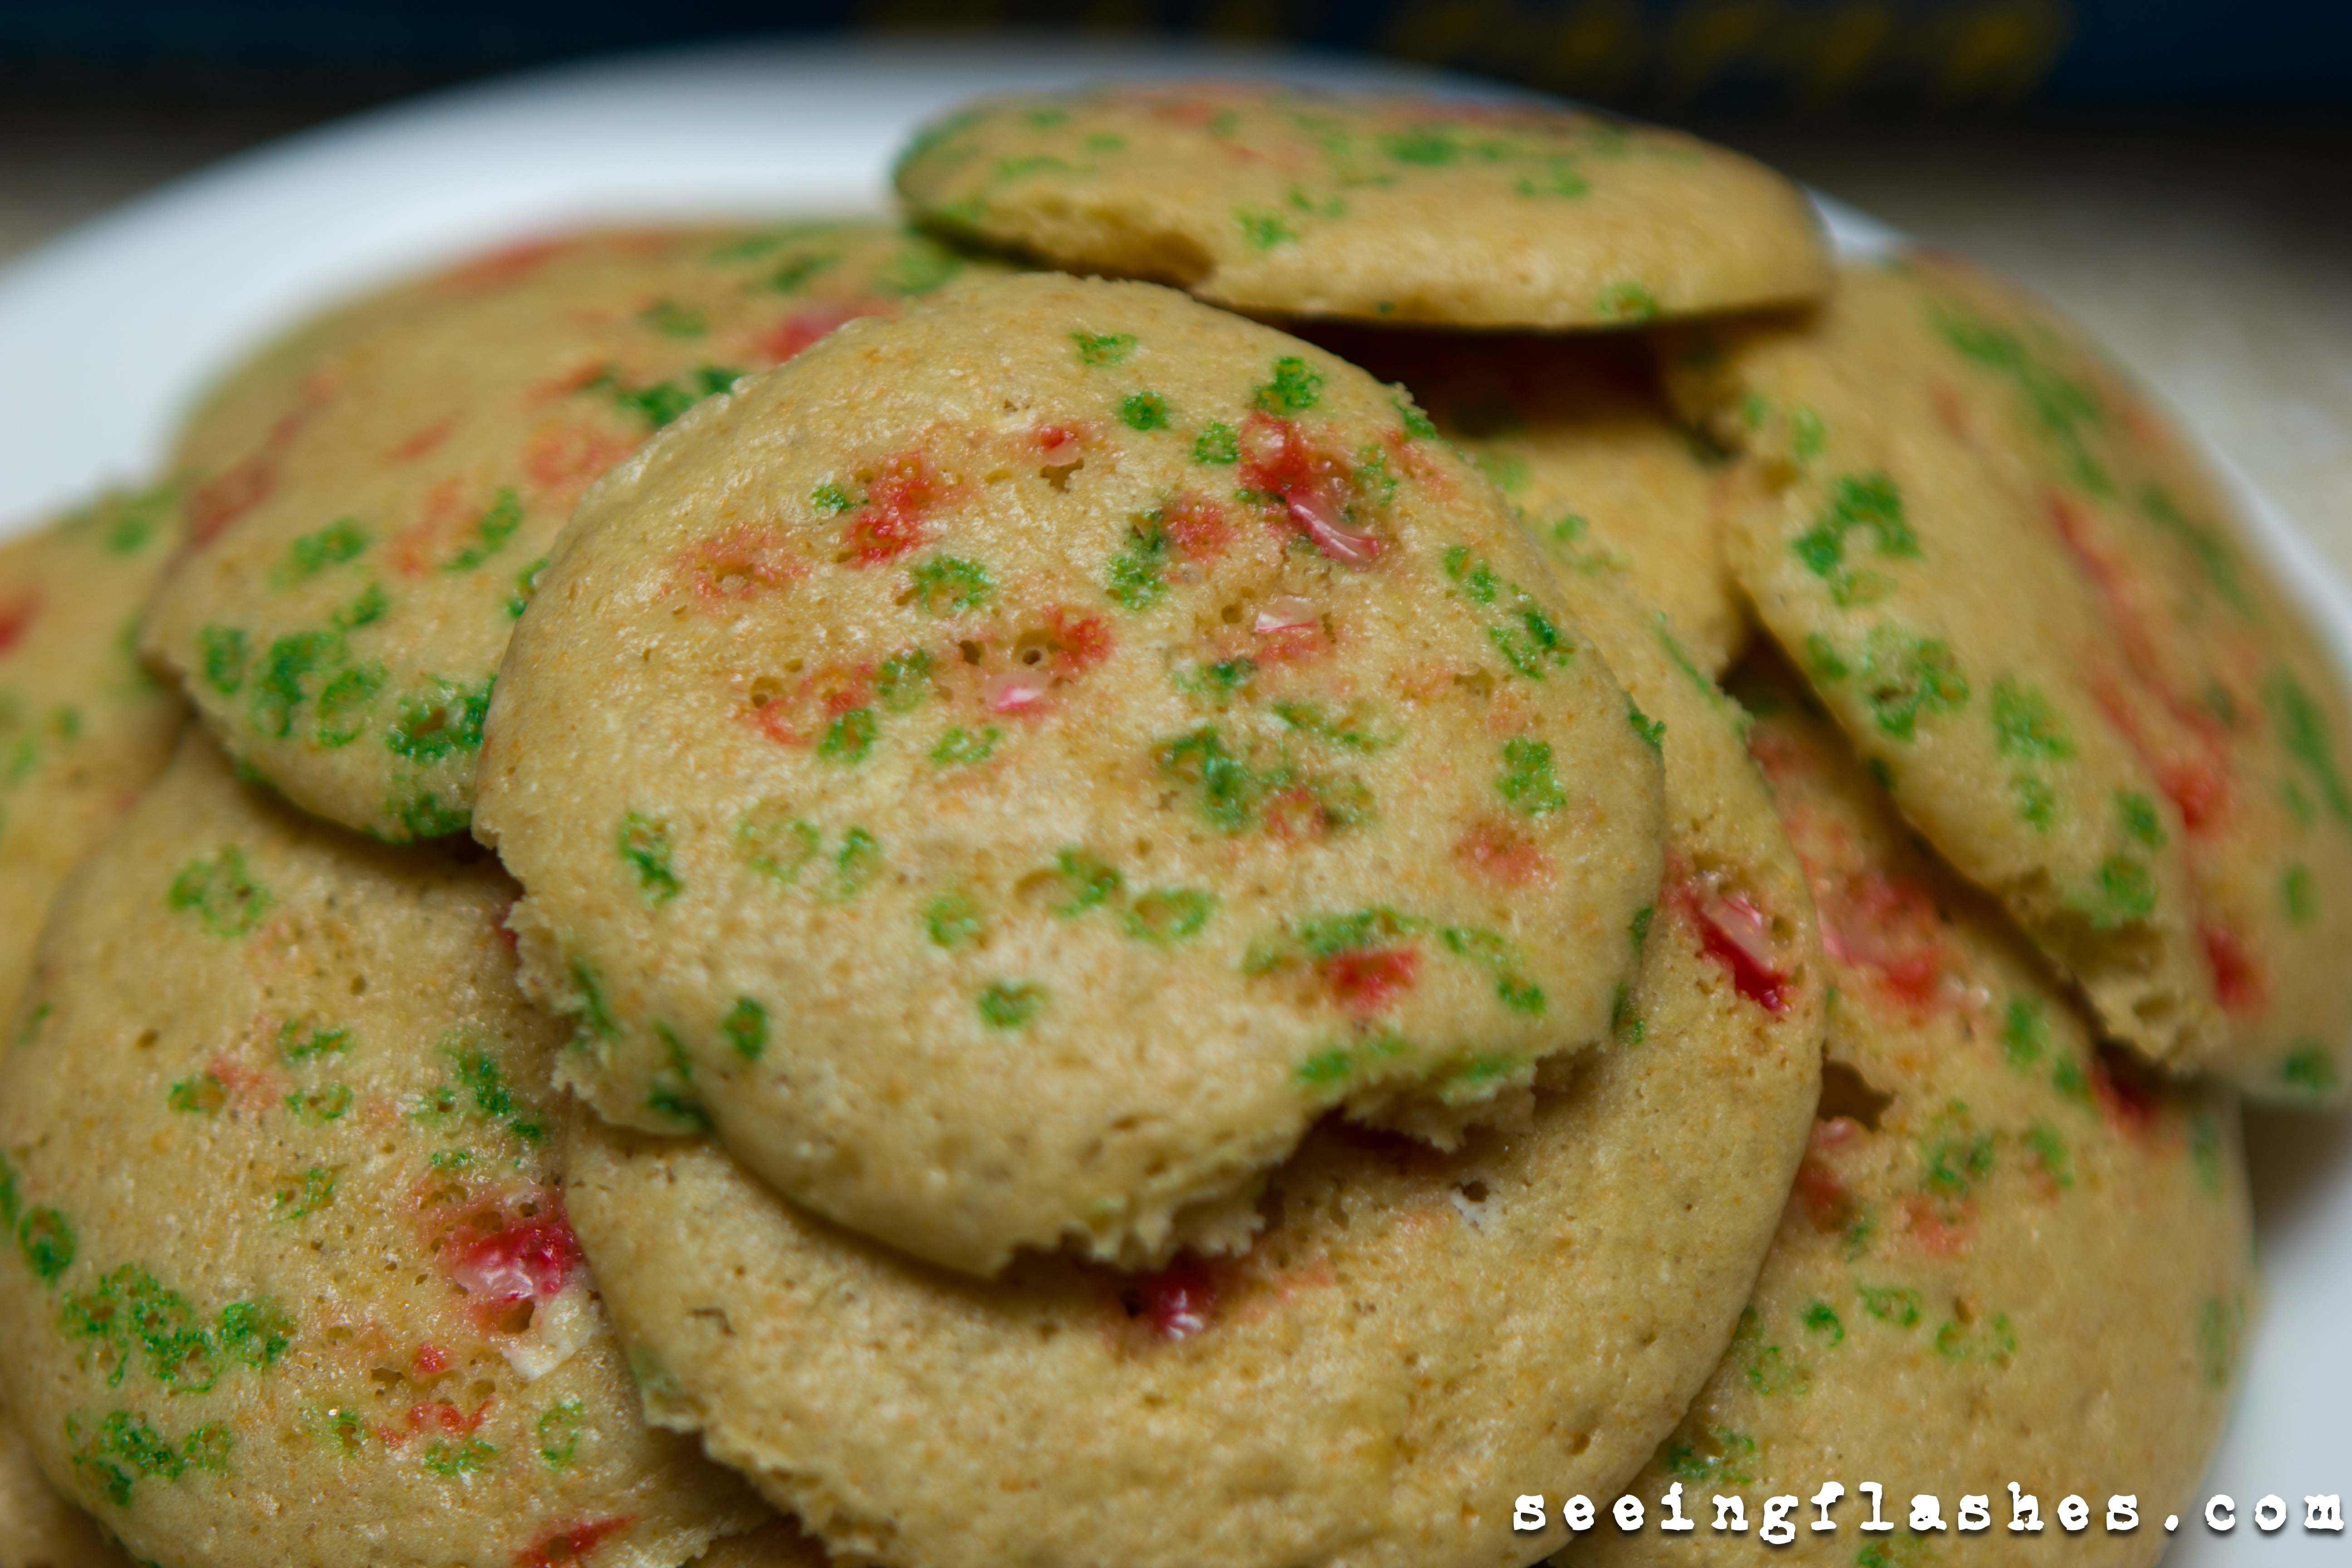
Then they came out of the oven and looked like this.
I still wasn’t sure what had happened, but I knew that they tasted good so I kept going for a bit, trying to get them together.
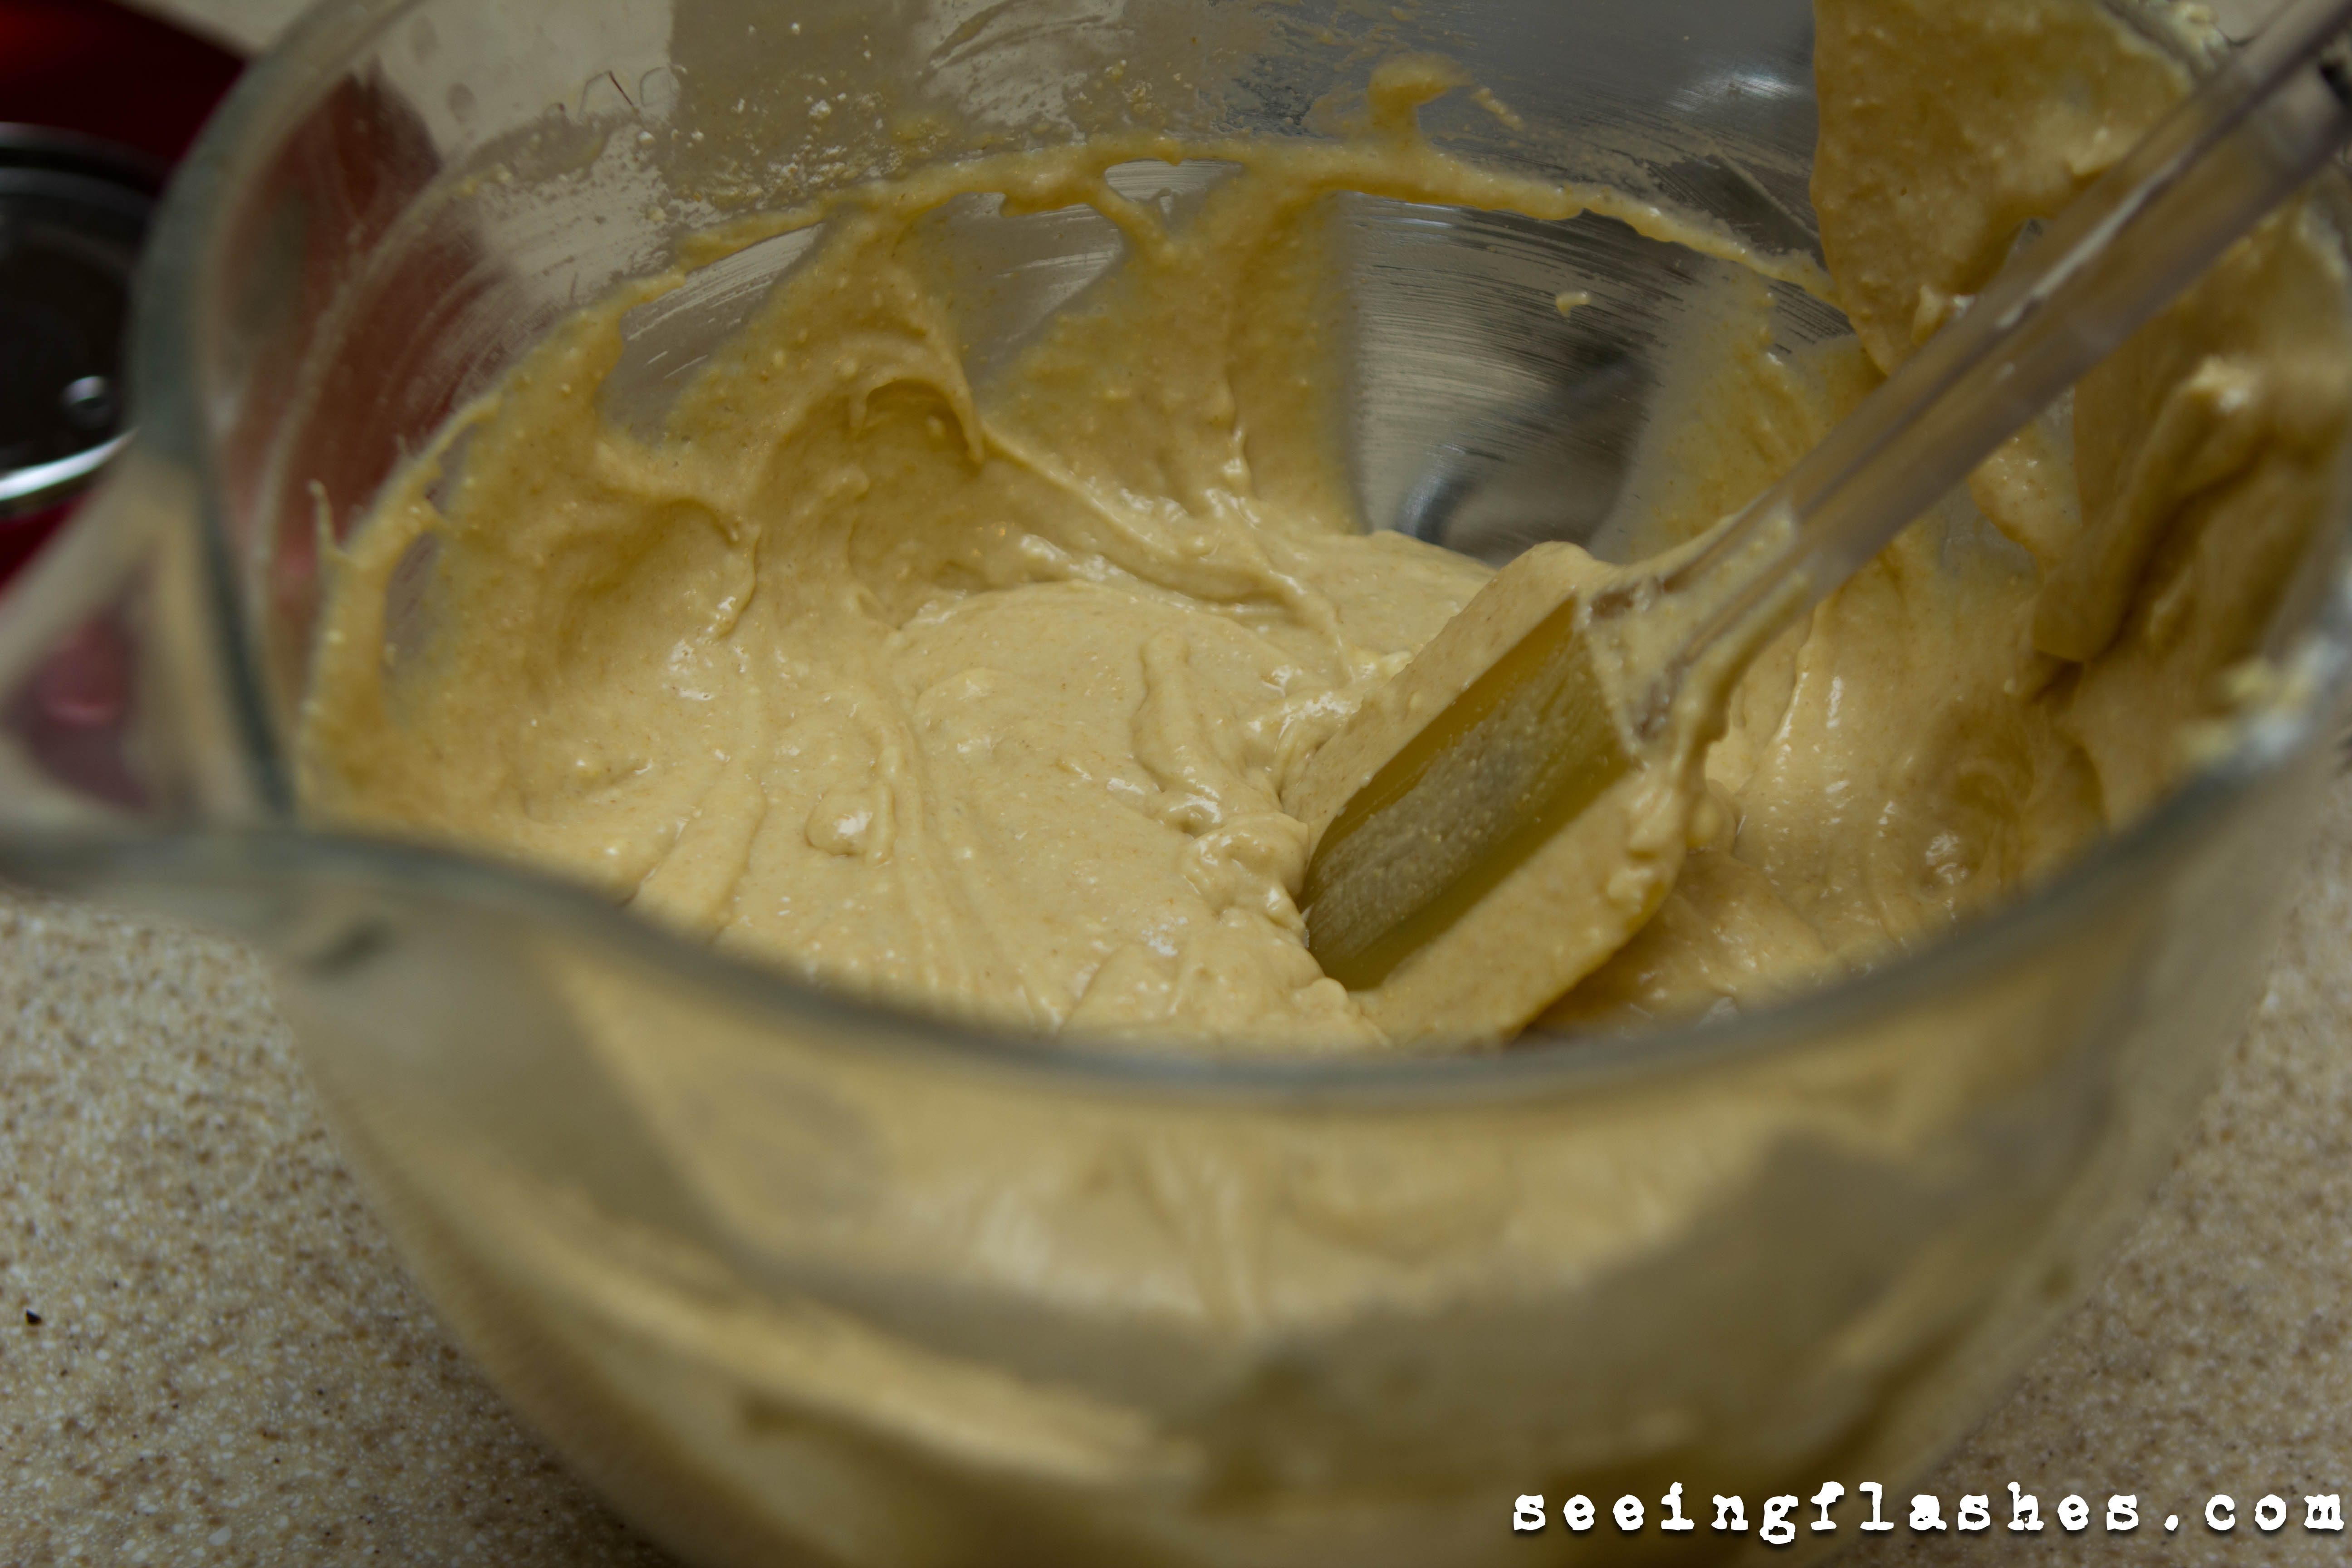
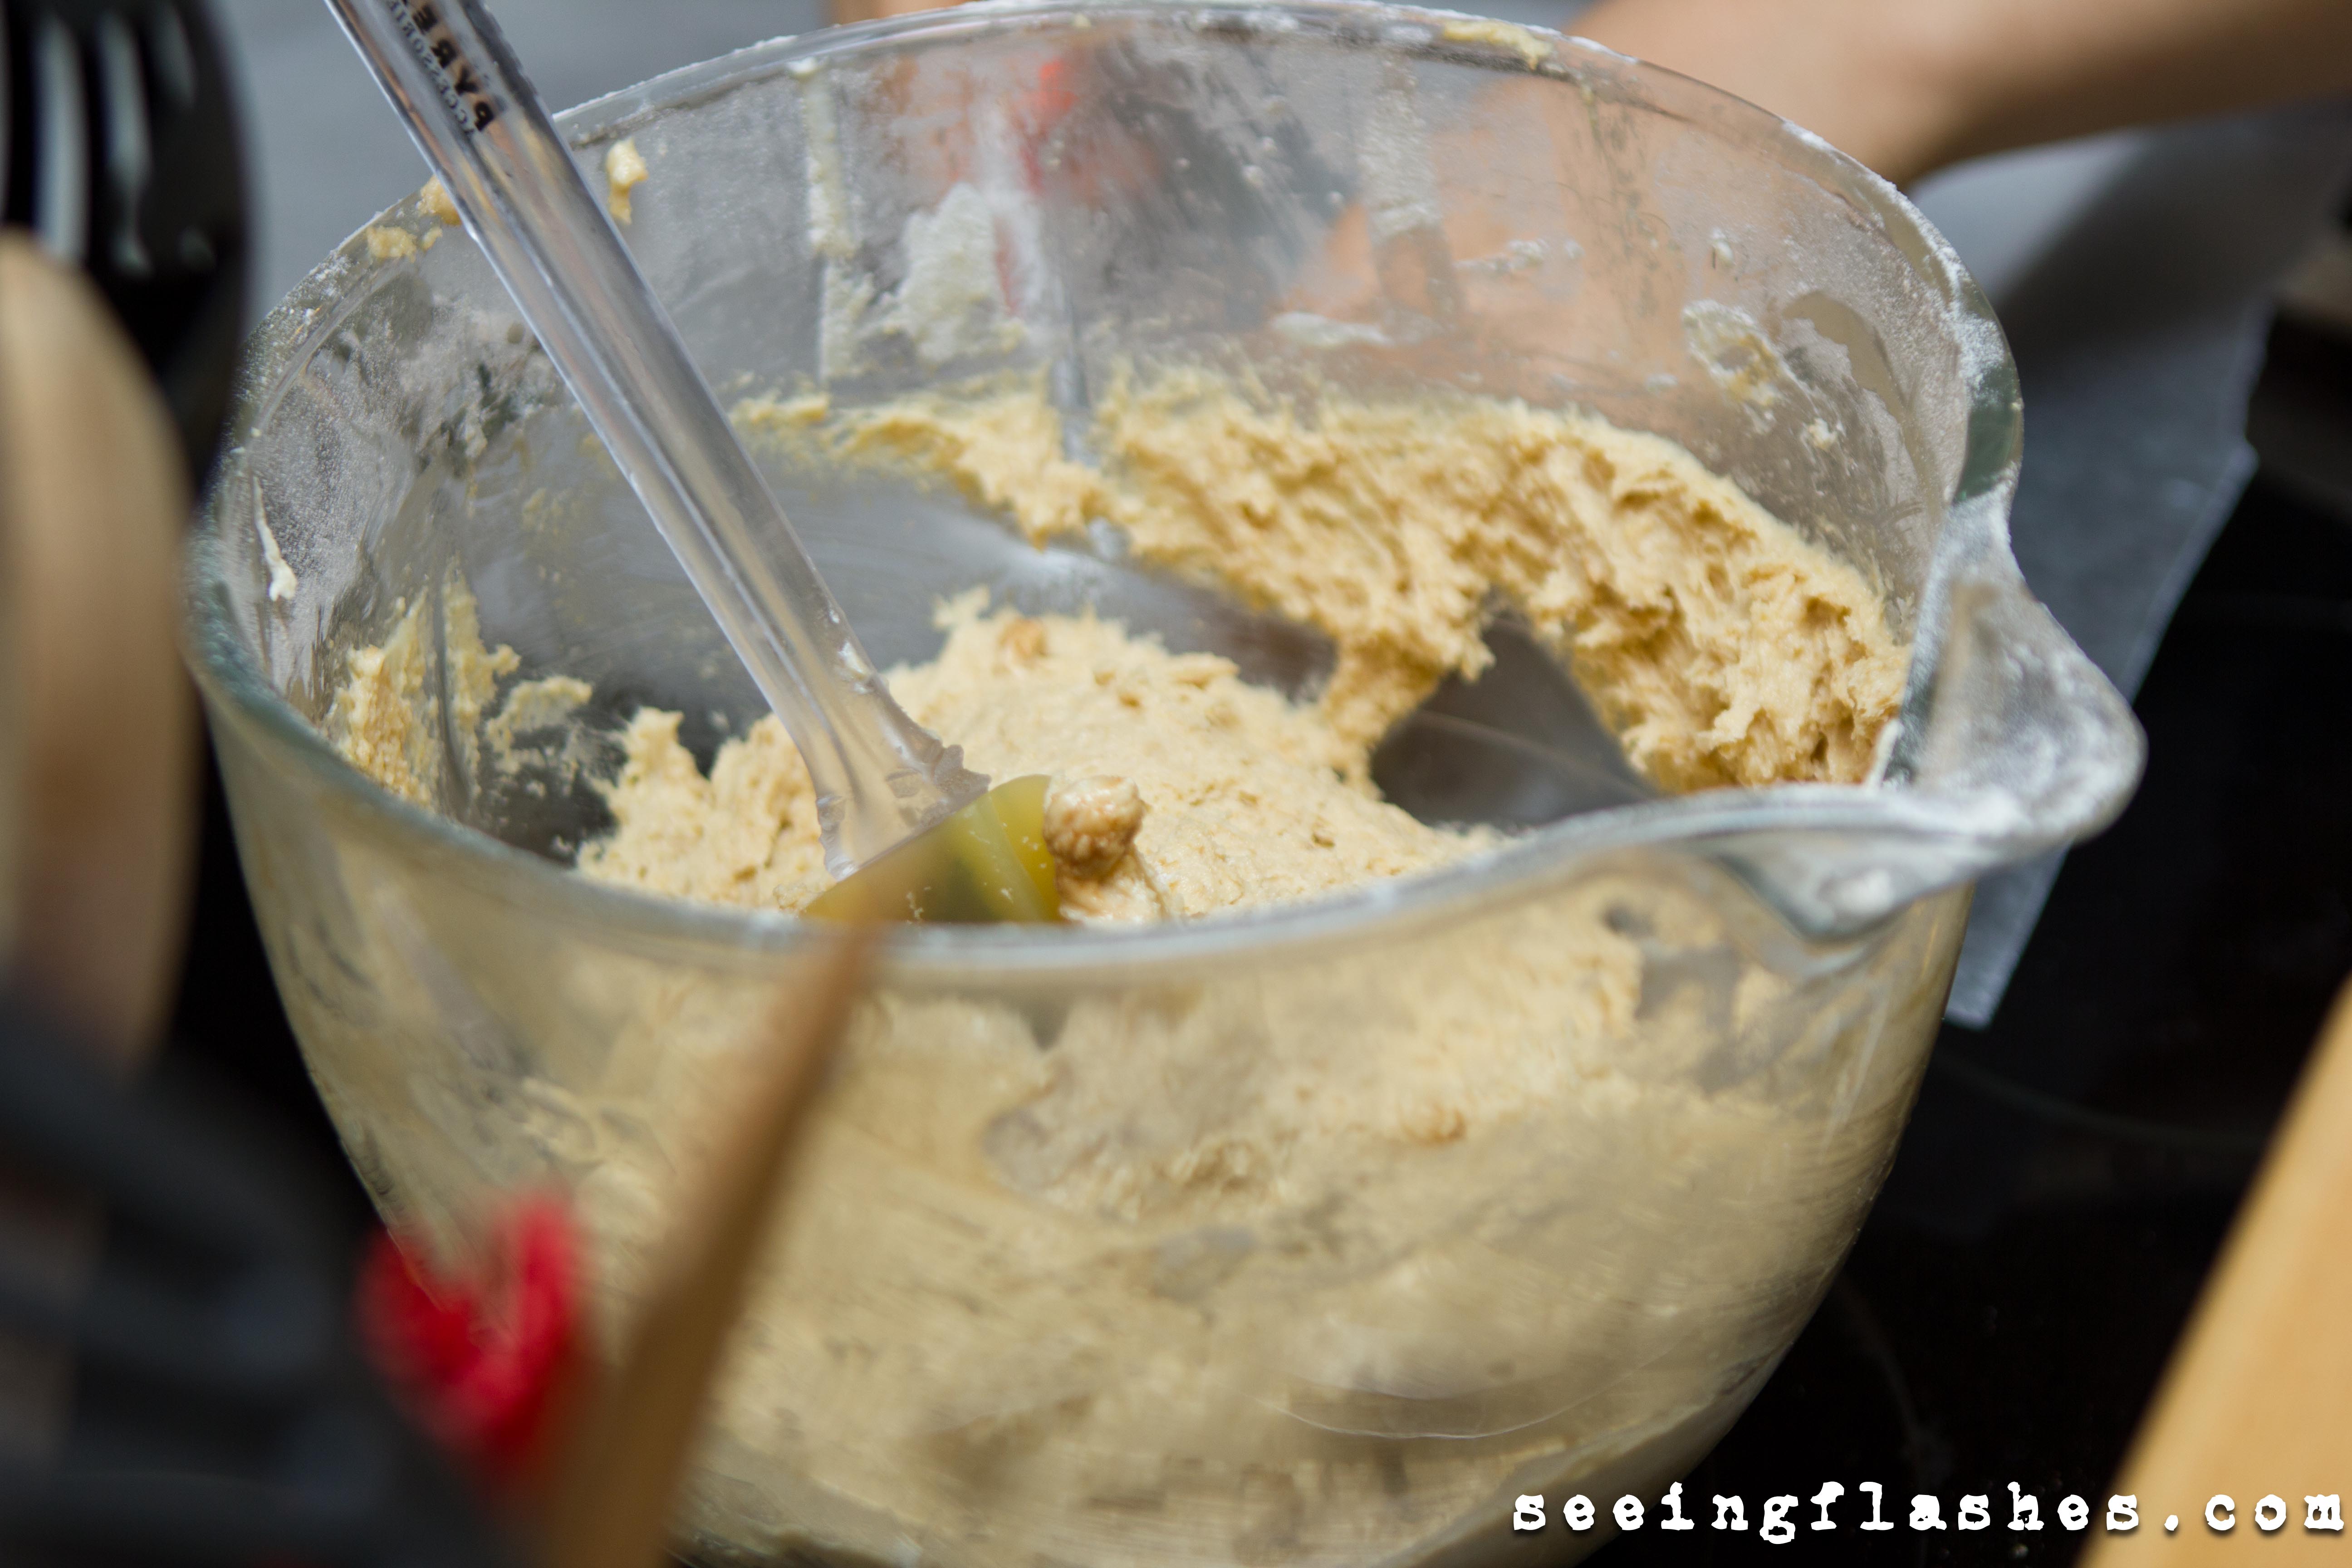
Finally I admitted to myself that these were way too flimsy, and just not right. I couldn’t figure out what I had done wrong so I grumpily went to bed and decided I would get up and bake first thing the next morning. During my tossing and turning, it finally dawned on me!!! I had doubled the recipe (which when you are as bad at focusing as I am can be dangerous). Well, I had doubled everything….except the flour. I really thought I had doubled the flour, but going back through my steps, I realized I hadn’t. That’s why they turned out more like cake!
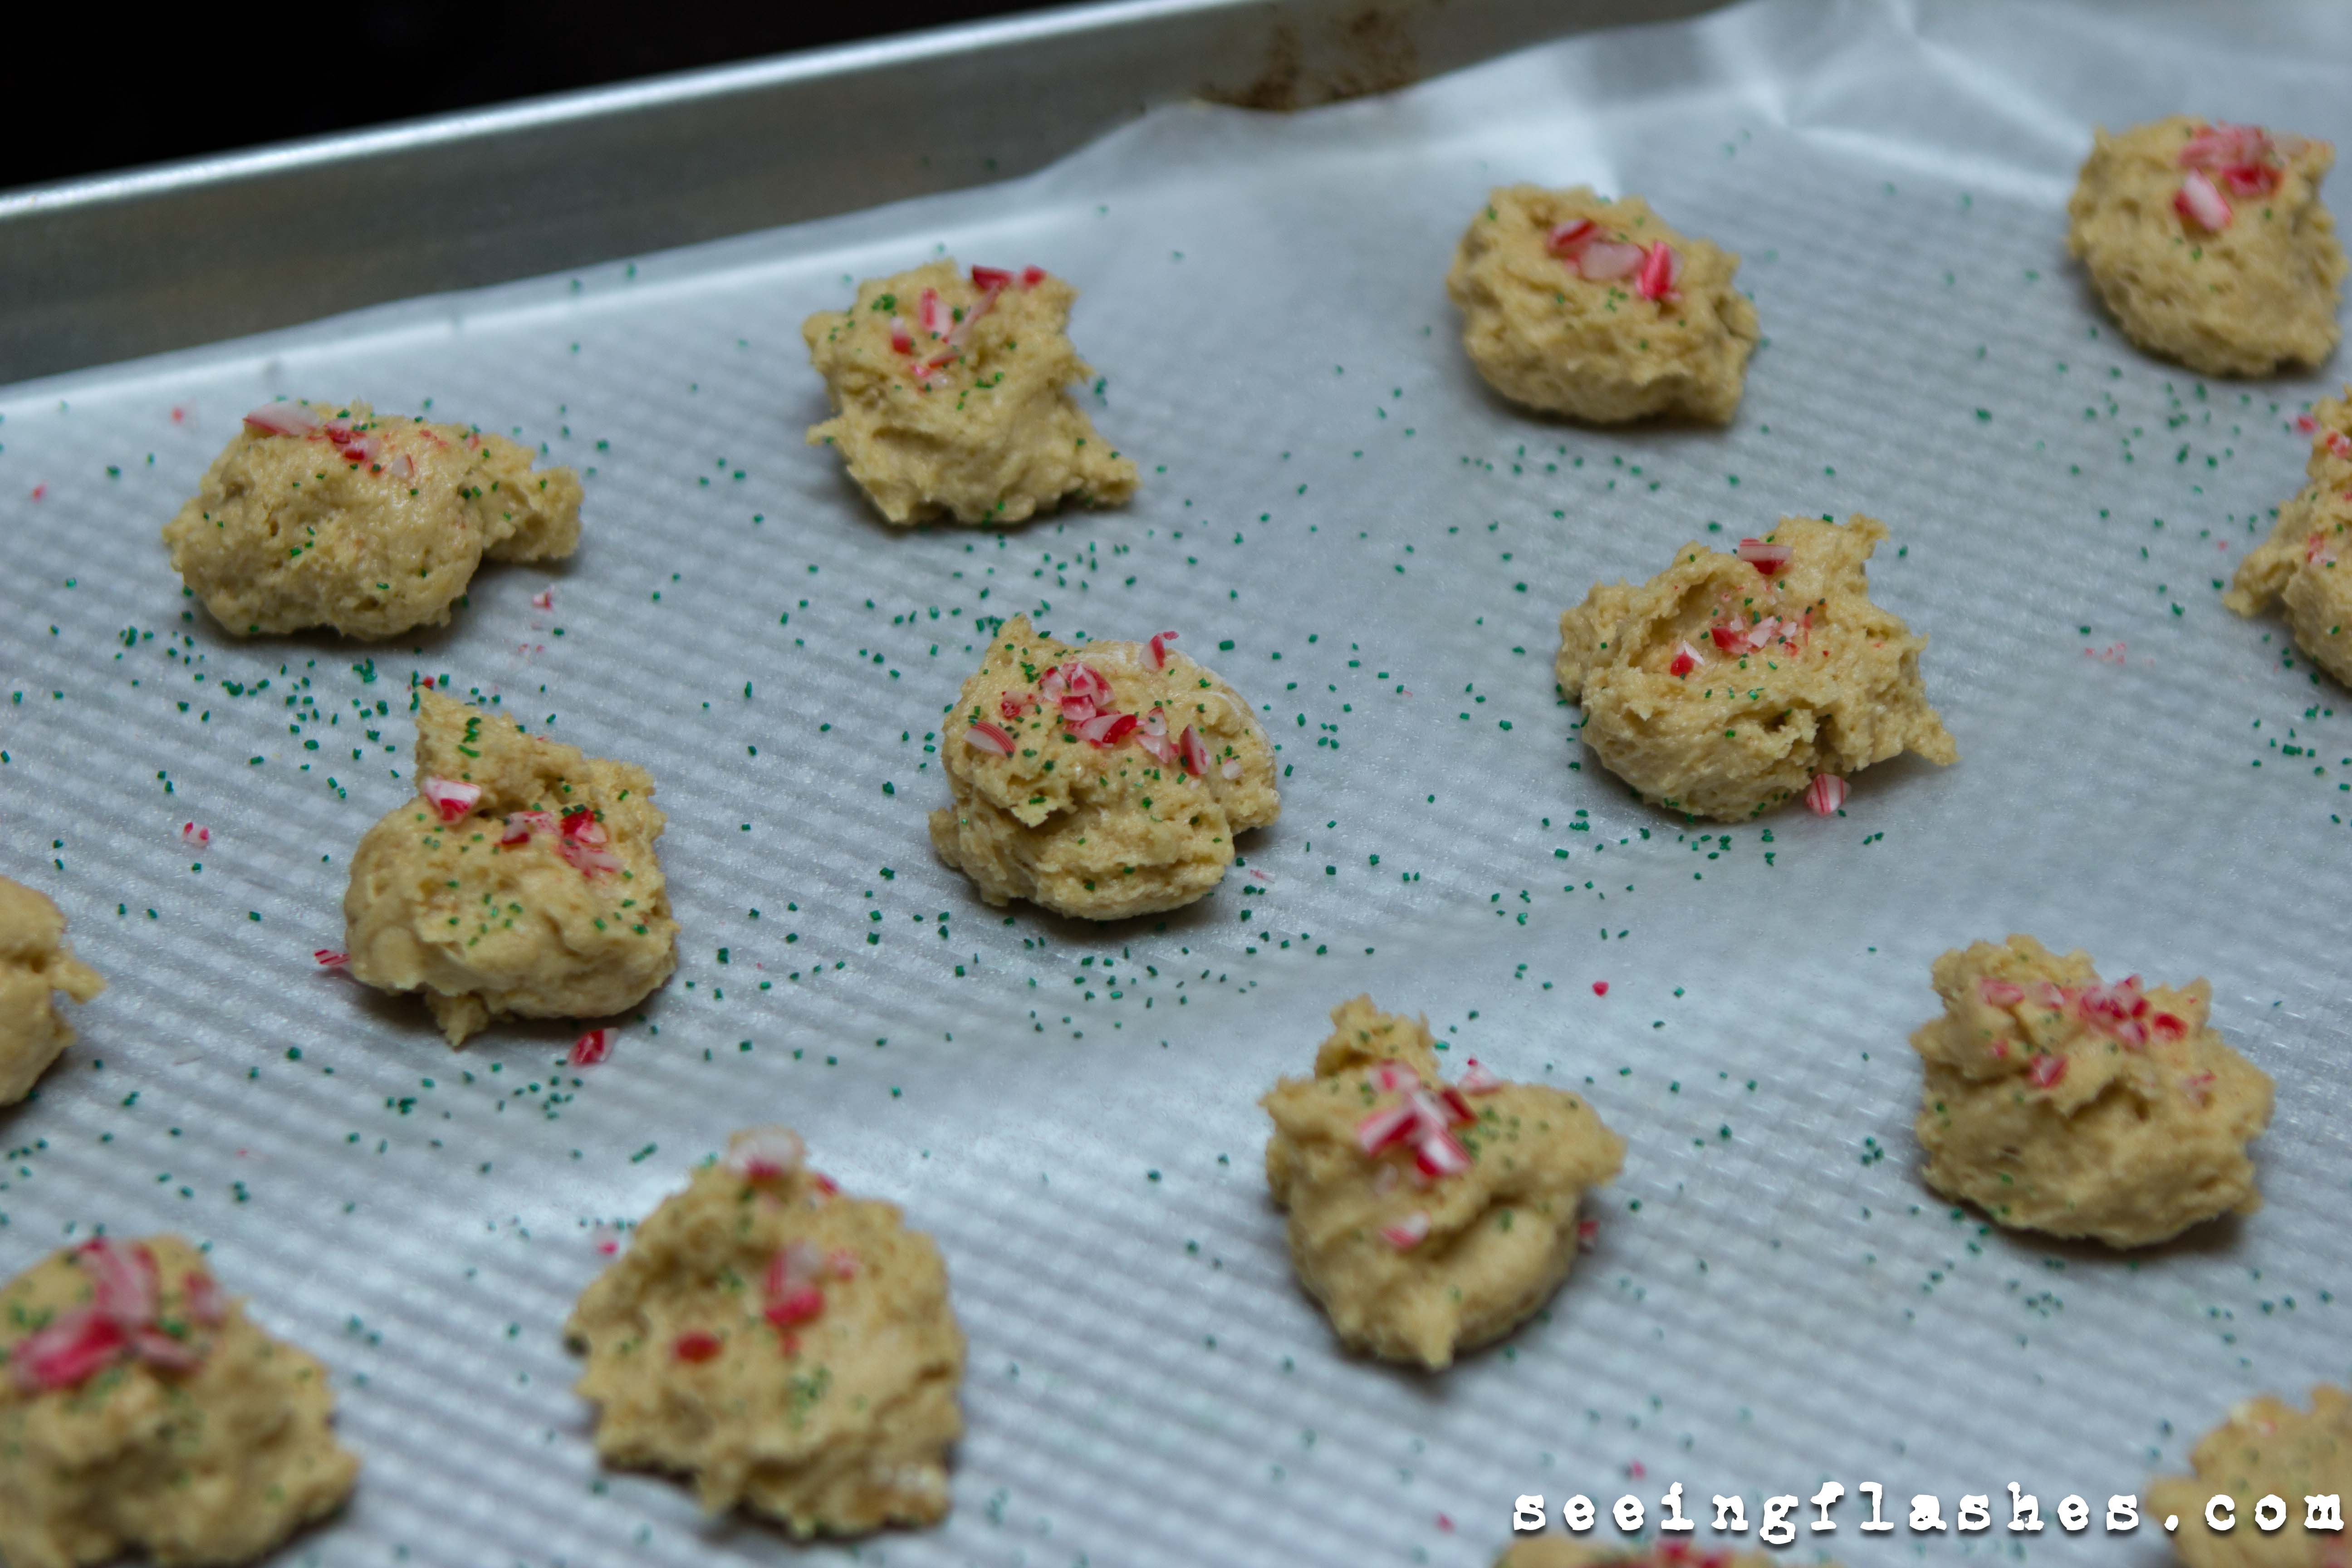
You can see the evidence in the dough
Batch 1:
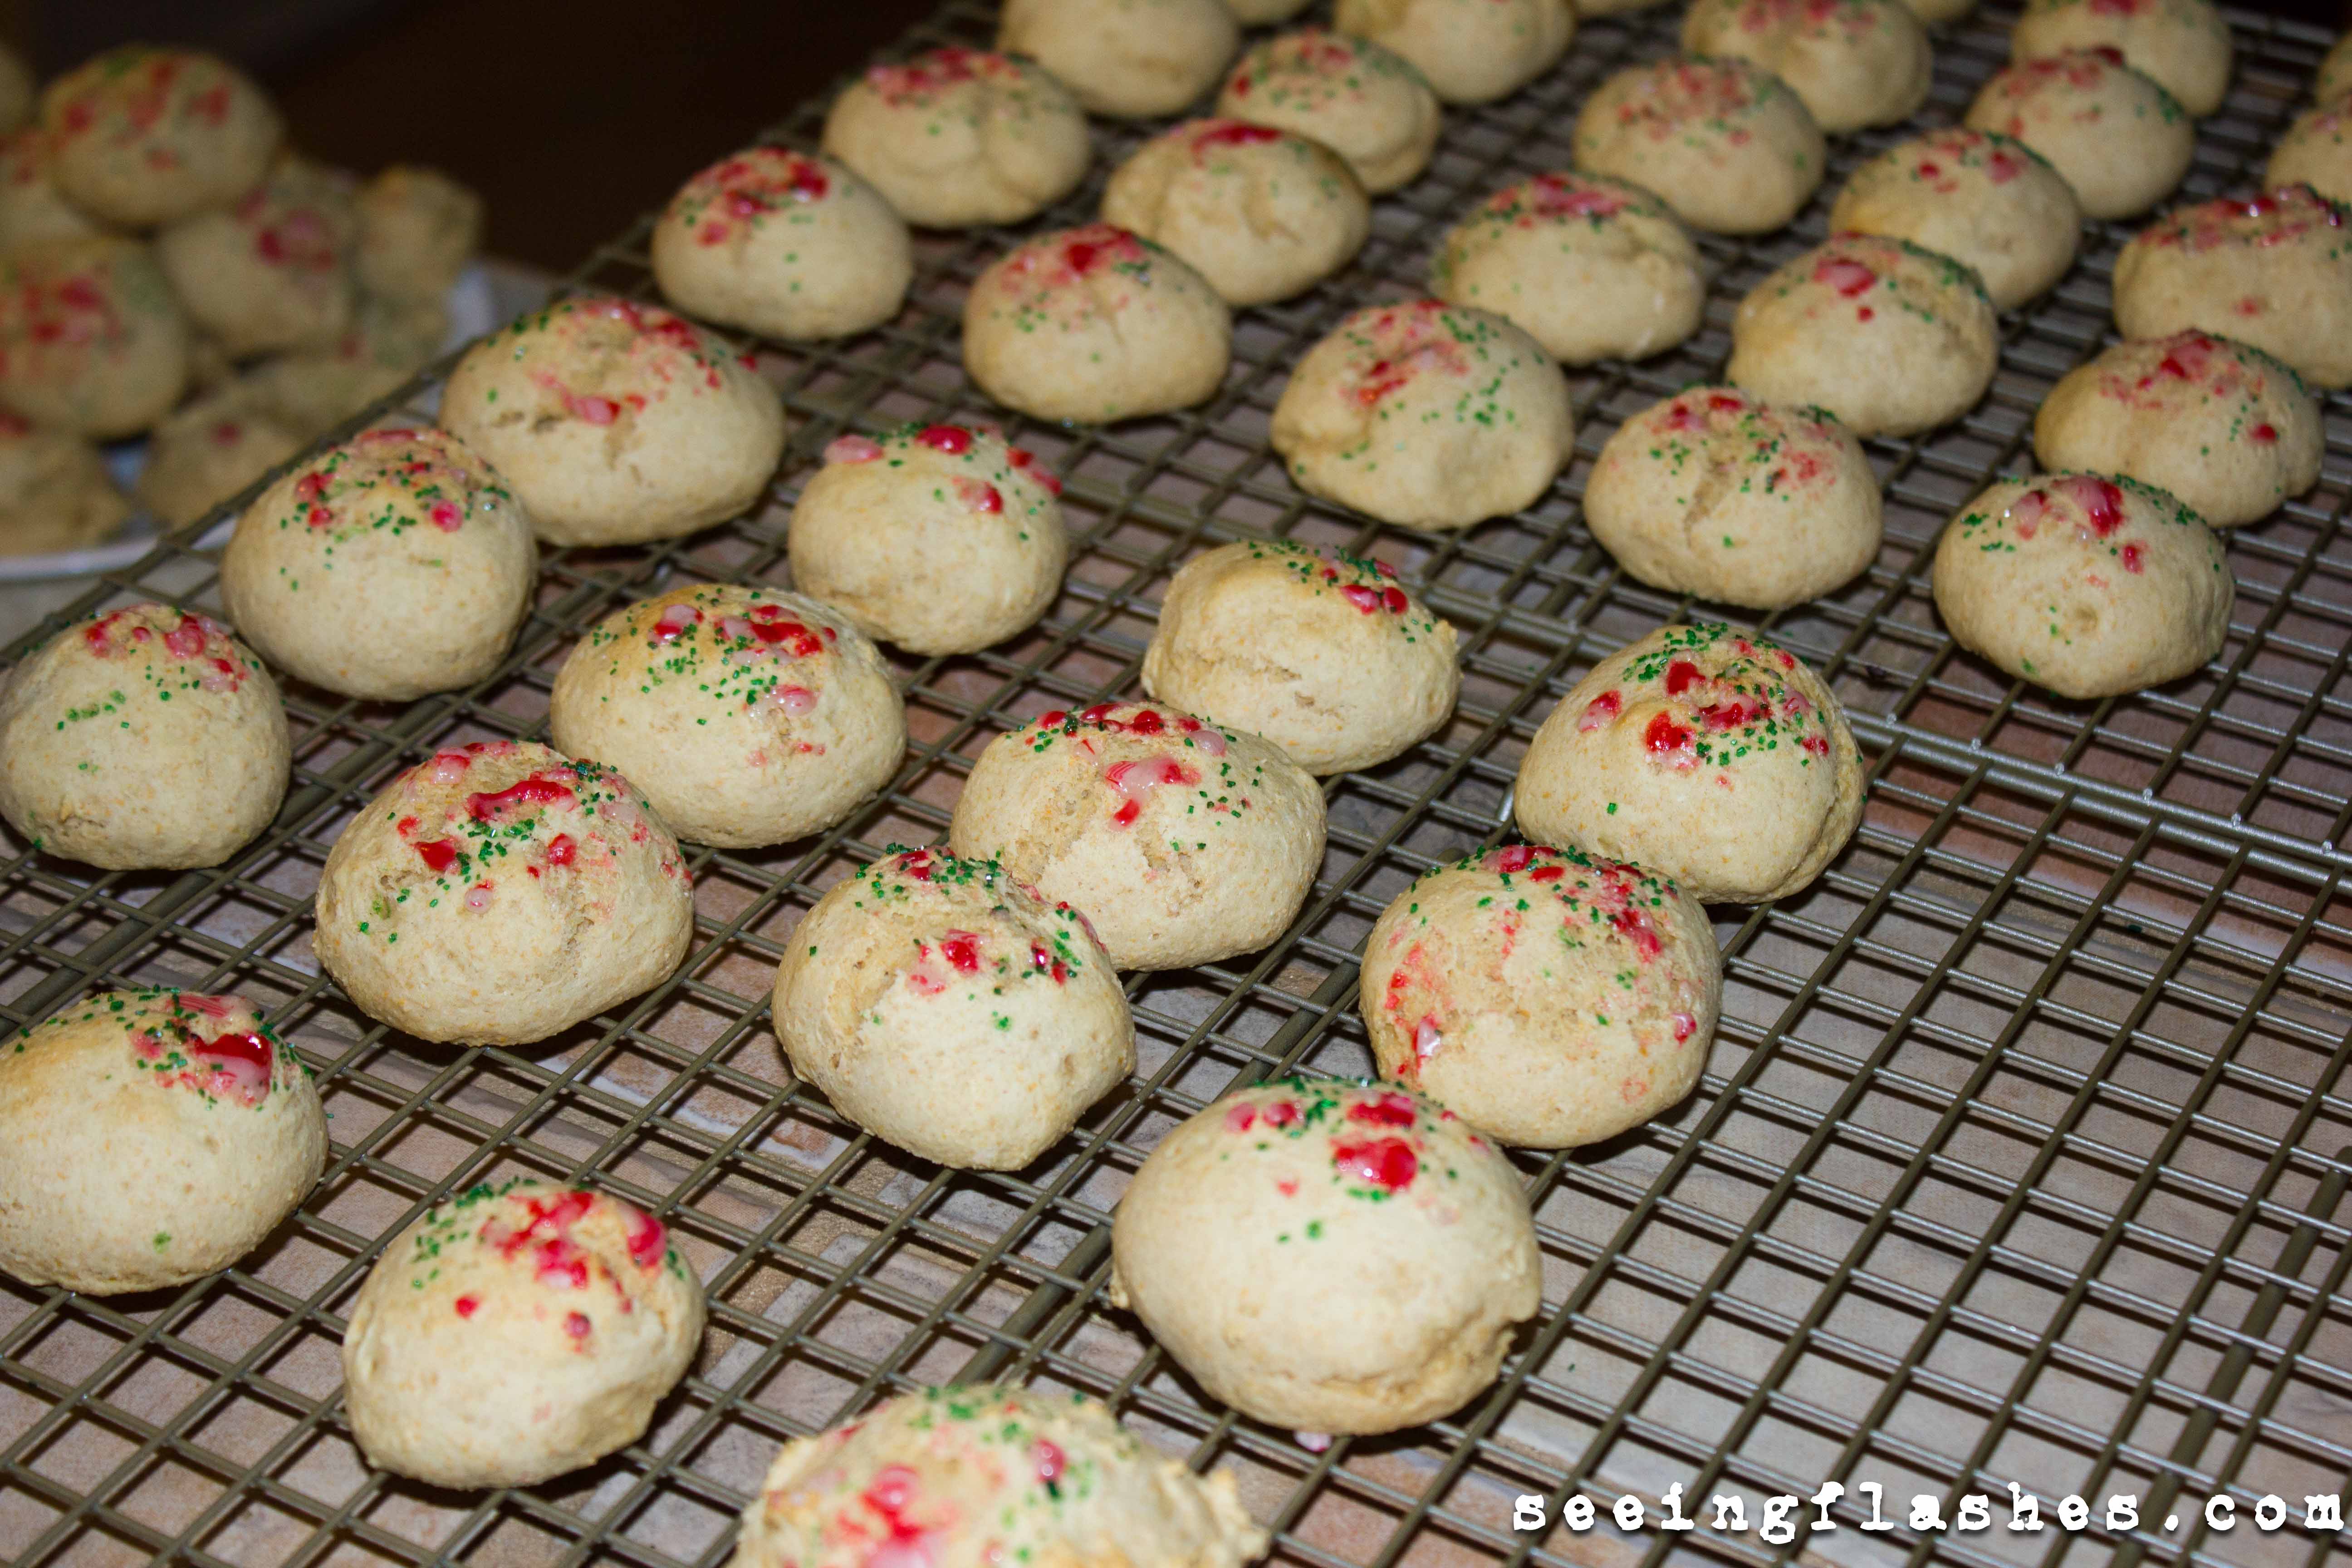
Batch 2:
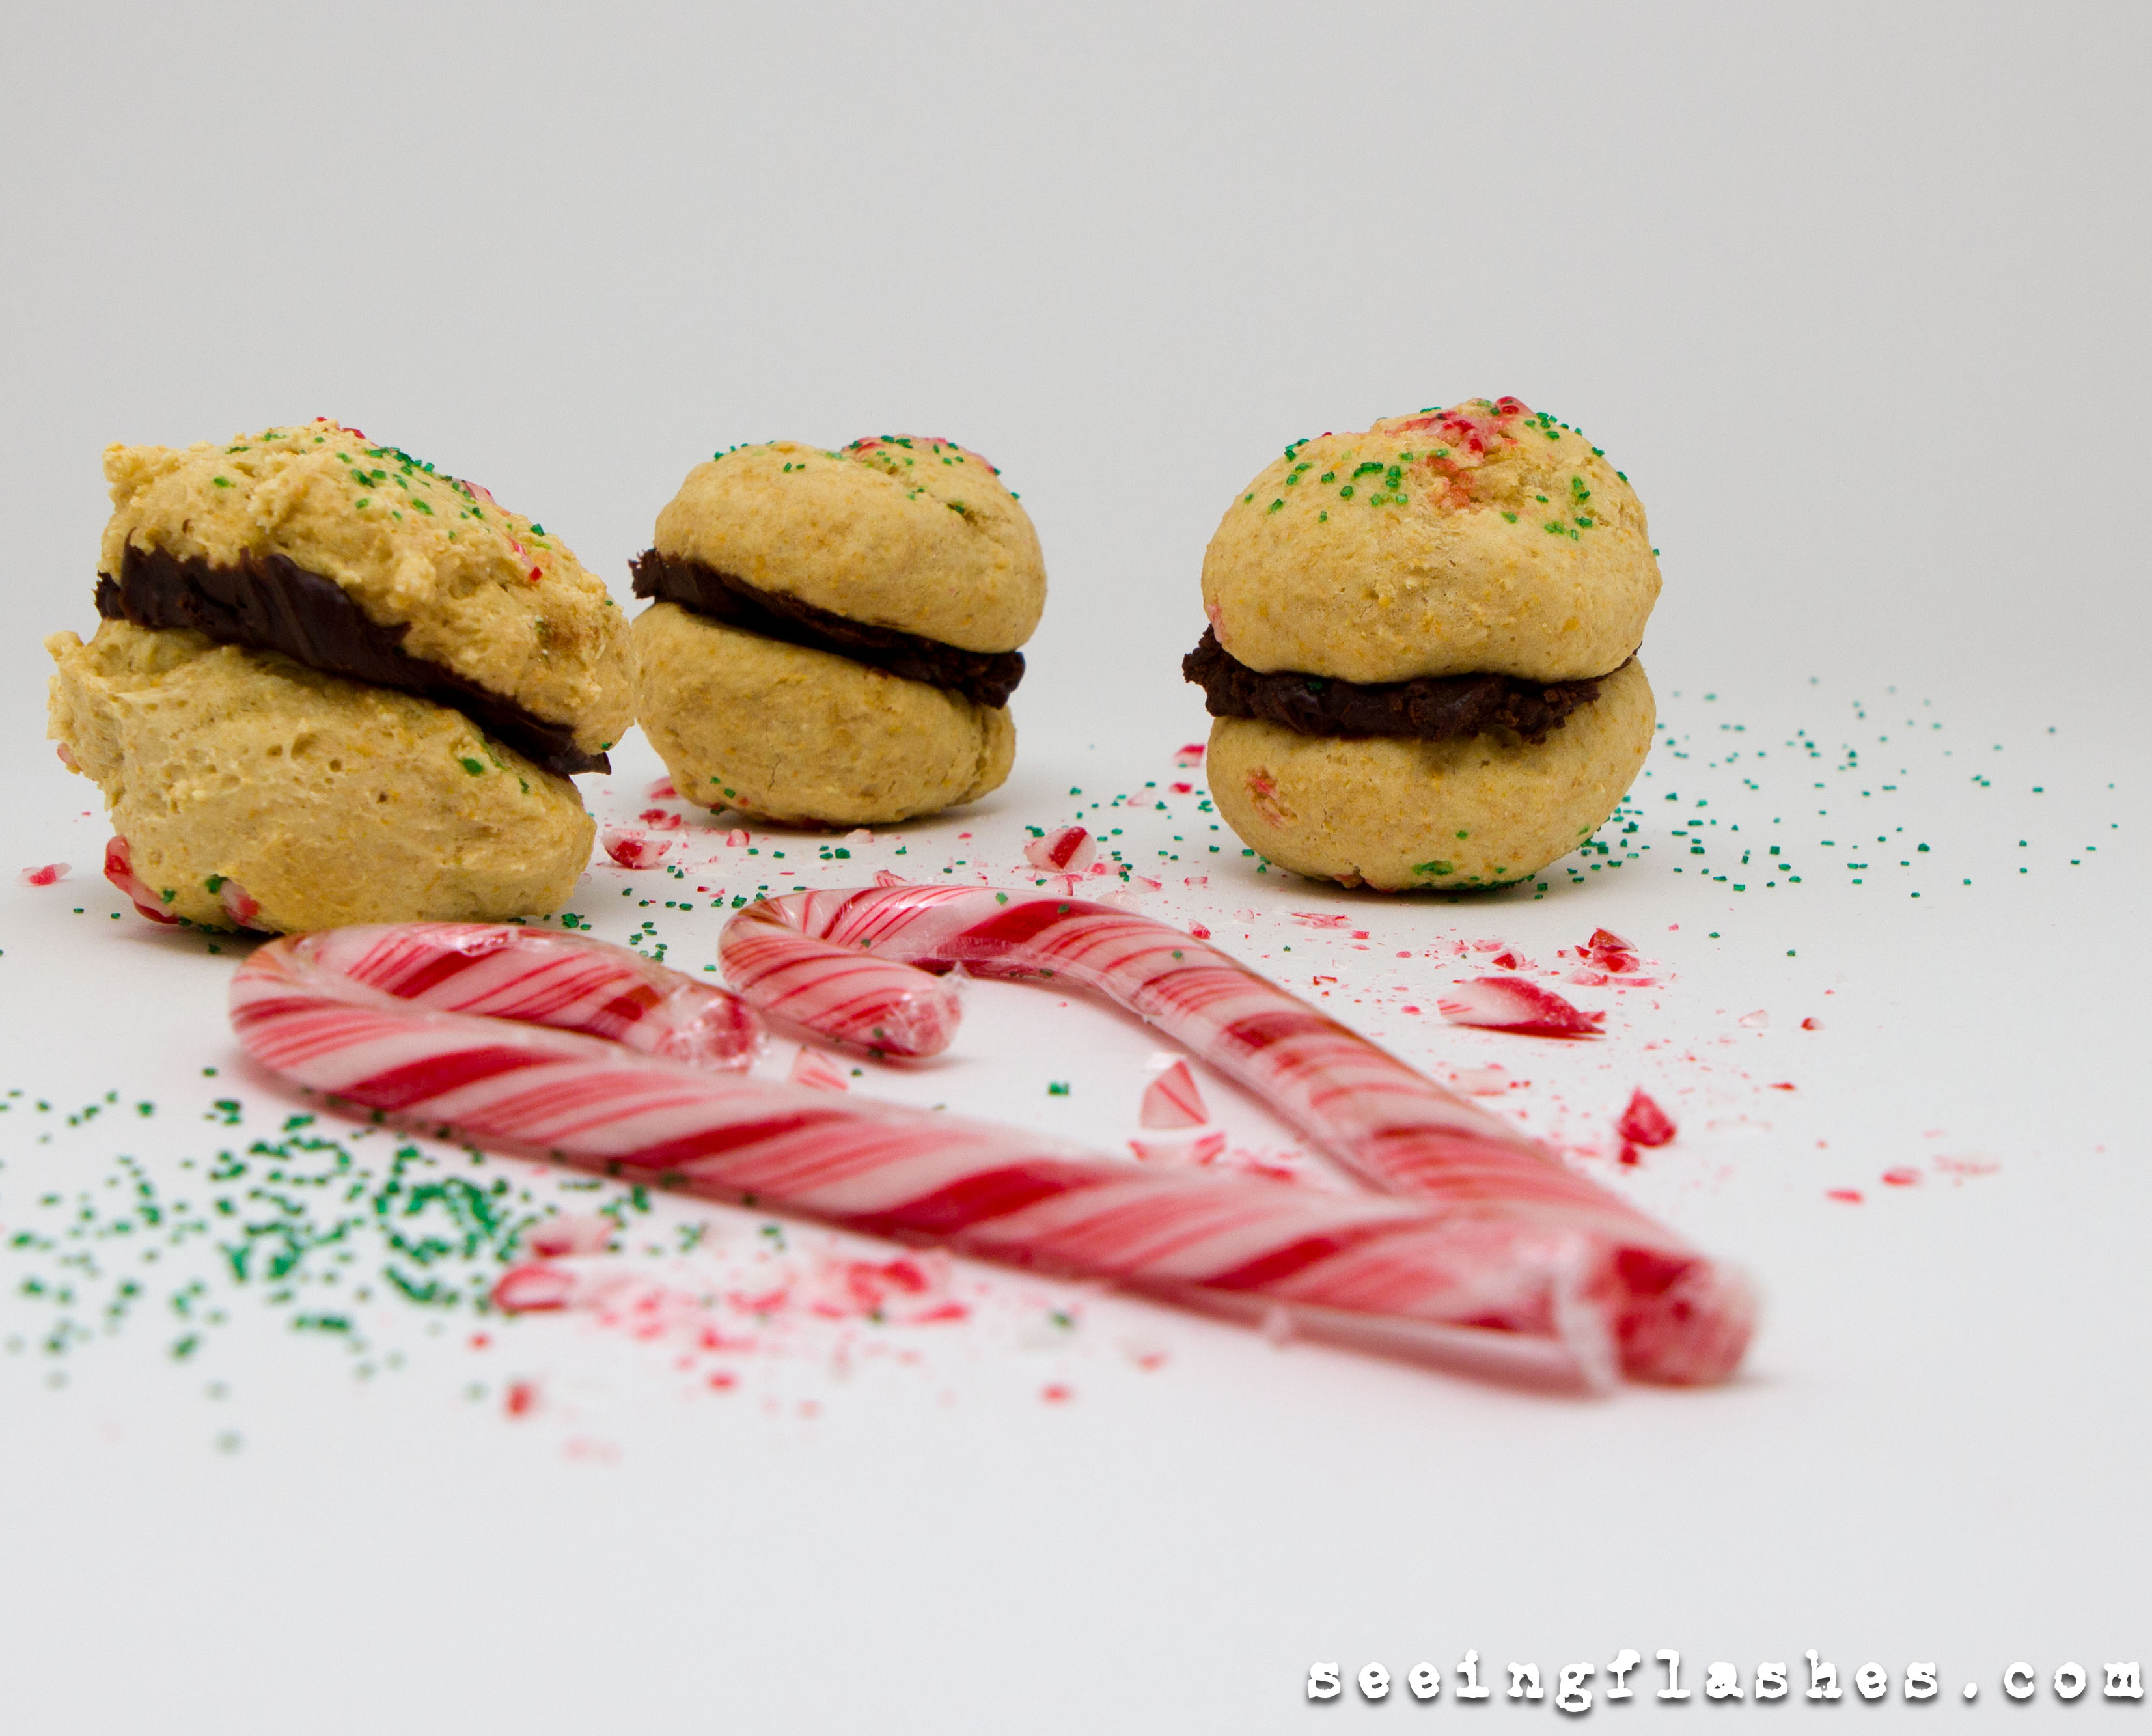
Success.
Mint Chocolate Whoopie Pies
yield 40-50
Inspired by Can You Stay For Dinner‘s Vanilla Whoopie Pies with Chocolate Ganache
For the outside:
- 2 cups all-purpose flour
- 2 1/4 cups whole wheat pastry flour
- 3 tsp baking powder
- 3/4 tsp salt
- 1/2 cup light whipped butter, softened
- 4 oz fat free cream cheese
- 1 cup organic raw cane sugar
- 2/3 cup Splenda
- 4 large eggs
- 1 cup reduced fat buttermilk
- 1/4 cup unsweetened vanilla almond milk
- 2 tsp baking soda
- 4 tsp vanilla extract
- 2 candy canes, crushed
- green sprinkles (optional)
For the filling:
- 12 oz grain sweetened chocolate chips
- 3/4 cup 2% milk
- 1 1/2 tbs light whipped butter
- 1 tsp peppermint extract
Directions:
- Preheat the oven to 375°F. Line cookie sheets with parchment paper, and spray with nonstick spray.
- Whisk the flour, baking powder, baking soda and salt in a large bowl and set aside.
- In a separate large bowl (I used my Kitchenaid), beat butter, cream cheese, Splenda and sugar together until light and fluffy.
- Add eggs one at a time. Add buttermilk and almond milk and beat until combined.
- Add the flour mixture. Beat on low speed until just incorporated.
- Stir in vanilla extract.
- Using a sprayed tablespoon, drop cookies onto lined and sprayed sheet (for prettiest cookies, use your hands to roll after batter has been dropped).
- Sprinkle each cookie with crushed candy canes and green sprinkles (if it’s not the holiday season, you can omit the sprinkles).
- Bake for 10 minutes. The whoopie pies should spring back when you press them gently. Let the cookies sit for 5 minutes, then transfer to wire rack to cool completely.
- Begin the filling by placing butter, peppermint extract and chocolate chips in a medium-large bowl.
- Heat milk in microwave (or on stove if you’re more patient than me 🙂 ) until the top begins to bubble, but be careful not to heat too long.
- Pour in hot milk and mix well until chocolate is fully melted. Let cool and thicken(I put mine in the fridge for about 15 min).
- Spread a little chocolate on the flat side of one cookie, top with the flat side of a second and press together. Repeat with all cookies.
I really really loved the way these cookies came out. I hope that Emmamarie, Amy, and Monique enjoyed them!!! And thank you so much to Julie and Lindsay for putting this together!!




These look greaaaaat! 🙂
Yay!!! Thanks for the inspiration! 🙂